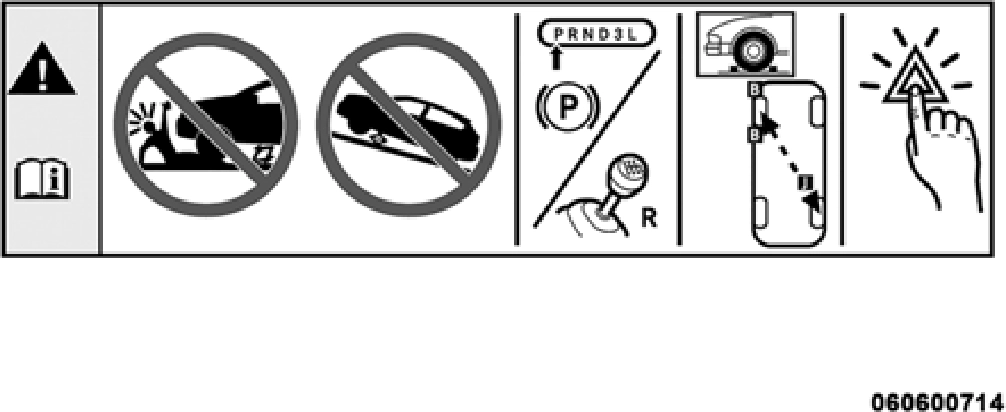
SRT models are equipped with “run flat” tires. Run flat tires allow the vehicle to be driven approximately 50 miles (80 km) at 55 mph (88 km/h). Tire service should be obtained to avoid prolonged run flat feature usage.
6
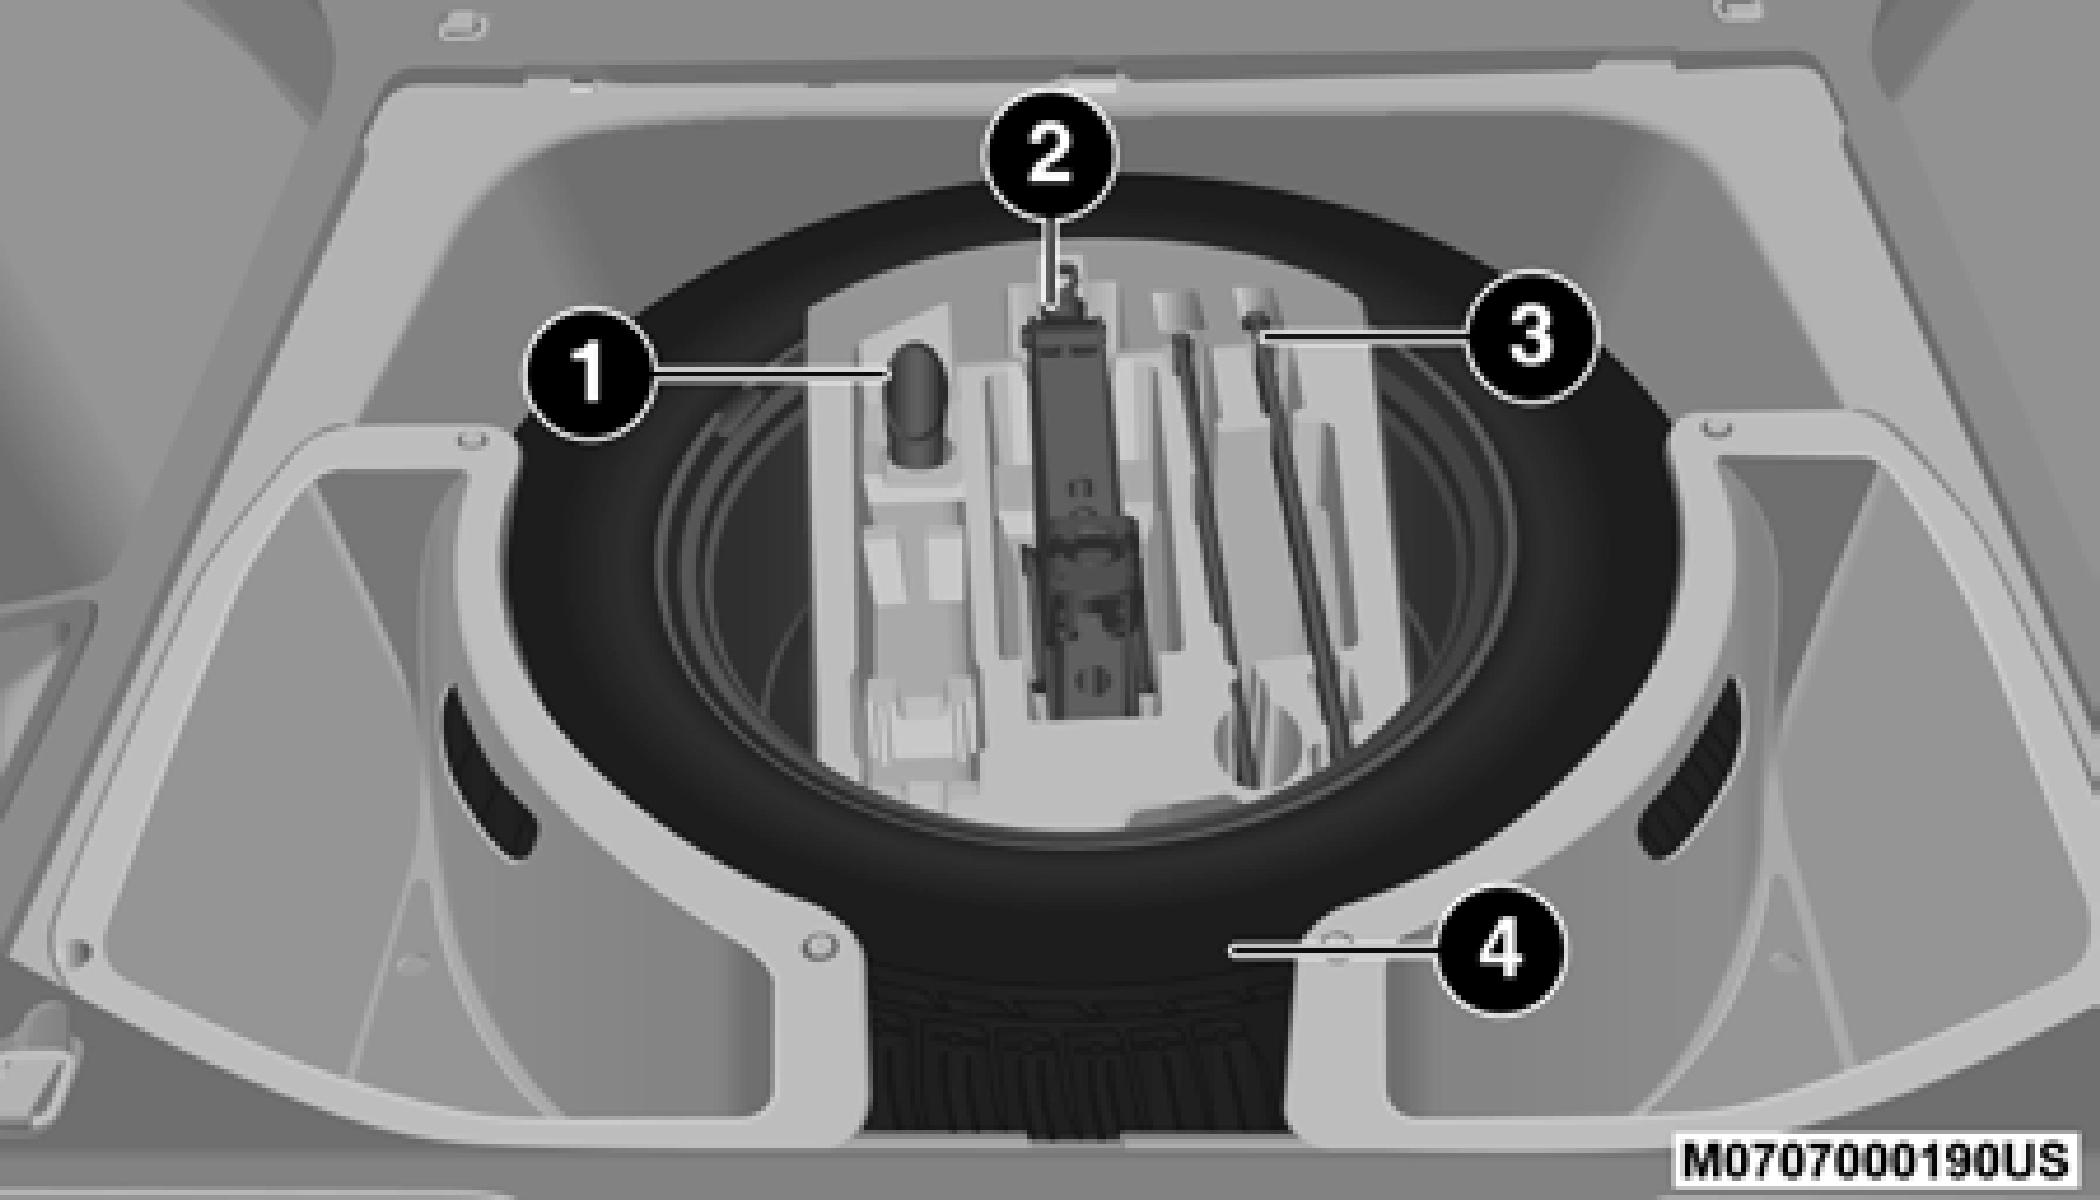
The scissor-type jack and tire changing tools are located in the rear cargo area, below the load floor.
Spare Tire/Jack And Tools
1 — Cap-Less Fuel Fill Funnel 2 — Jack
3 — Tire Changing Tools 4 — Spare Tire
NOTE:
The funnel for the Cap-Less Fuel System is located on top of the spare tire. If your vehicle is out of fuel and an auxiliary fuel can is needed, insert the funnel into the filler neck and
proceed to fill the vehicle. For vehicles not equipped with a spare tire, the fuel filler funnel is stored in the left storage bin under the load floor. For more information on the Cap-Less Fuel System, refer to “Refueling The Vehicle” in “Starting And Operating” for further information.
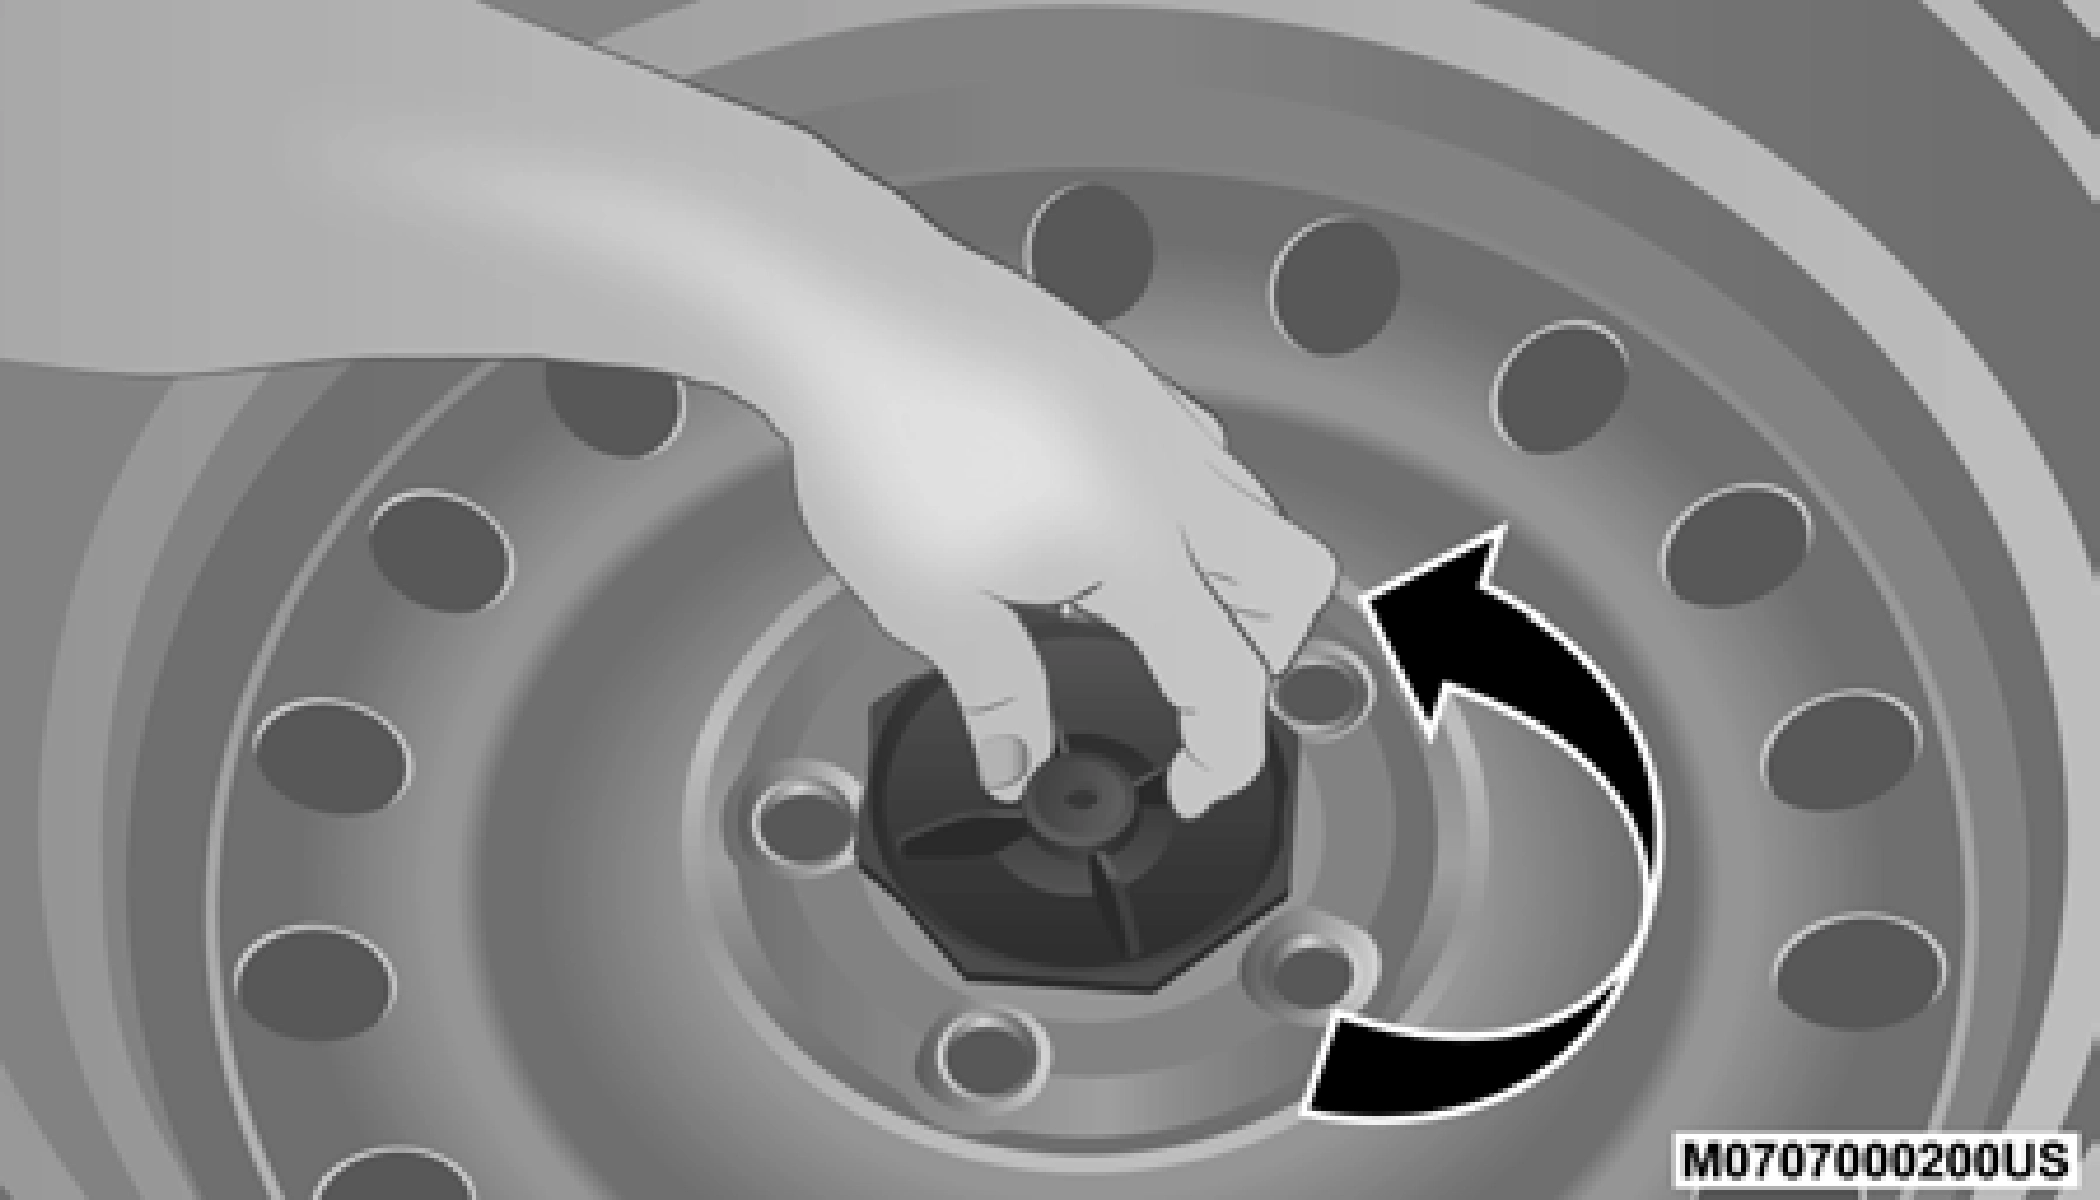
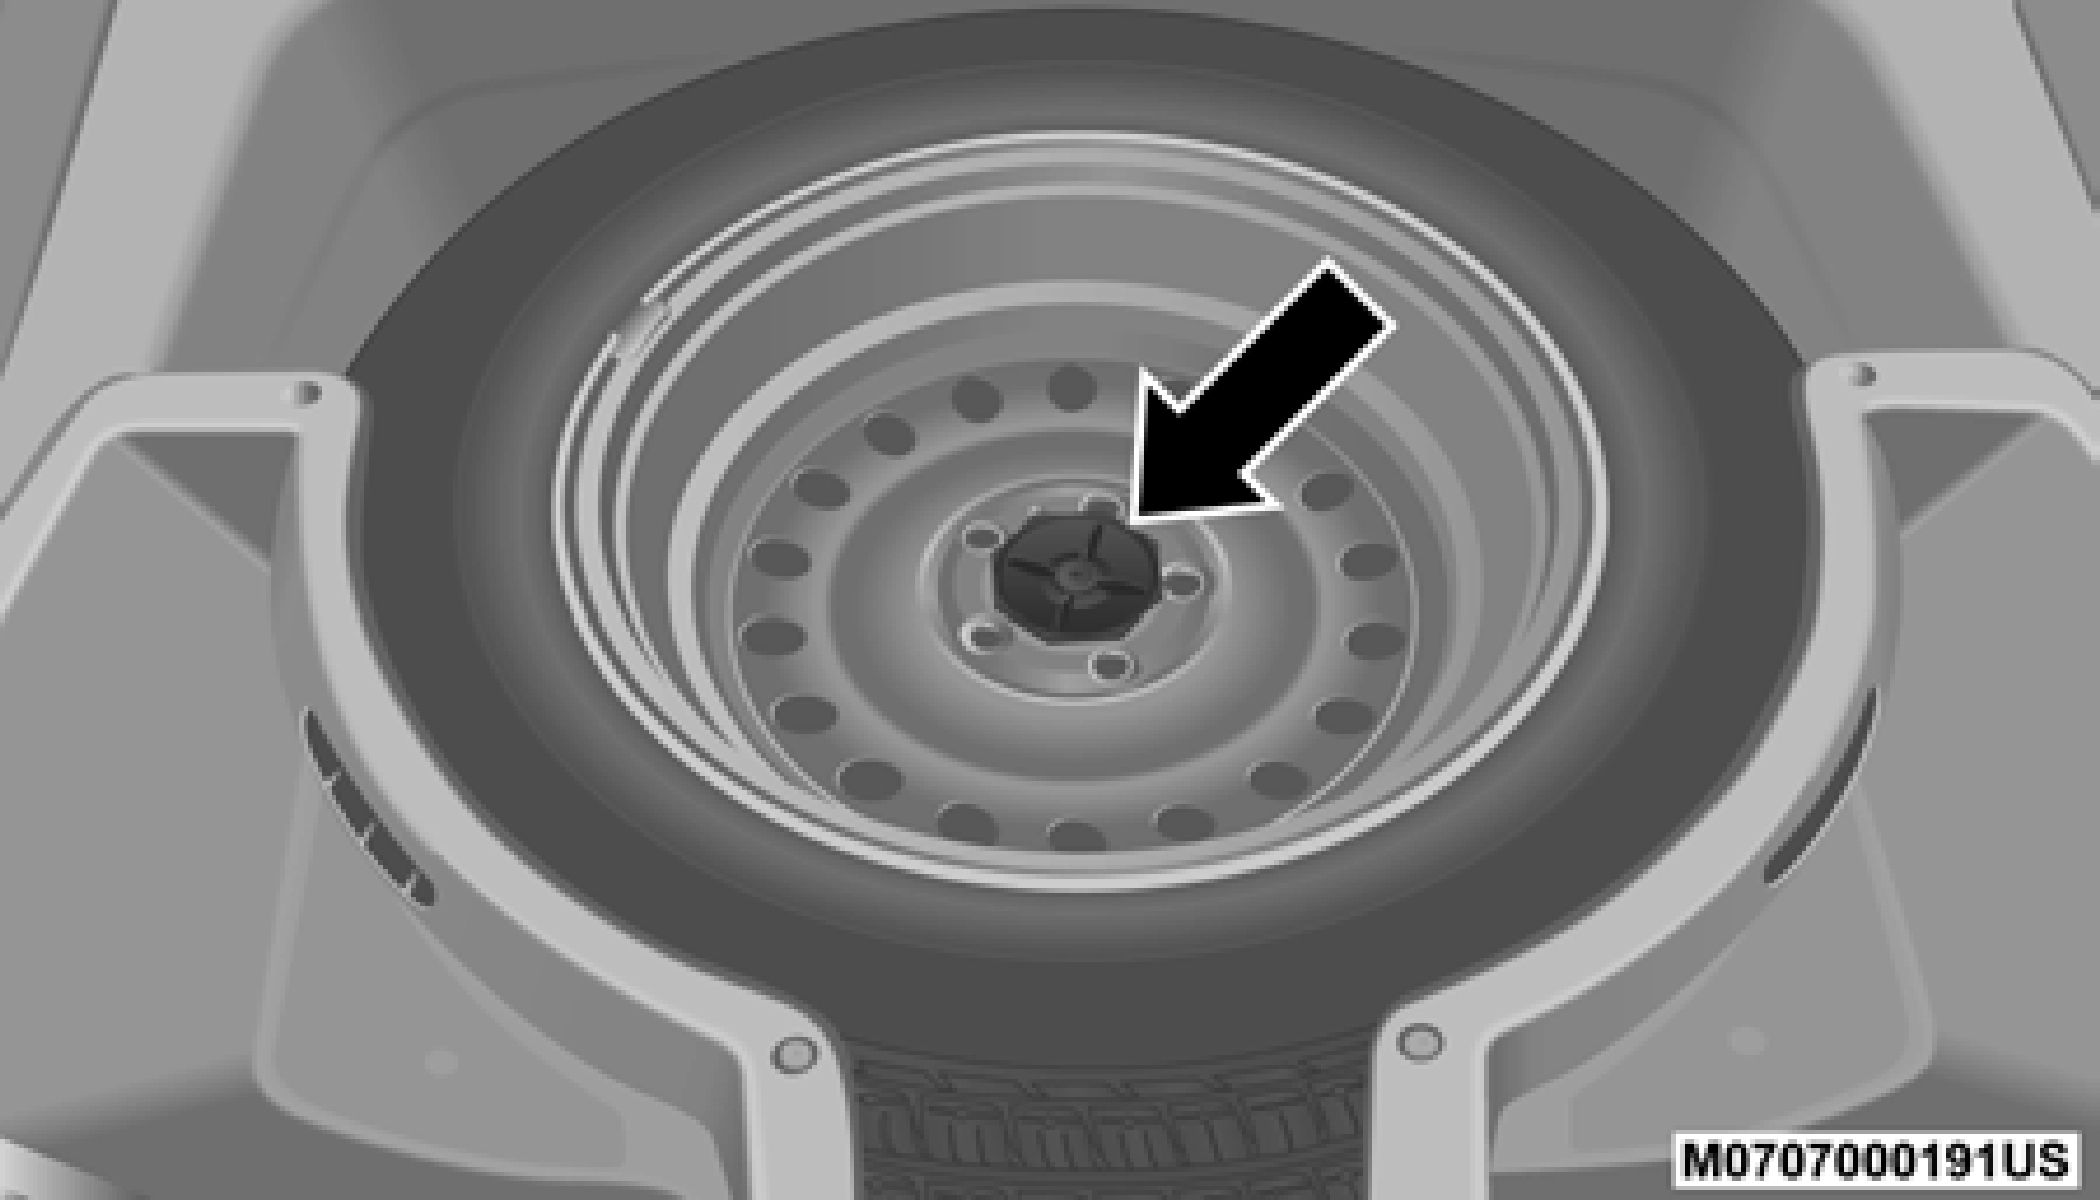
The spare tire is stowed under the load floor in the rear cargo area and is secured to the body with a special wing nut.
Secured Spare Tire
1. Park the vehicle on a firm, level surface. Avoid ice or slip- pery surfaces.
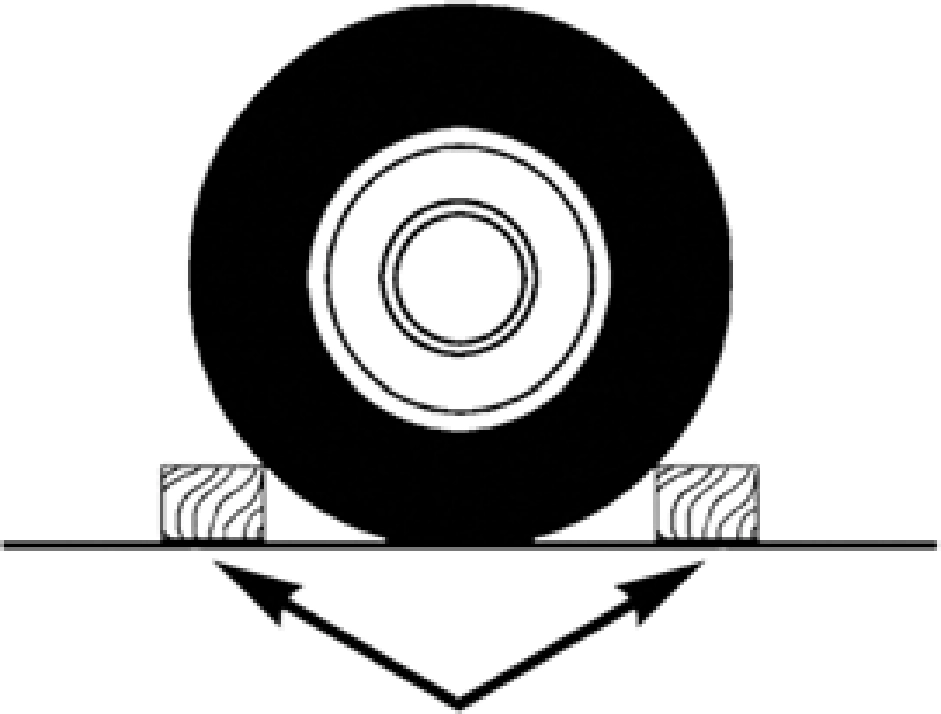
6. Block both the front and rear of the wheel diagonally opposite of the jacking position. For example, if changing the right front tire, block the left rear wheel.
6
Turn on the Hazard Warning flasher.
Apply the parking brake.
NOTE:
Wheel Blocked
Place the gear selector into PARK (P).
Turn the ignition OFF.
Passengers should not remain in the vehicle when the vehicle is being lifted or raised.
For vehicles equipped with Quadra-Lift, refer to “Quadra-Lift — If Equipped” in “Starting And Operating” for further information on disabling automatic leveling.
Jack Warning Label
(Continued)
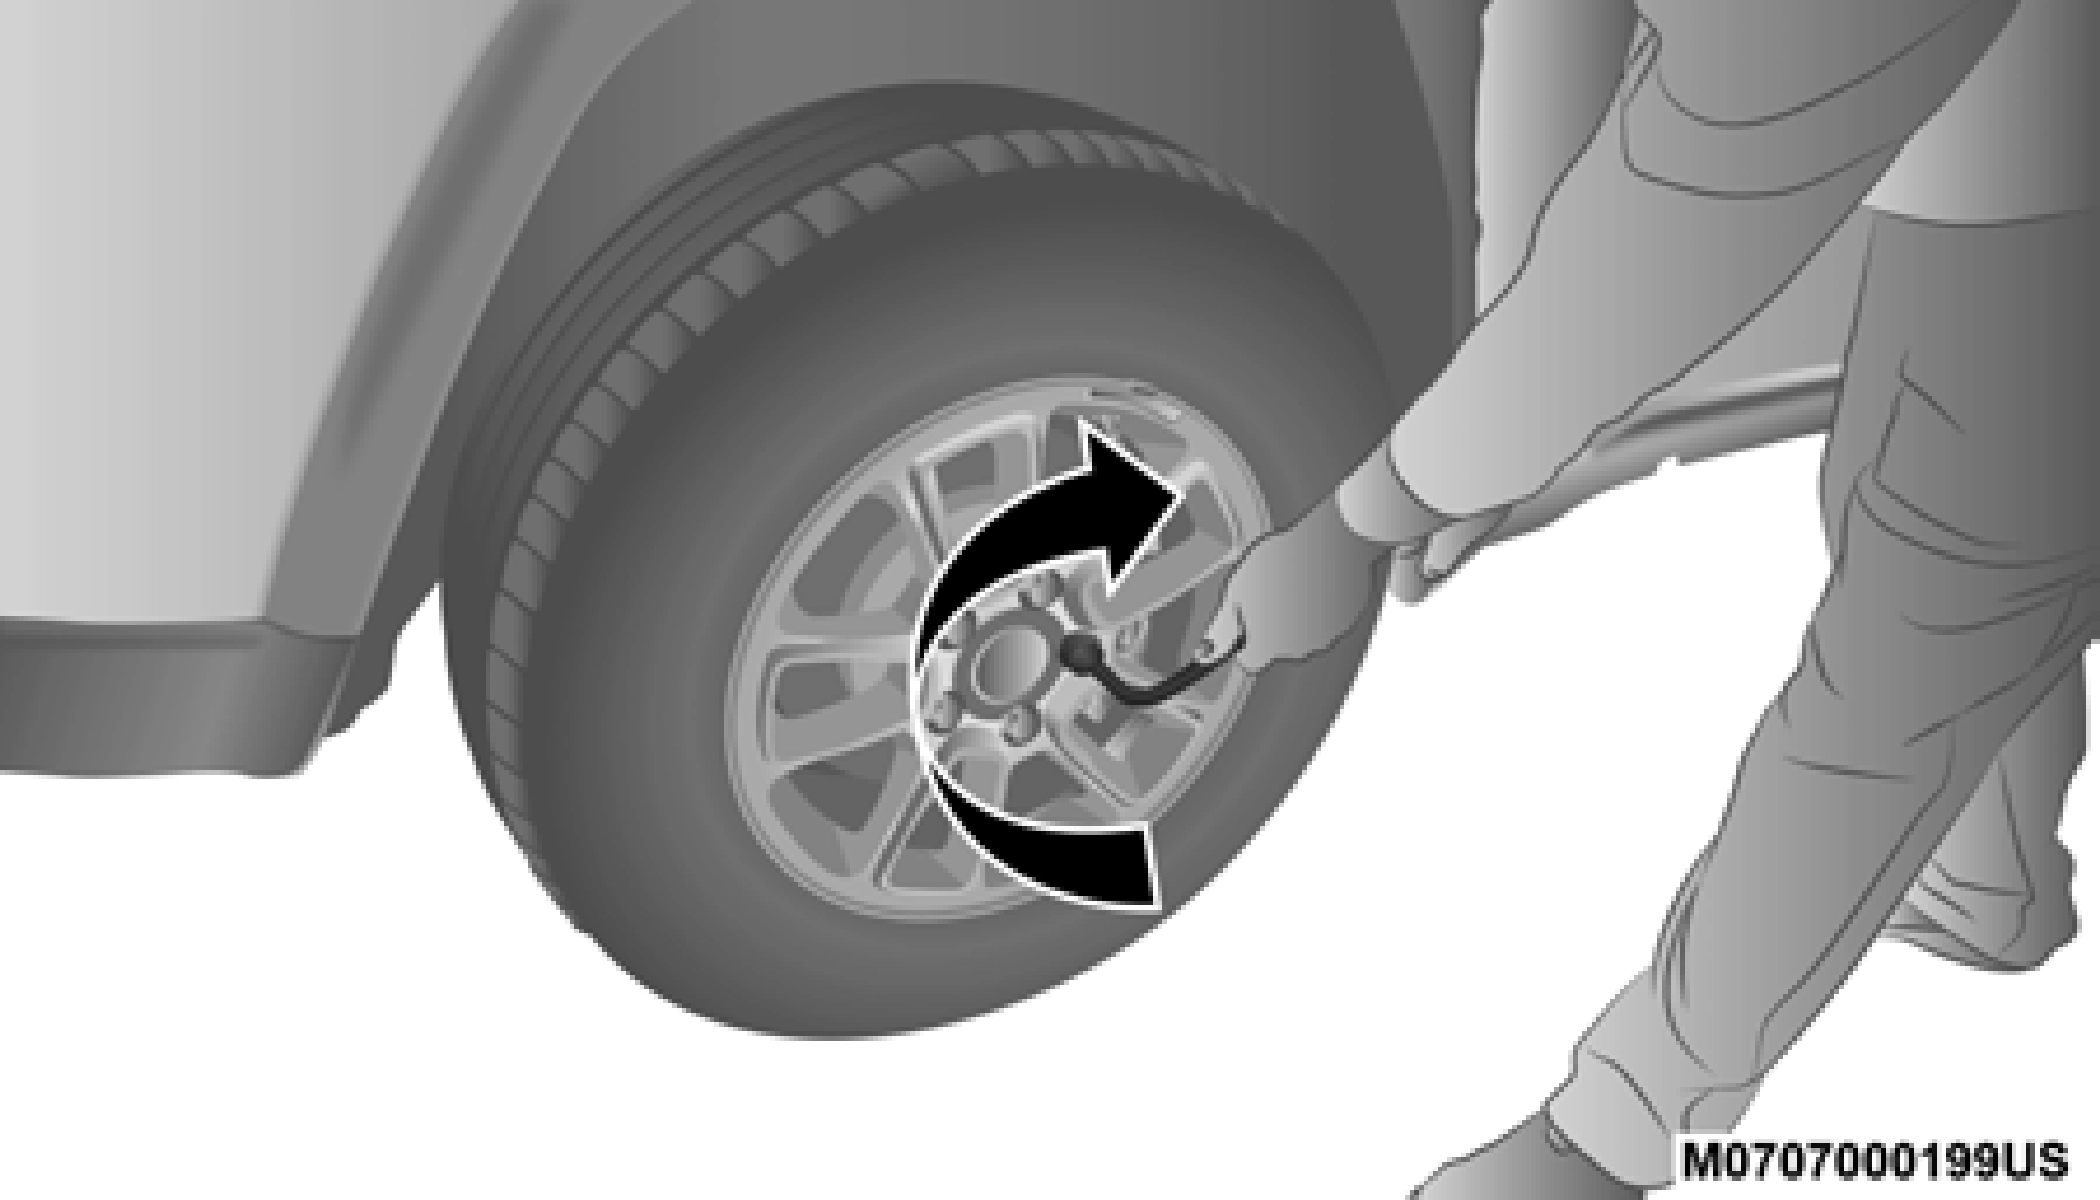
Remove the spare tire, jack, and tools from storage. Turn the wing nut counterclockwise to remove the spare tire.
Removing Spare Tire
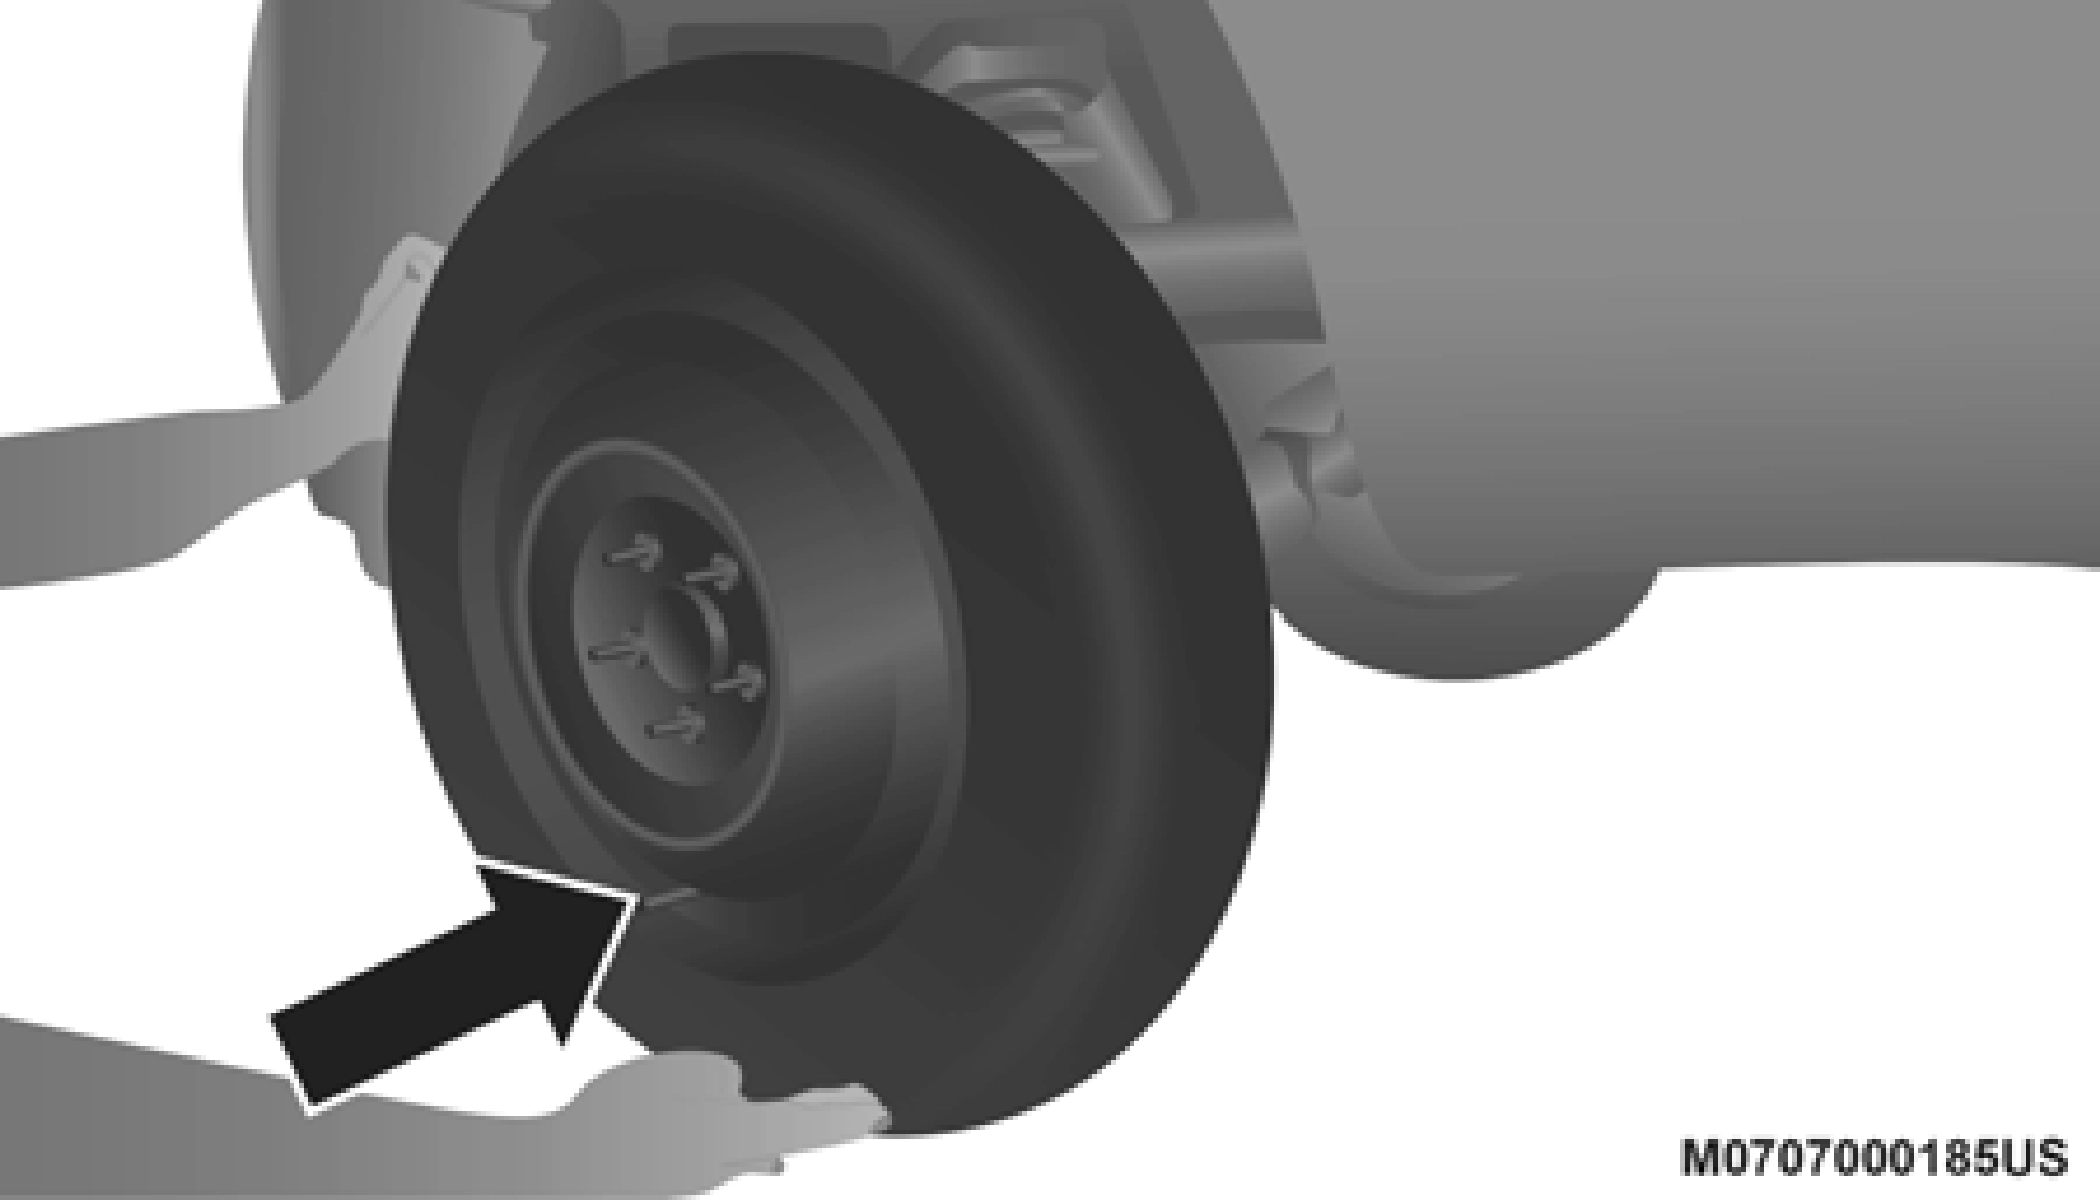
Loosen (but do not remove) the wheel lug nuts, using the lug wrench by turning them counterclockwise, one turn, while the wheel is still on the ground.
Loosen Lug Nuts
Assemble the jack and jacking tools.
Jack And Tool Assembly Jacking Locations
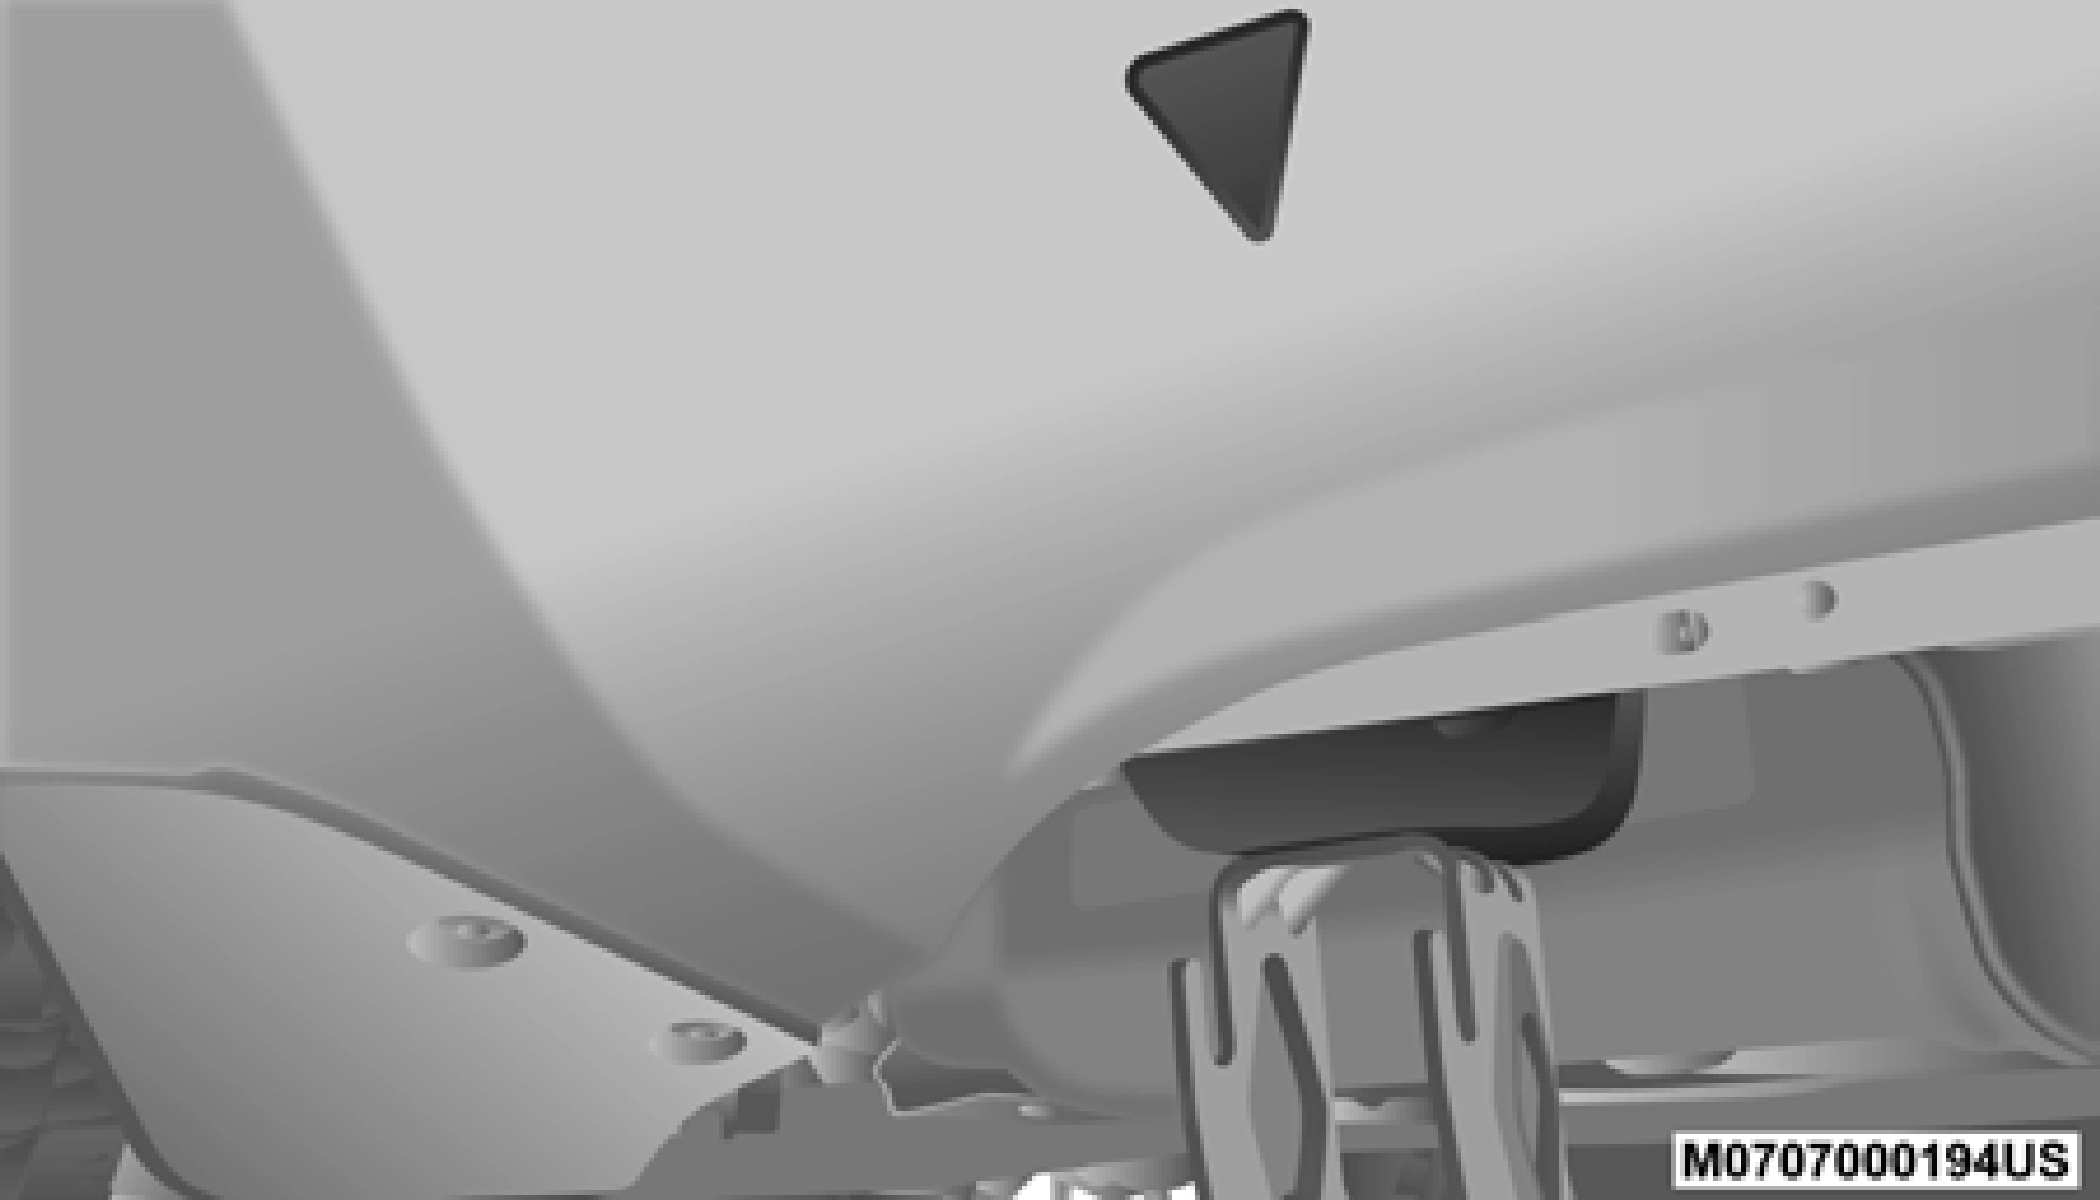
For the front axle, place the jack on the body flange just behind the front tire as indicated by the triangular lift point symbol on the sill molding. Do not raise the vehicle until you are sure the jack is fully engaged.
Front Lifting Point Front Jacking Location 6
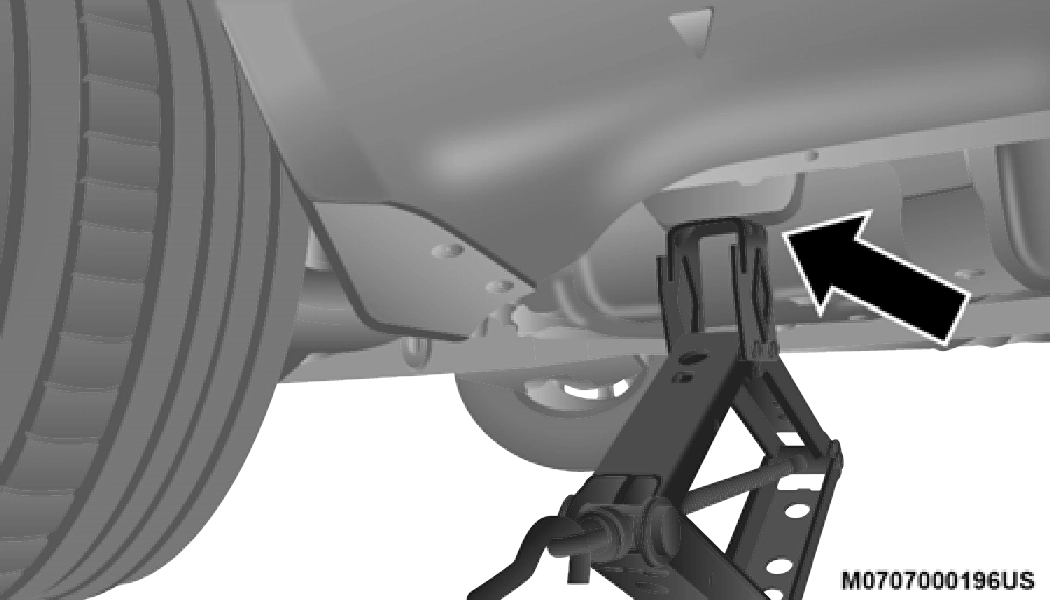
For a rear tire, place the jack in the slot on the rear tie-down bracket, just forward of the rear tire (as indi- cated by the triangular lift point symbol on the sill molding). Do not raise the vehicle until you are sure the jack is fully engaged.
Rear Lifting Point
Rear Jacking Location
Raise the vehicle by turning the jack screw clockwise. Raise the vehicle only until the tire just clears the surface and enough clearance is obtained to install the spare tire. Minimum tire lift provides maximum stability.
Remove the lug nuts and wheel.
Position the spare wheel/tire on the vehicle and install the lug nuts with the cone-shaped end toward the wheel. Lightly tighten the nuts.
Mounting Spare Tire 6
Lower the vehicle by turning the jack screw counterclock- wise, and remove the jack and wheel blocks.
Finish tightening the lug nuts. Push down on the wrench while at the end of the handle for increased leverage. Tighten the lug nuts in a star pattern until each nut has been tightened twice. For correct lug nut torque, refer to “Torque Specifications” in “Technical Specifications” for further information. If in doubt about the correct tight- ness, have them checked with a torque wrench by an authorized dealer or at a service station.
Tighten Lug Nuts
Lower the jack to the fully closed position and return it and the tools to the proper positions in the foam tray.
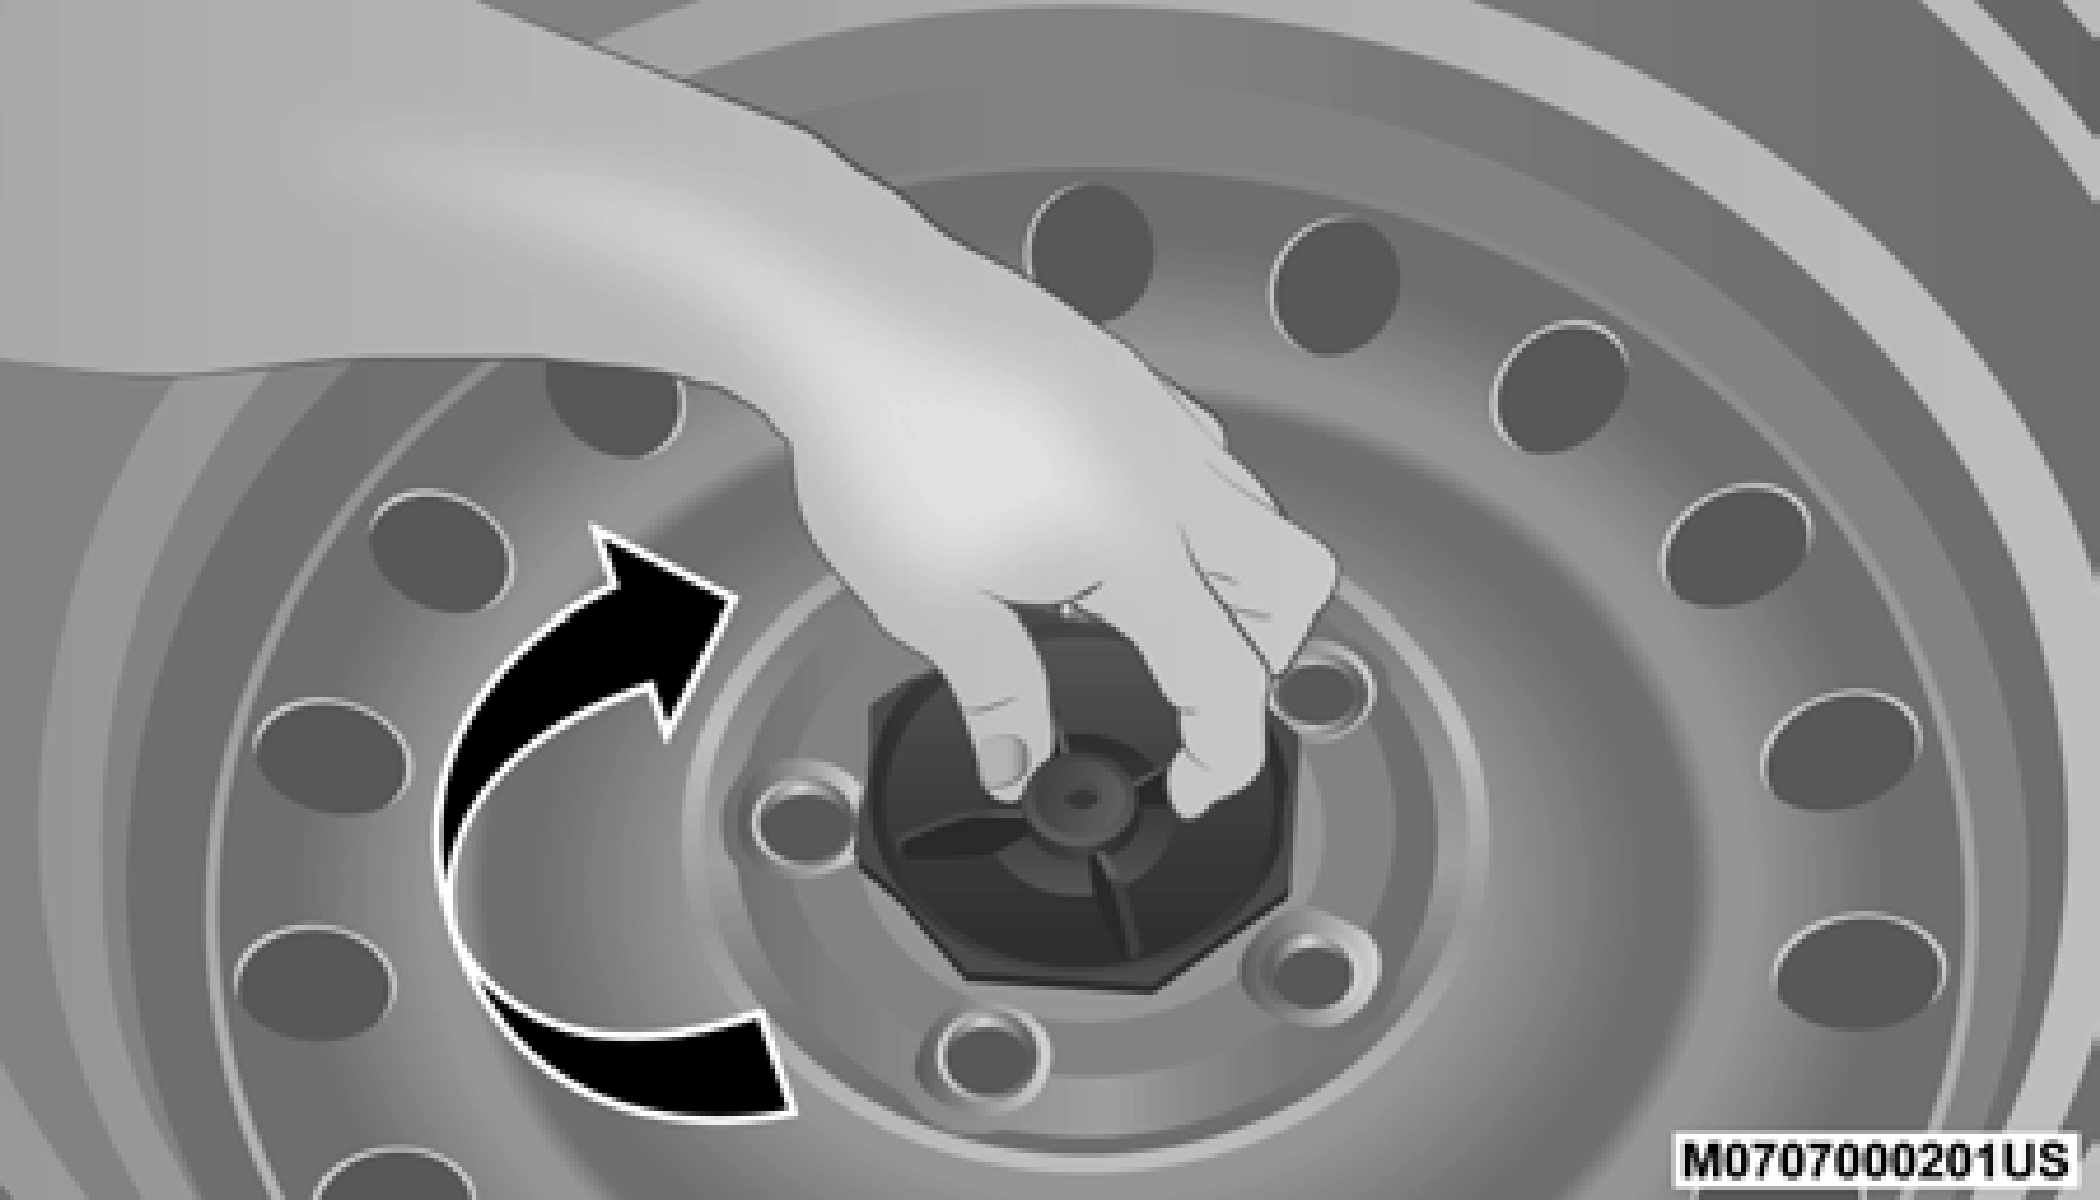
Remove the small center cap and securely store the road wheel in the cargo area. Turn the wing nut clockwise until secured.
Storing Road Wheel
Have the aluminum road wheel and tire repaired as soon as possible, properly secure the spare tire with the special wing nut torqued to 3.7 ft-lbs (5 N·m), reinstall the jack and tool kit foam tray, and latch the rear load floor cover.
NOTE:
Do not drive with the spare tire installed for more than 50 miles (80 km) at a max speed of 50 mph (80 km/h).
Mount the road tire on the axle.
Install the remaining lug nuts with the cone shaped end of the nut toward the wheel. Lightly tighten the lug nuts.
Lower the vehicle to the ground by turning the jack handle counterclockwise.
Refer to “Torque Specifications” in “Technical Specifica- tions” for proper lug nut torque for further information.
After 25 miles (40 km), check the lug nut torque with a torque wrench to ensure that all lug nuts are properly seated against the wheel.
 6
6