BULB REPLACEMENT
Replacement Bulbs
|
Non SRT Exterior Bulbs |
|
|
Bulb Name |
Bulb Number |
|
Headlamps (Low Beam) — If Equipped |
H11 |
|
Premium Headlamps (Low/High Beam) |
D3S (Service At Authorized Dealer) |
|
Headlamps (High Beam) — If Equipped |
H9 |
|
Premium Park/Turn Signal Lamp |
LED - (Service At Authorized Dealer) |
|
Premium Daytime Running Lamp (DRL) |
LED - (Service At Authorized Dealer) |
|
Bulb Name |
Bulb Number |
|
Front Fog Lamps |
H11 LED - (Service At Authorized Dealer) |
|
Front Side Marker — If Equipped |
W5W |
|
Premium Front Side Marker — If Equipped |
LED - (Service At Authorized Dealer) |
|
Front Park/Turn Lamp — If Equipped |
7444NA (WY28/8W) |
|
Rear Body Side Backup Lamp |
7440 (W21W) |
|
Auxiliary Liftgate Tail Lamps |
LED - (Service At Authorized Dealer) |
|
Liftgate Backup Lamps |
921 (W16W) |
|
Rear License Lamps |
LED - (Service At Authorized Dealer) |
|
Rear Body Side Stop/Turn Lamps |
3157KRD LCP (P27/7W) |
|
Rear Body Side Tail Lamps |
LED - (Service At Authorized Dealer) |
|
Center High Mounted Stop Lamp (CHMSL) |
LED - (Service At Authorized Dealer) |
|
NOTE: Numbers refer to commercial bulb types that can be purchased from an authorized dealer. If a bulb needs to be replaced, visit an authorized dealer or refer to the applicable Service Manual. |
|
The headlamps are a type of high voltage discharge tube. High voltage can remain in the circuit even with the head- lamp switch off and the key removed. Because of this, you should not attempt to service a headlamp bulb yourself. If a headlamp bulb fails, take your vehicle to an authorized dealer for service.
NOTE:
On vehicles equipped with High Intensity Discharge (HID) headlamps, when the headlamps are turned on, there is a blue hue to the lamps. This diminishes and becomes more white after approximately 10 seconds, as the system charges.
Halogen Headlamps — If Equipped
NOTE:
Lens fogging can occur under certain atmospheric condi- tions. This will usually clear as atmospheric conditions change to allow the condensation to change back to vapor. Turning the lamps on will usually accelerate the clearing process.
- Open the hood.
- Access the back of the headlamp.
NOTE:
- The air filter housing must be removed.
- The windshield washer reservoir may need to be rotated out of the way by removing the fastener.
- Coolant reservoir (if equipped) will need to be repositioned by removing the fasteners, and moving the unit out of the way.
- To access the low beam bulb you must remove the rubber boot seal from backside of the lamp housing.
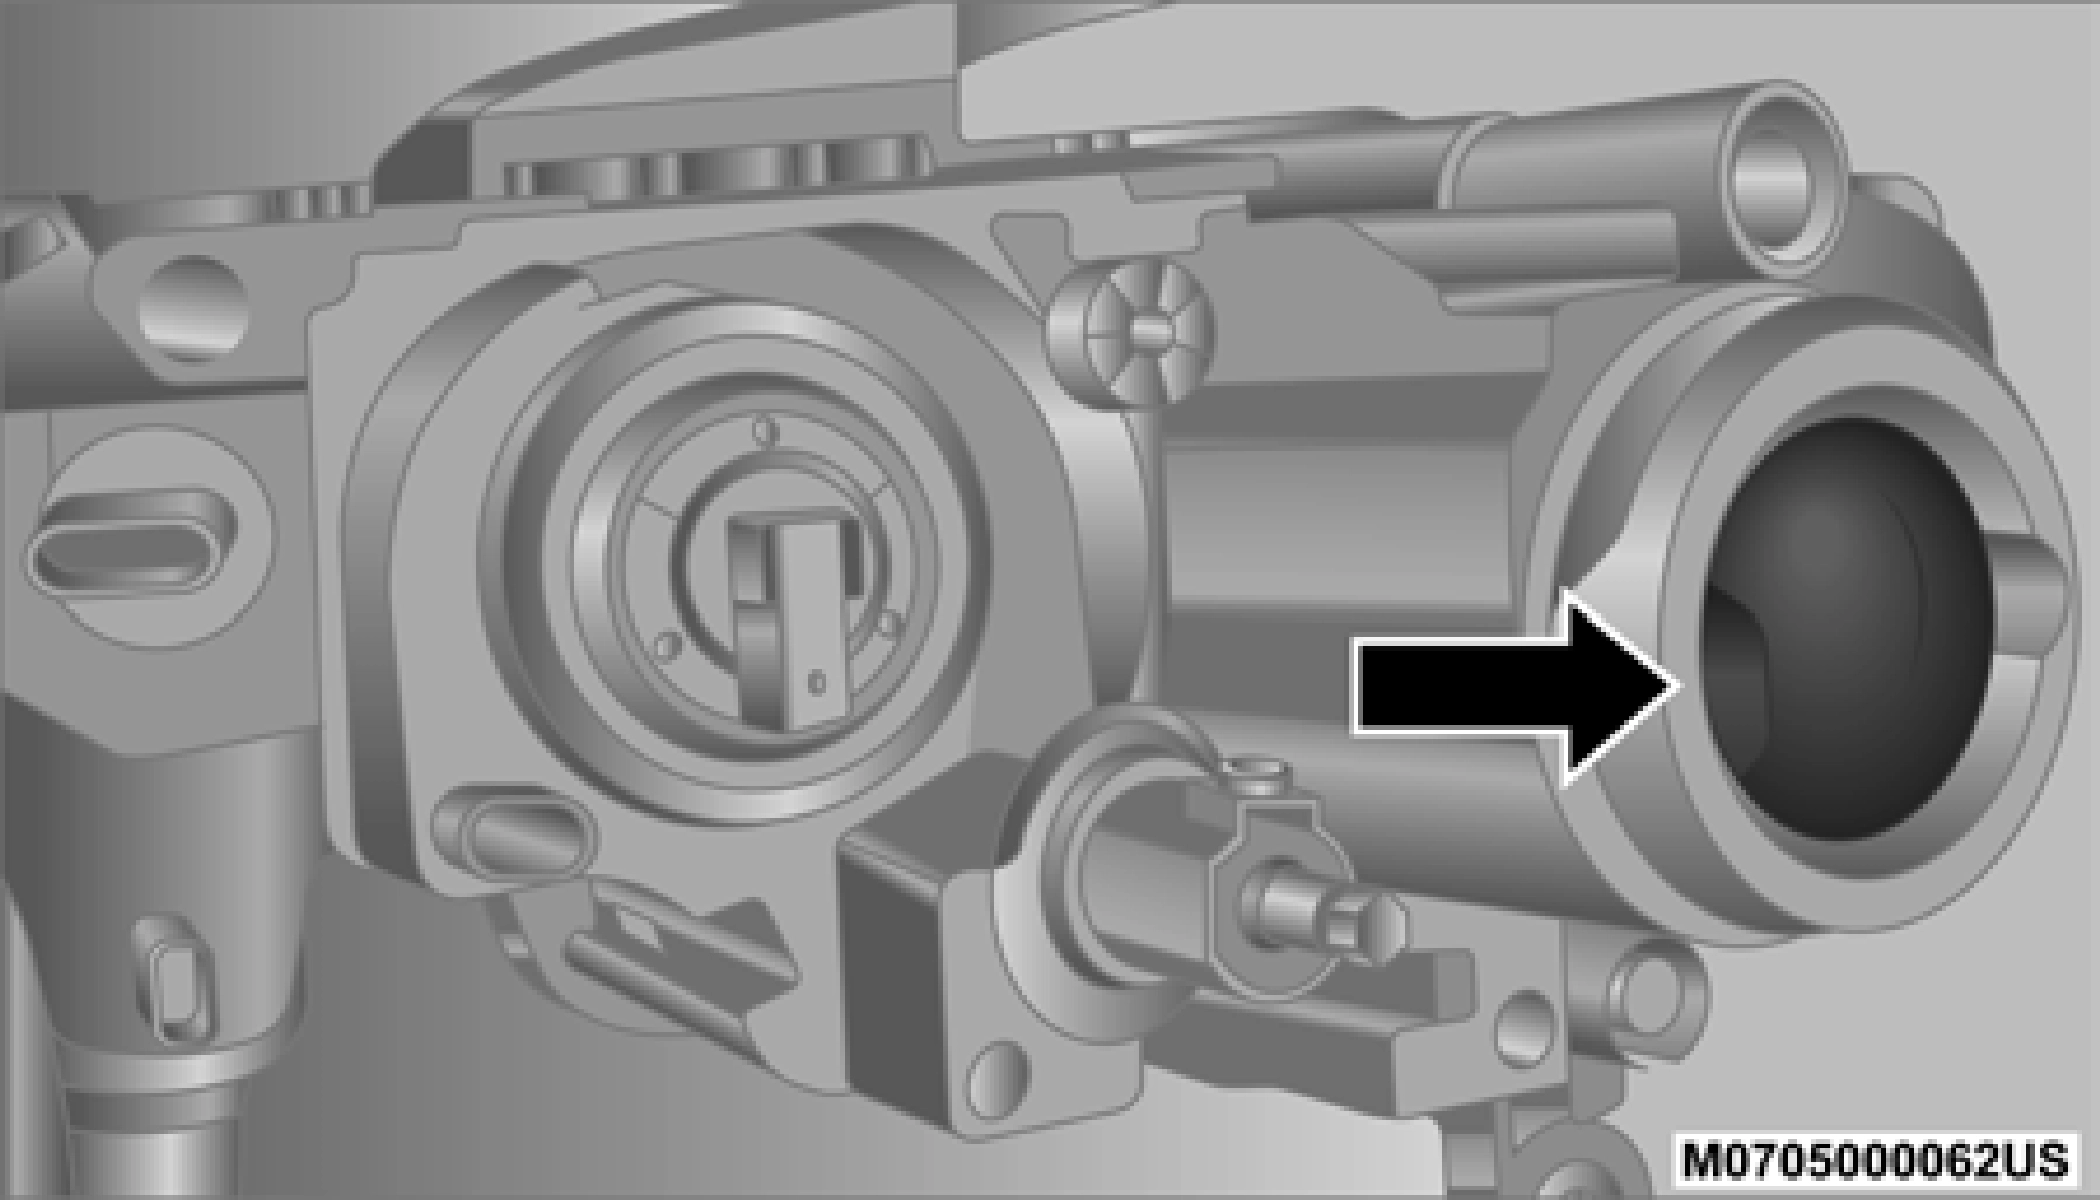
Rubber Boot Seal
NOTE:
Ensure the rubber boot is properly reinstalled to prevent water and moisture from entering the lamp
- Turn the low or high beam bulb a quarter turn counter- clockwise to remove from housing.
- Disconnect the electrical connector and replace the bulb.
Front Turn Signal Lamp
The front turn signal lamps are LEDs. See an authorized dealer for service.
- Open the hood.
- Access the back of the headlamp.
NOTE:
- The air filter housing must be removed.
- The windshield washer reservoir may need to be rotated out of the way by removing the fastener.
- Coolant reservoir (if equipped) will need to be reposi- tioned by removing the fasteners, and moving the unit out of the way.
- Turn the turn signal bulb a quarter turn counterclockwise to remove from housing.
- Disconnect the electrical connector and replace the bulb.
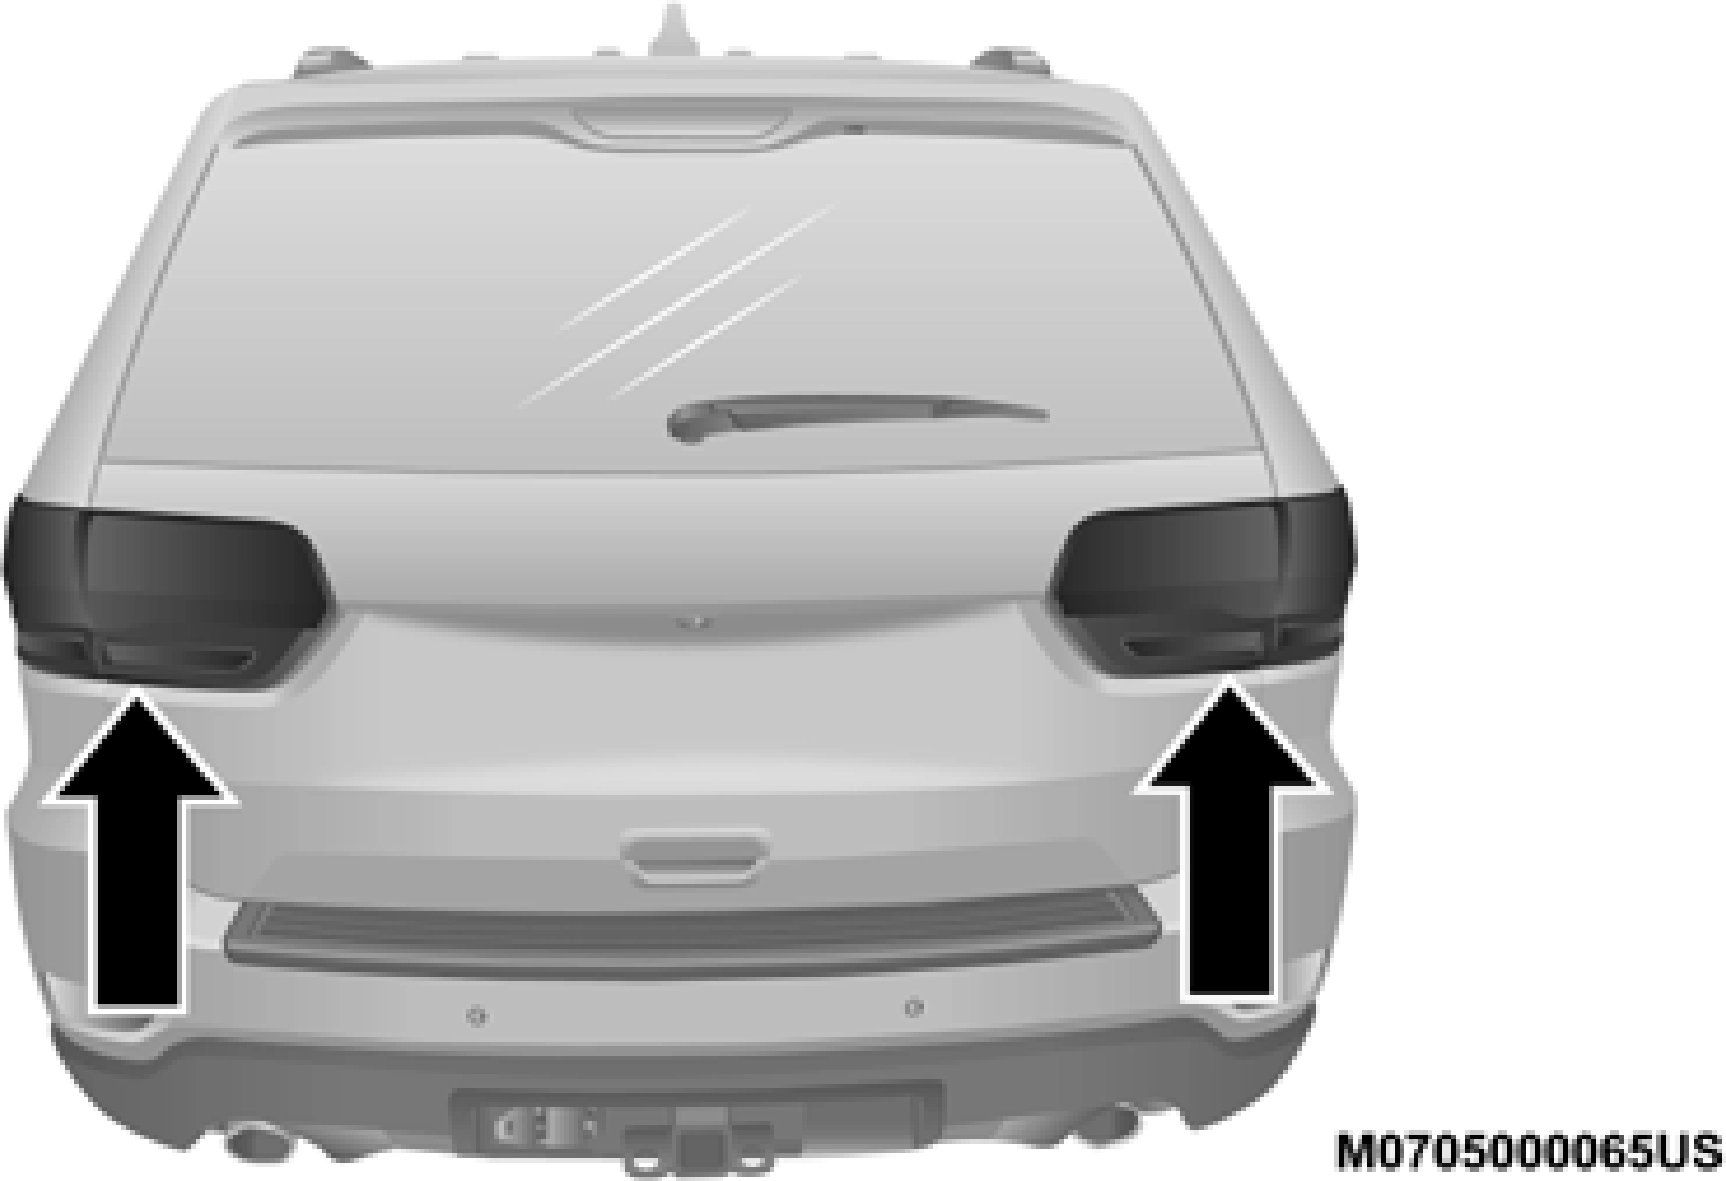
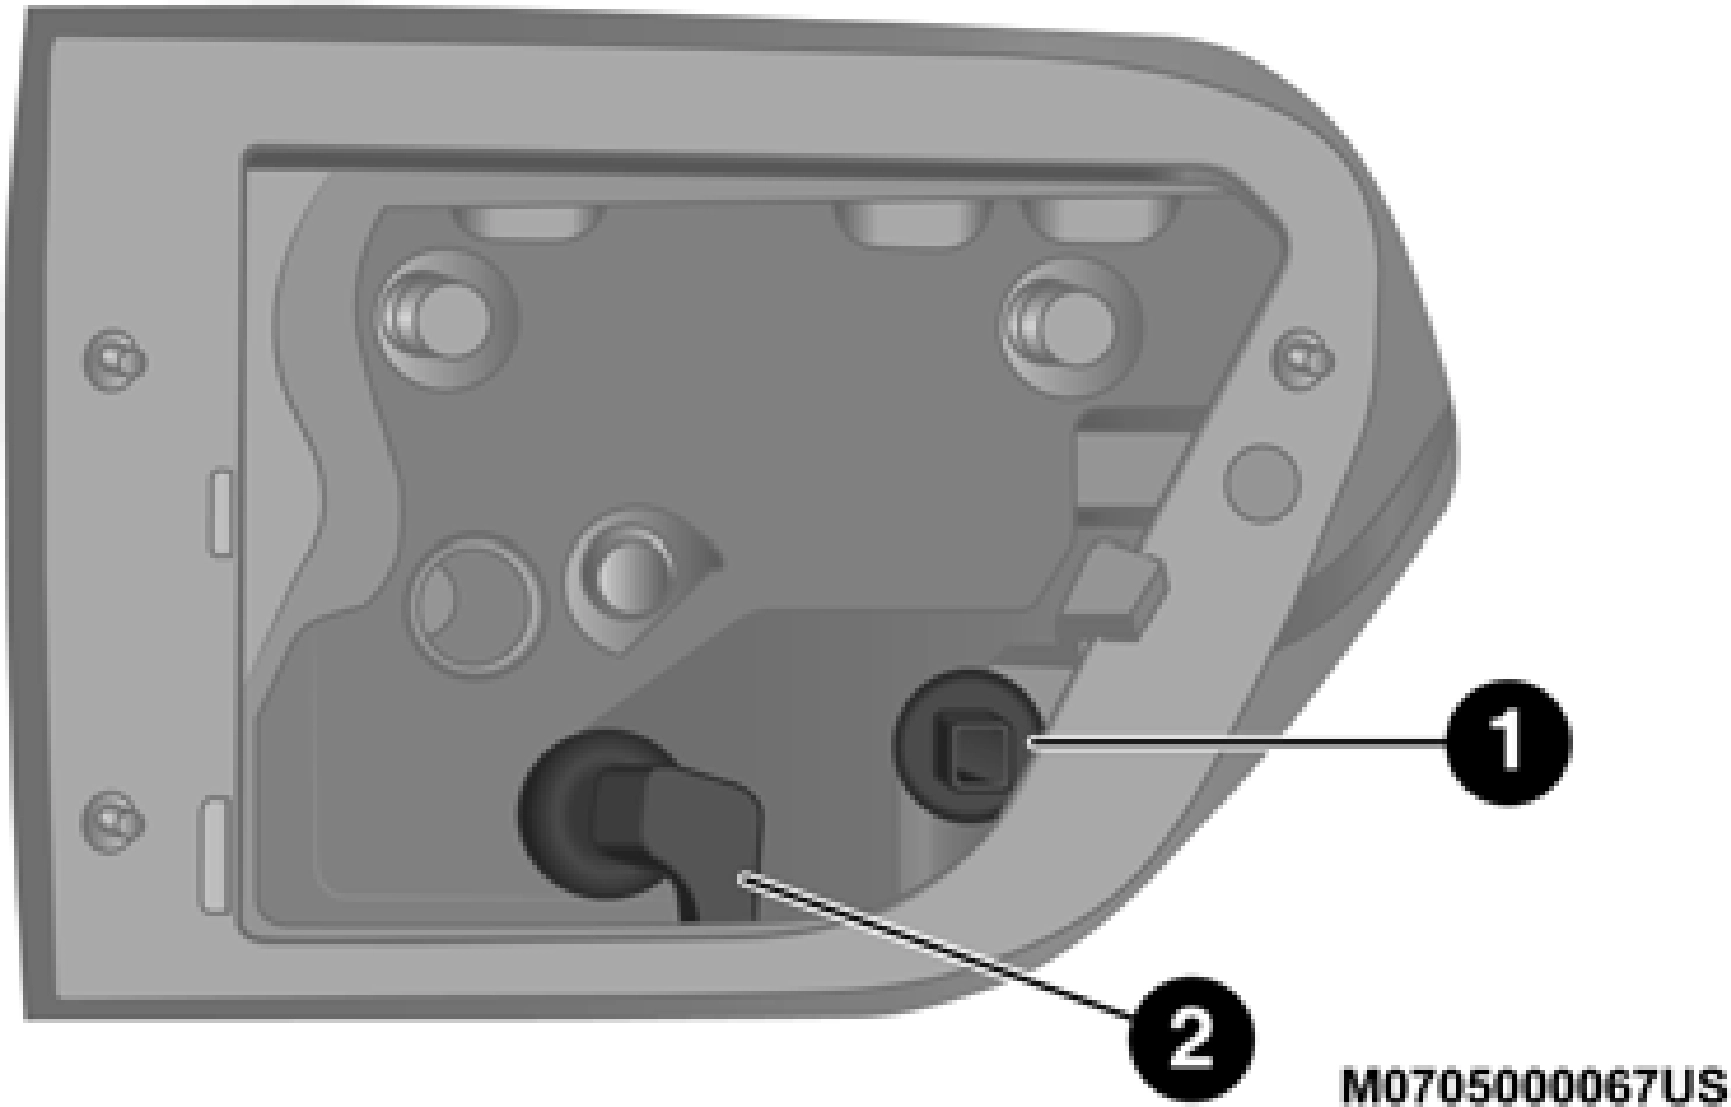
Rear Tail, Stop, and Turn Signal Lamps
- Raise the liftgate.
- Remove the two push-pins from the tail lamp housing.
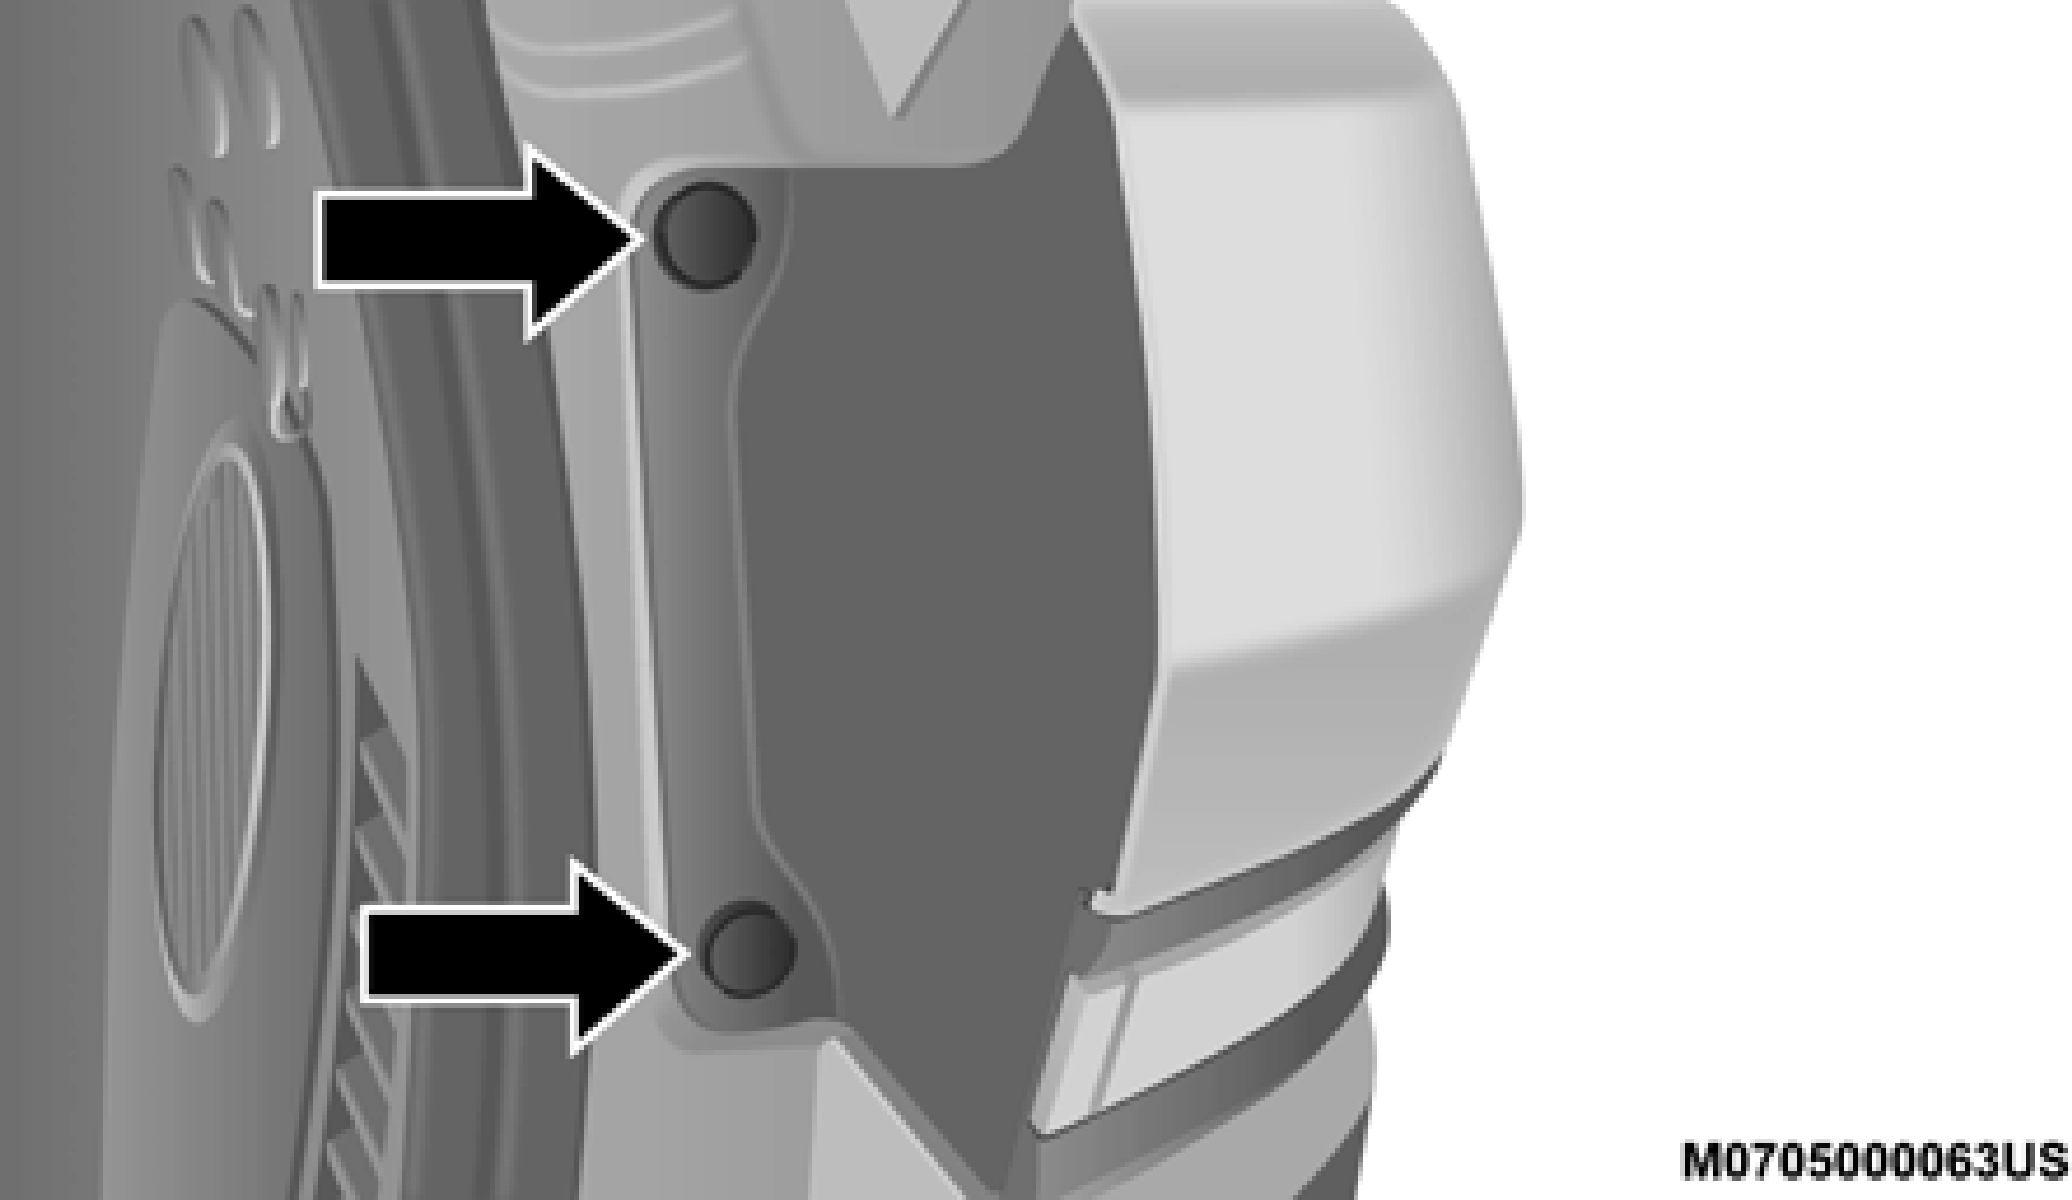
Tail Lamp Push Pins
- Grasp the tail lamp and pull firmly rearward to disengage the lamp from the aperture panel.
- Twist socket counterclockwise and remove from lamp.
- Pull the bulb to remove it from the socket.
- Replace the bulb, reinstall the socket, and reattach the lamp assembly.
Rear Tail, Stop, and Turn Signal Lamps
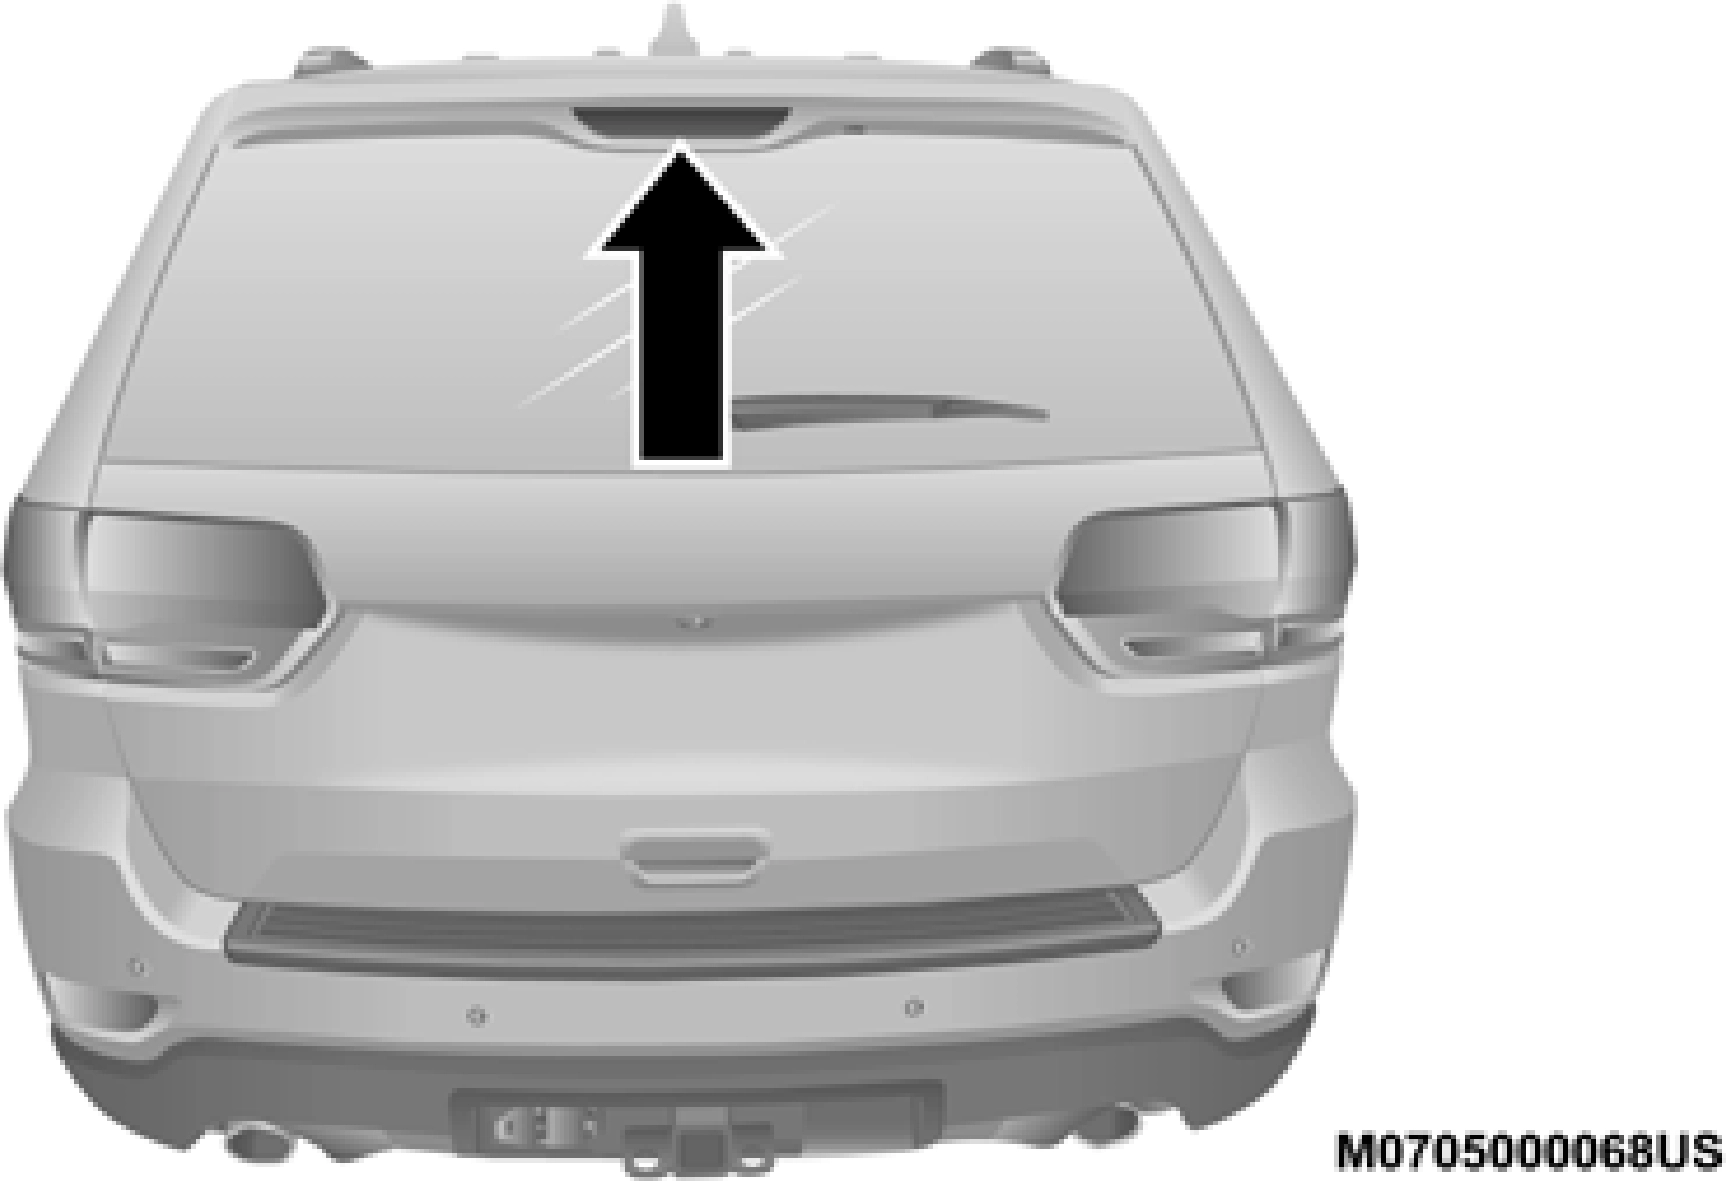
Rear Liftgate Tail Lamps
- Raise the liftgate.
- Use a suitable tool to pry the lower trim from the liftgate.
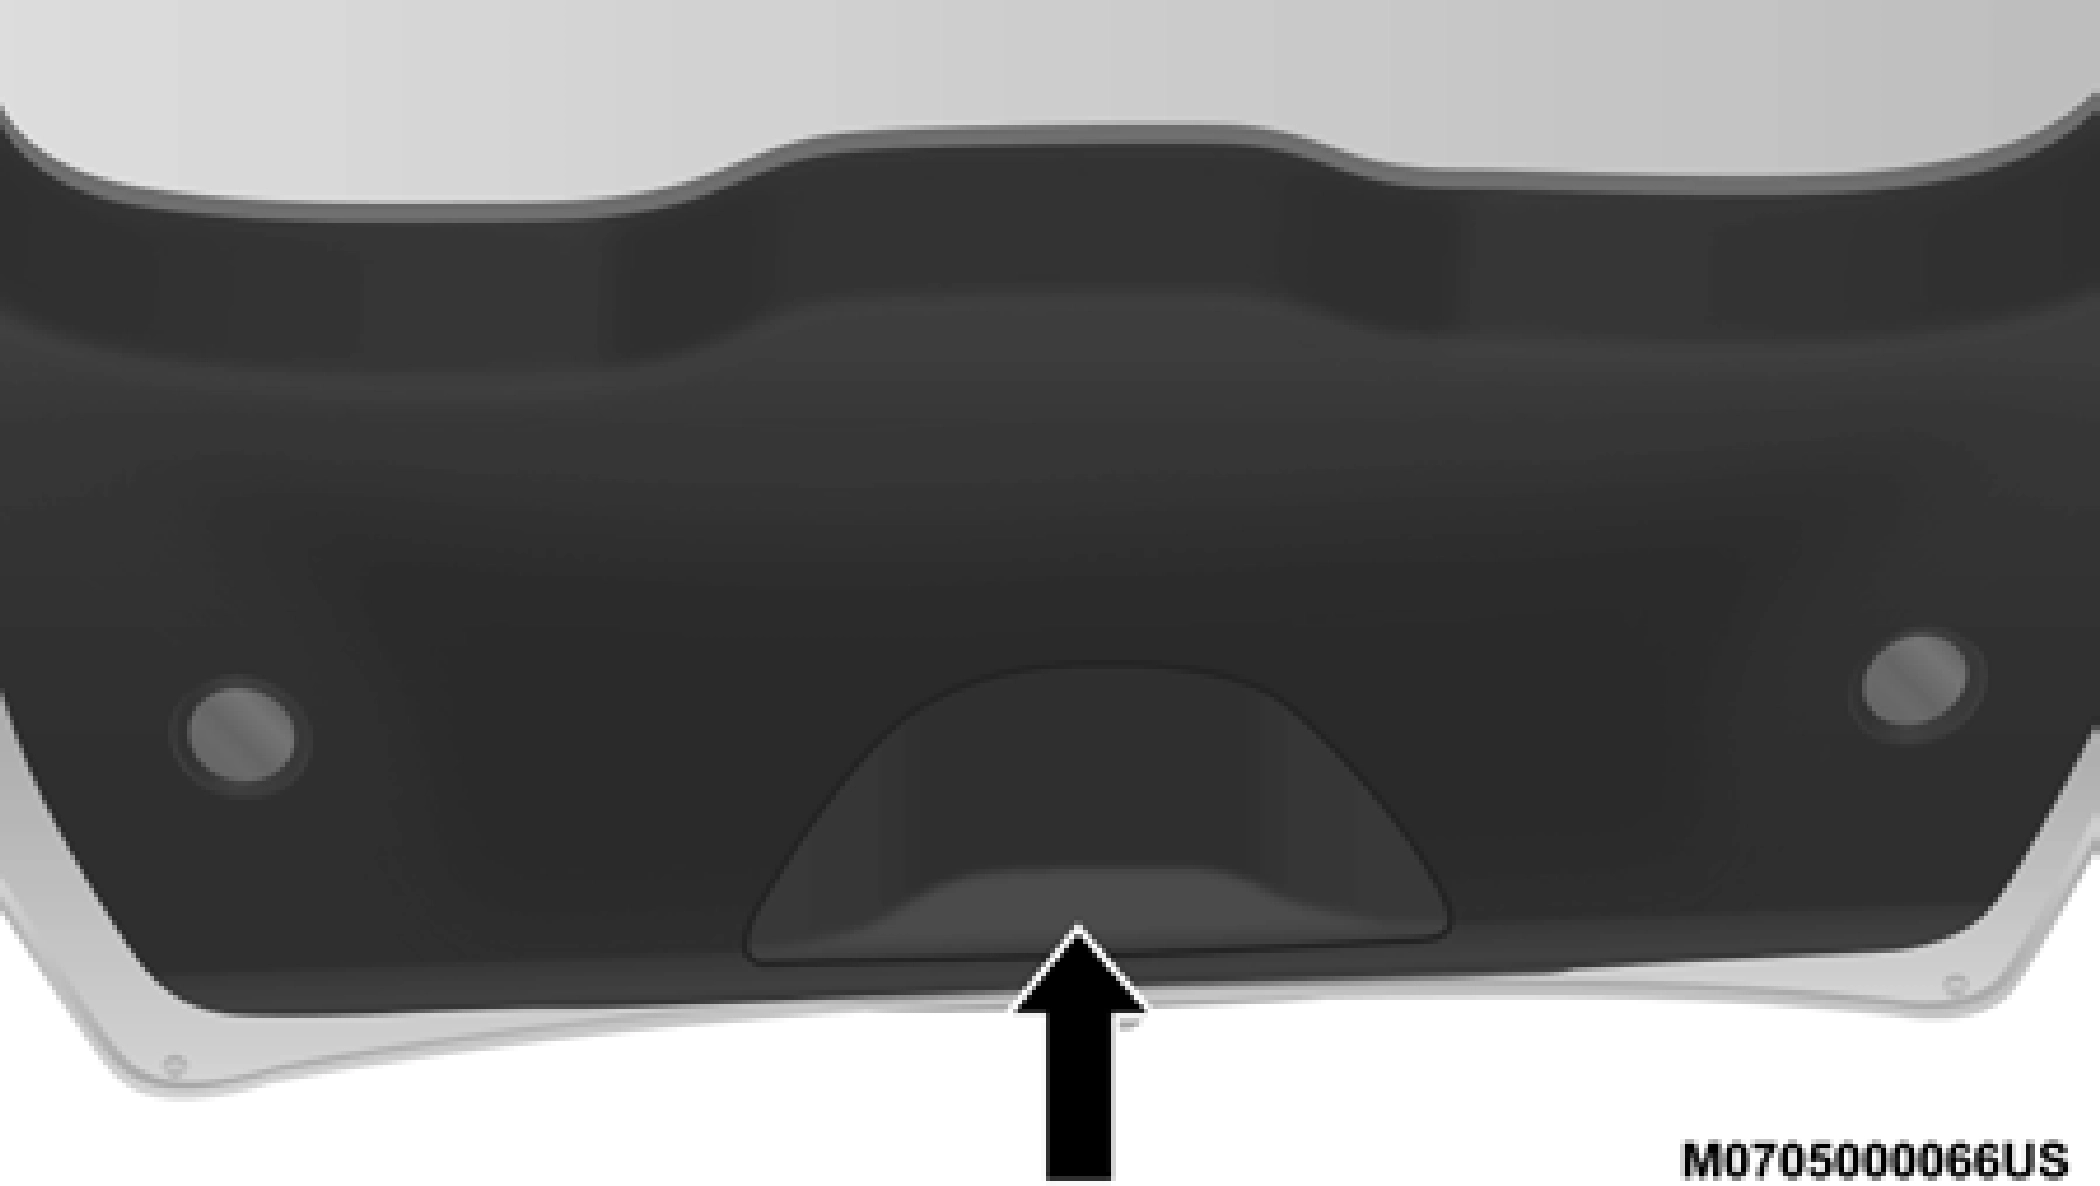
Liftgate Lower Trim
- Continue removing the trim.
- Disconnect the two trim panel lights.
- Tail lamps are now visible. Rotate socket(s) counterclock- wise.
- Remove/replace bulb(s).
- Reinstall the socket(s).
- Reverse process to reinstall the liftgate trim.
The center high mounted stop lamp (CHMSL) is an LED. Service at an authorized dealer.
Center High Mounted Stop Lamp
Download Manual