SEATS
Seats are a part of the Occupant Restraint System of the vehicle.
MANUAL ADJUSTMENT (FRONT SEATS)
— IF EQUIPPED
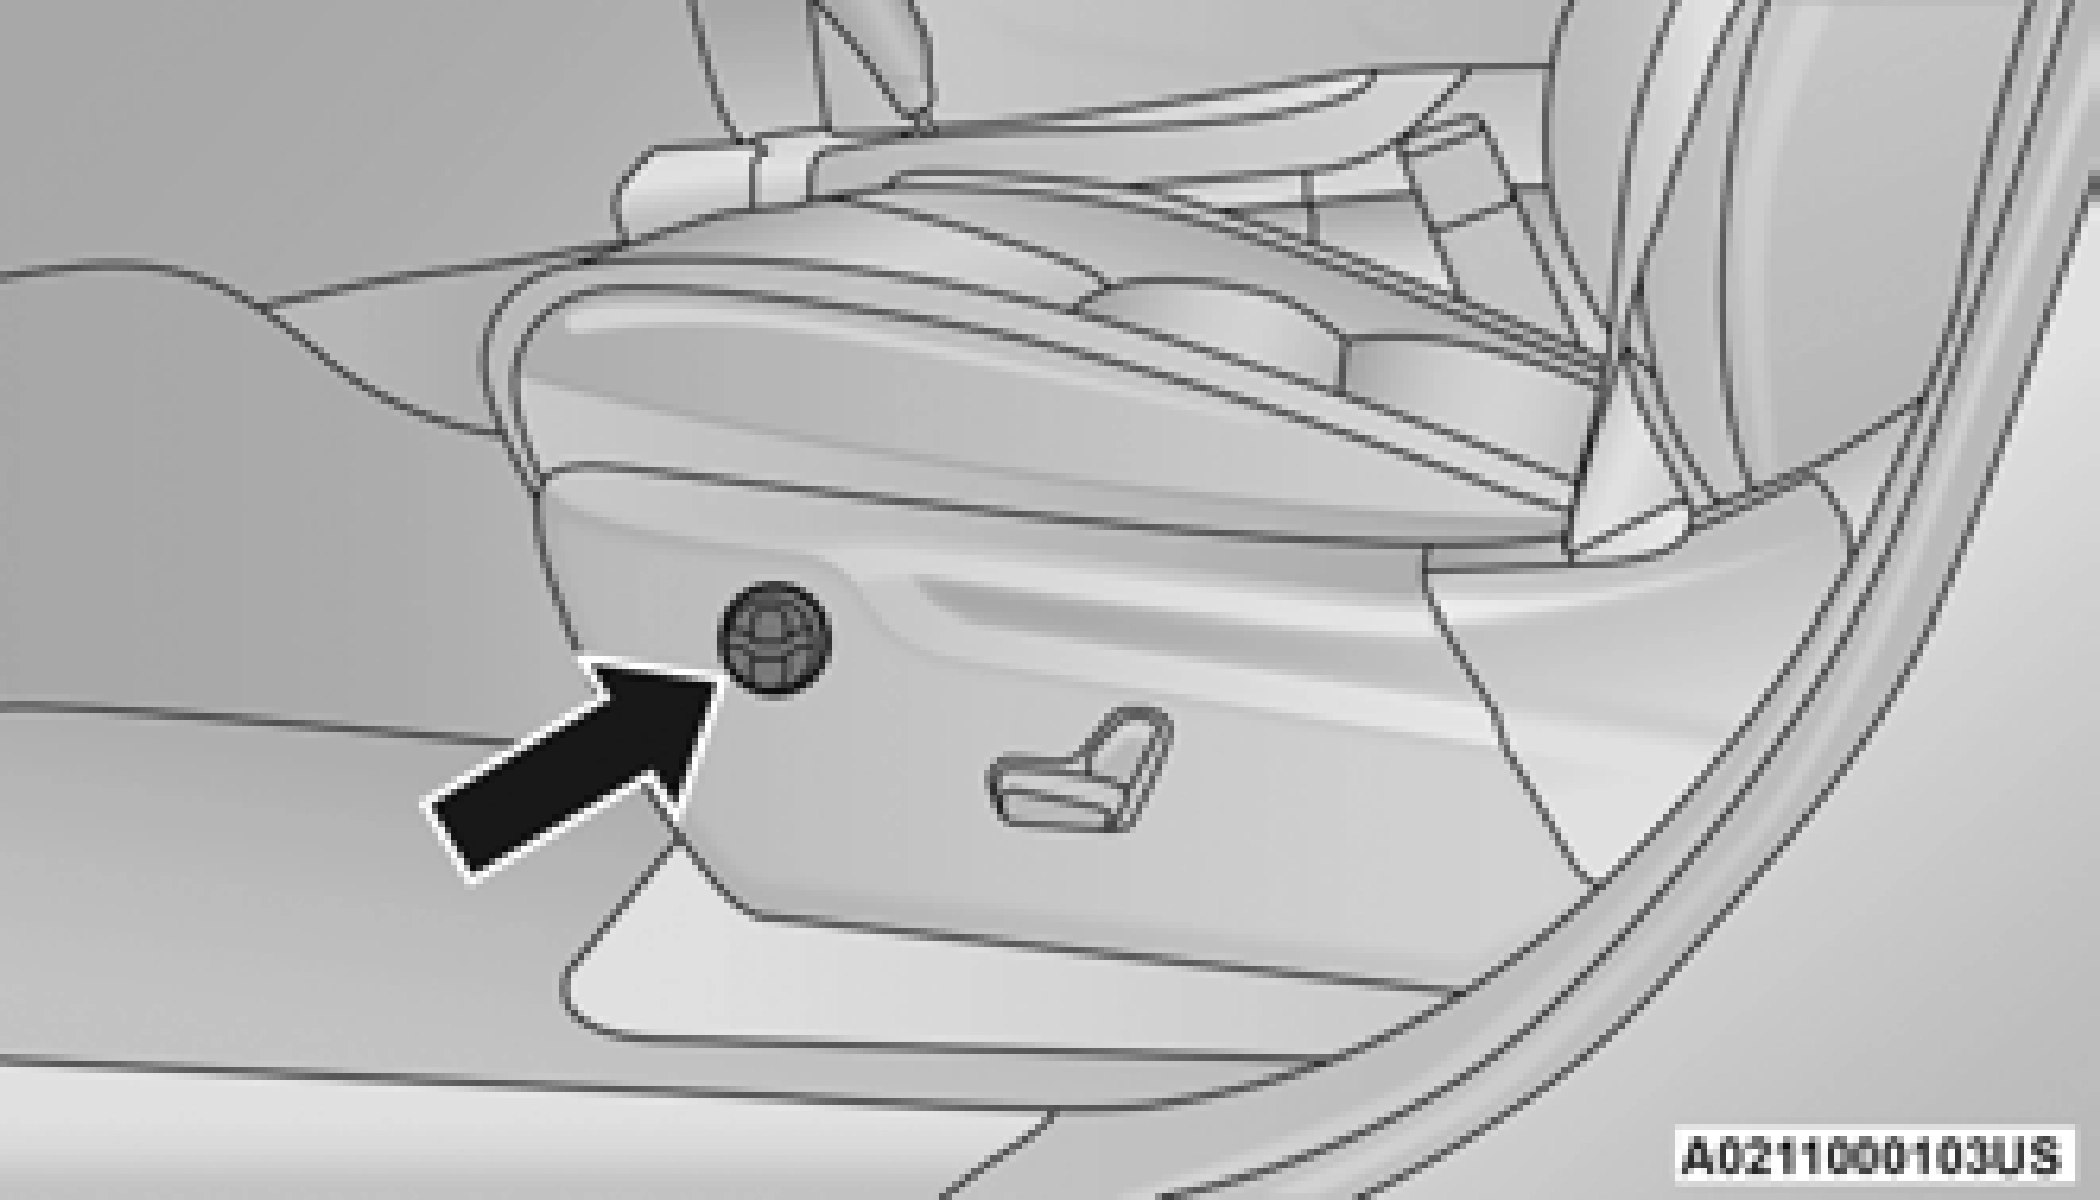
Some models may be equipped with a manual front passenger seat. The seat can be adjusted forward or rearward by using a bar located by the front of the seat cushion, near the floor.
While sitting in the seat, lift up on the bar located under the seat cushion and move the seat forward or rearward. Release the bar once you have reached the desired position. Then, using body pressure, move forward and rearward on the seat to be sure that the seat adjusters have latched.
To adjust the seatback, lift the lever located on the outboard side of the seat, lean back to the desired position and release the lever. To return the seatback, lift the lever, lean forward and release the lever.
MANUAL ADJUSTMENT (REAR SEATS)
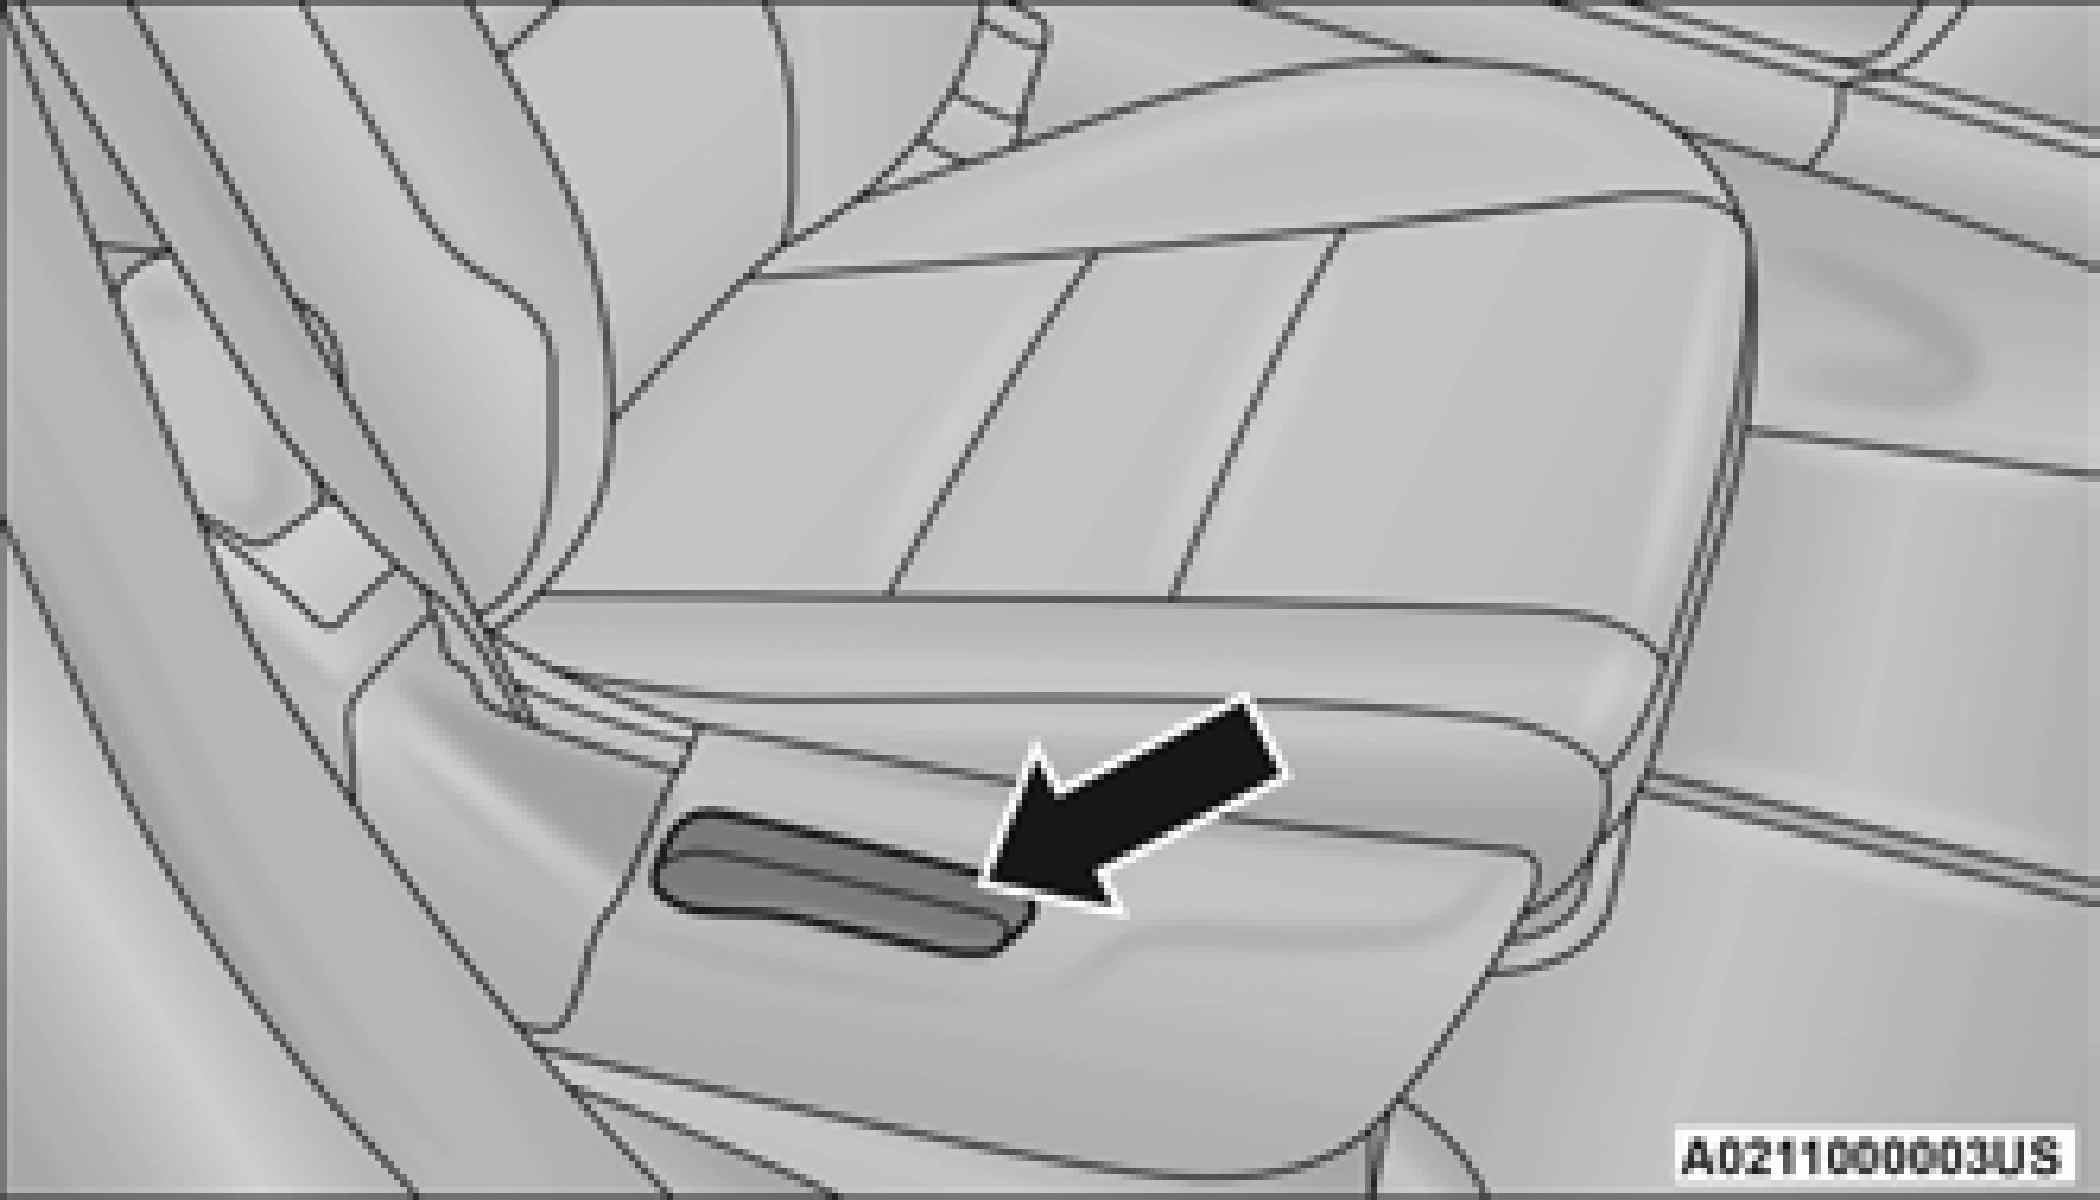
To fold the seatback to the flat load-floor position, lift the recline lever and push the seatback forward. To return to the seating position, raise the seatback and lock it into place.
Reclining Rear Seat
To recline the seatback, lift the lever located on the outboard side of the seat, lean back and release the lever at the desired position. To return the seatback, lift the lever, lean forward and release the lever.

Do not ride with the seatback reclined so that the shoulder belt is no longer resting against your chest. In a collision you could slide under the seat belt, which could result in serious injury or death.
Raise the rear seatback and lock it into place. If interference from the cargo area prevents the seatback from fully locking, you will have difficulty returning the seat to its proper position.
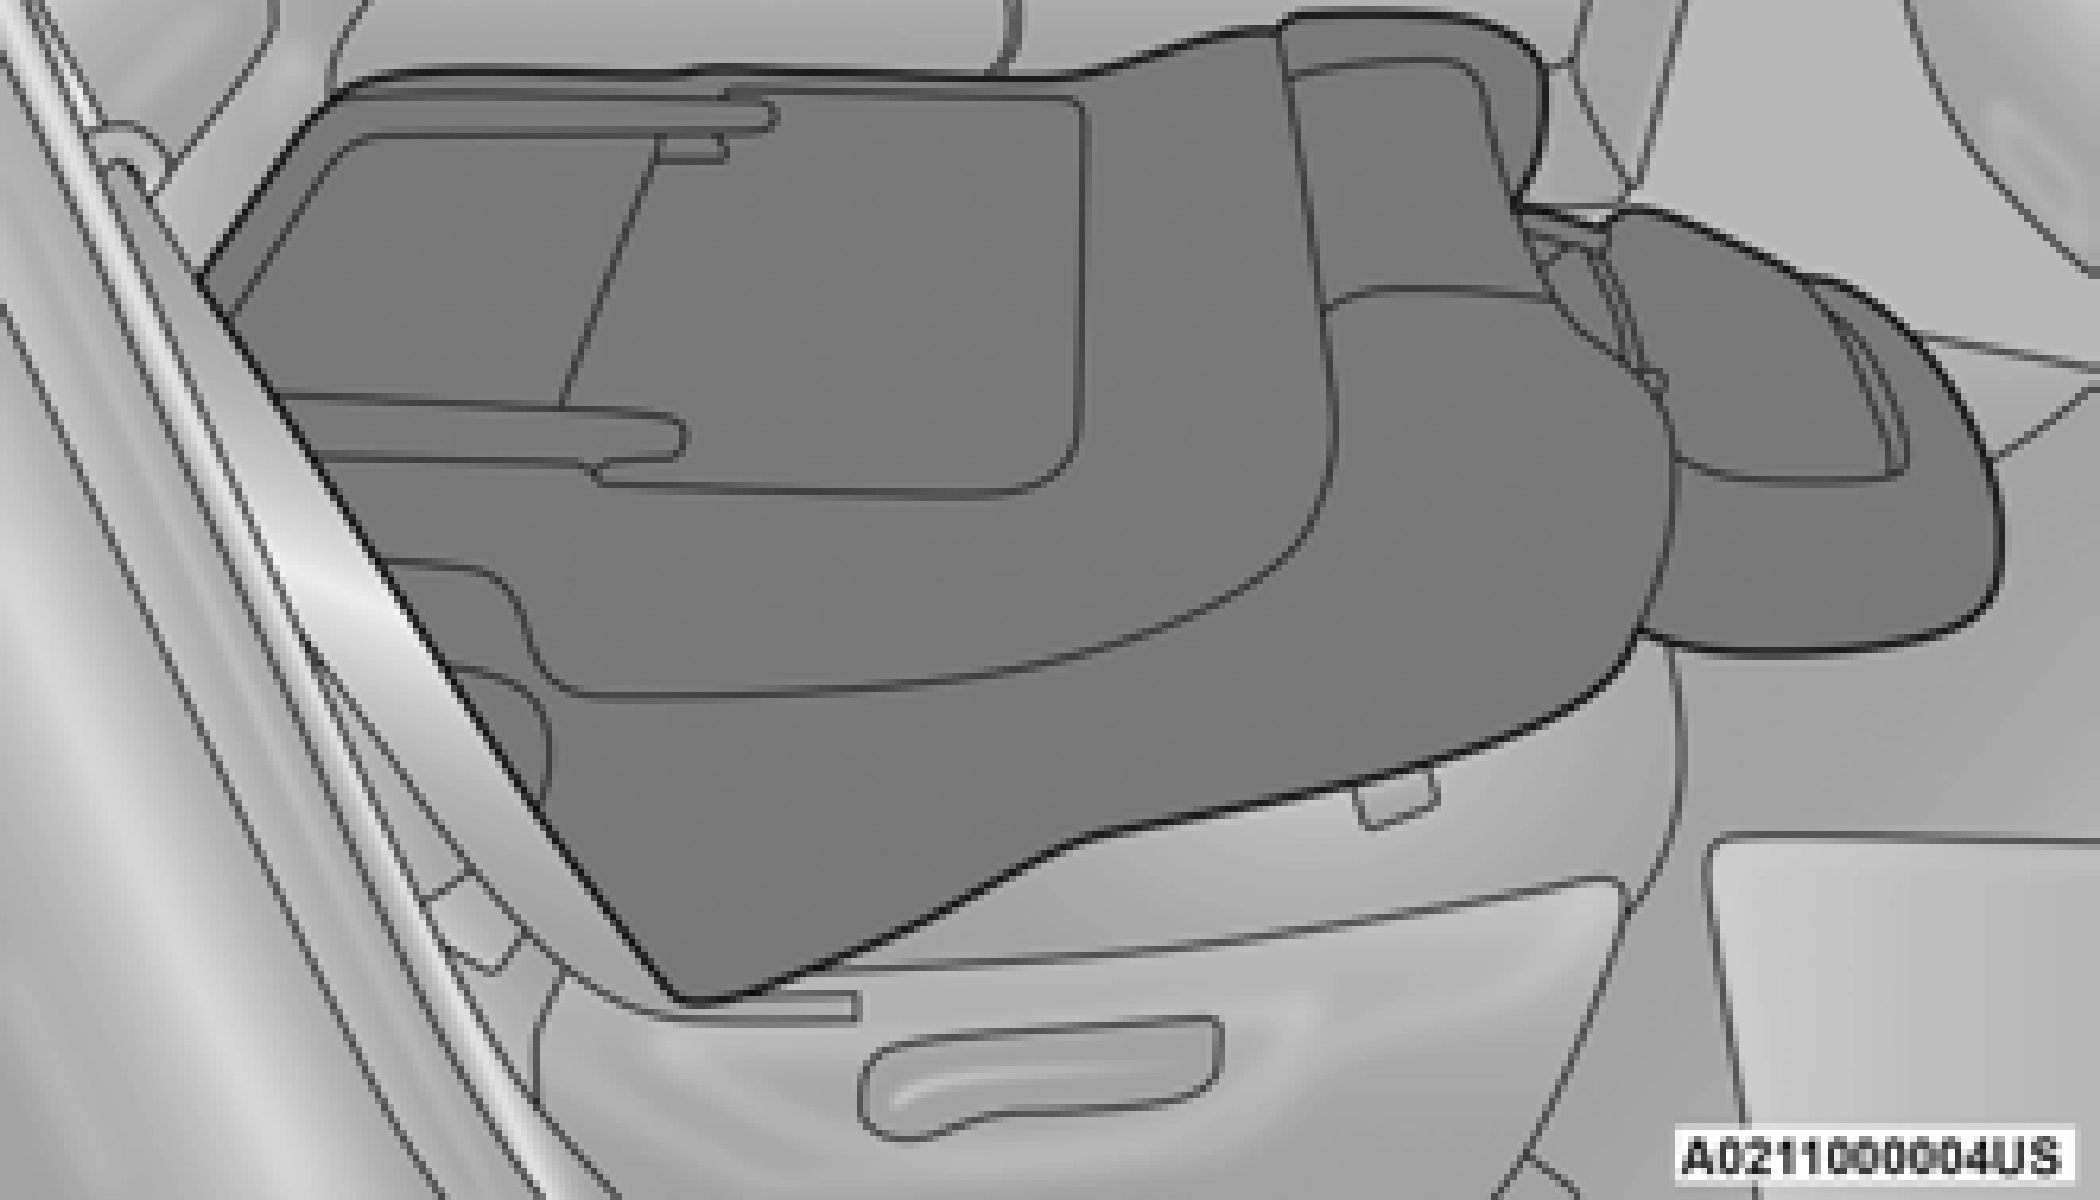
2. Fold the rear seat completely forward.
Either side of the rear seat can be lowered to allow for extended cargo space and still maintain some rear seating room.
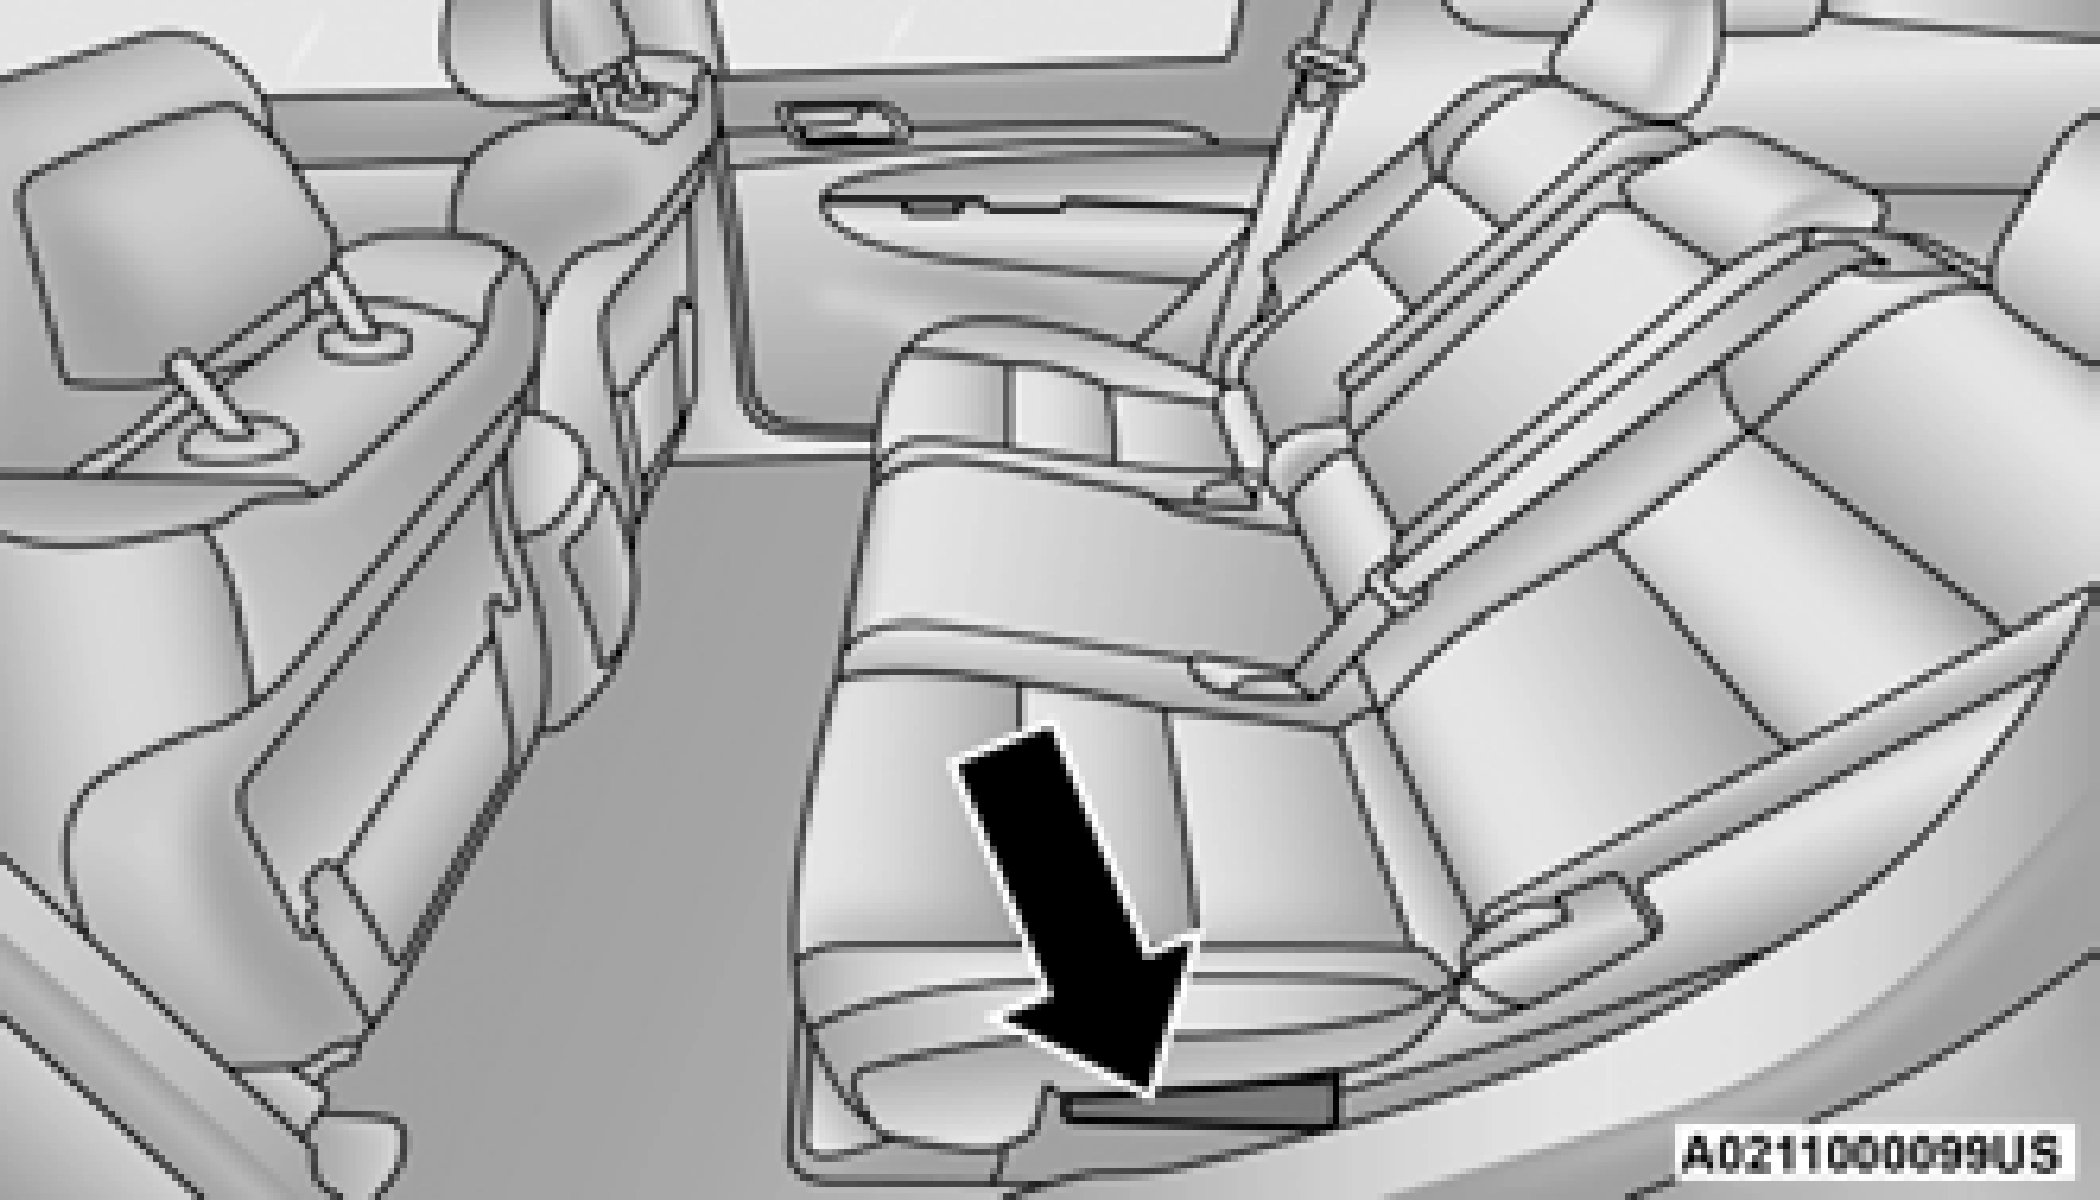
Be sure that the front seats are fully upright and positioned forward. This will allow the rear seat- back to fold down easily.
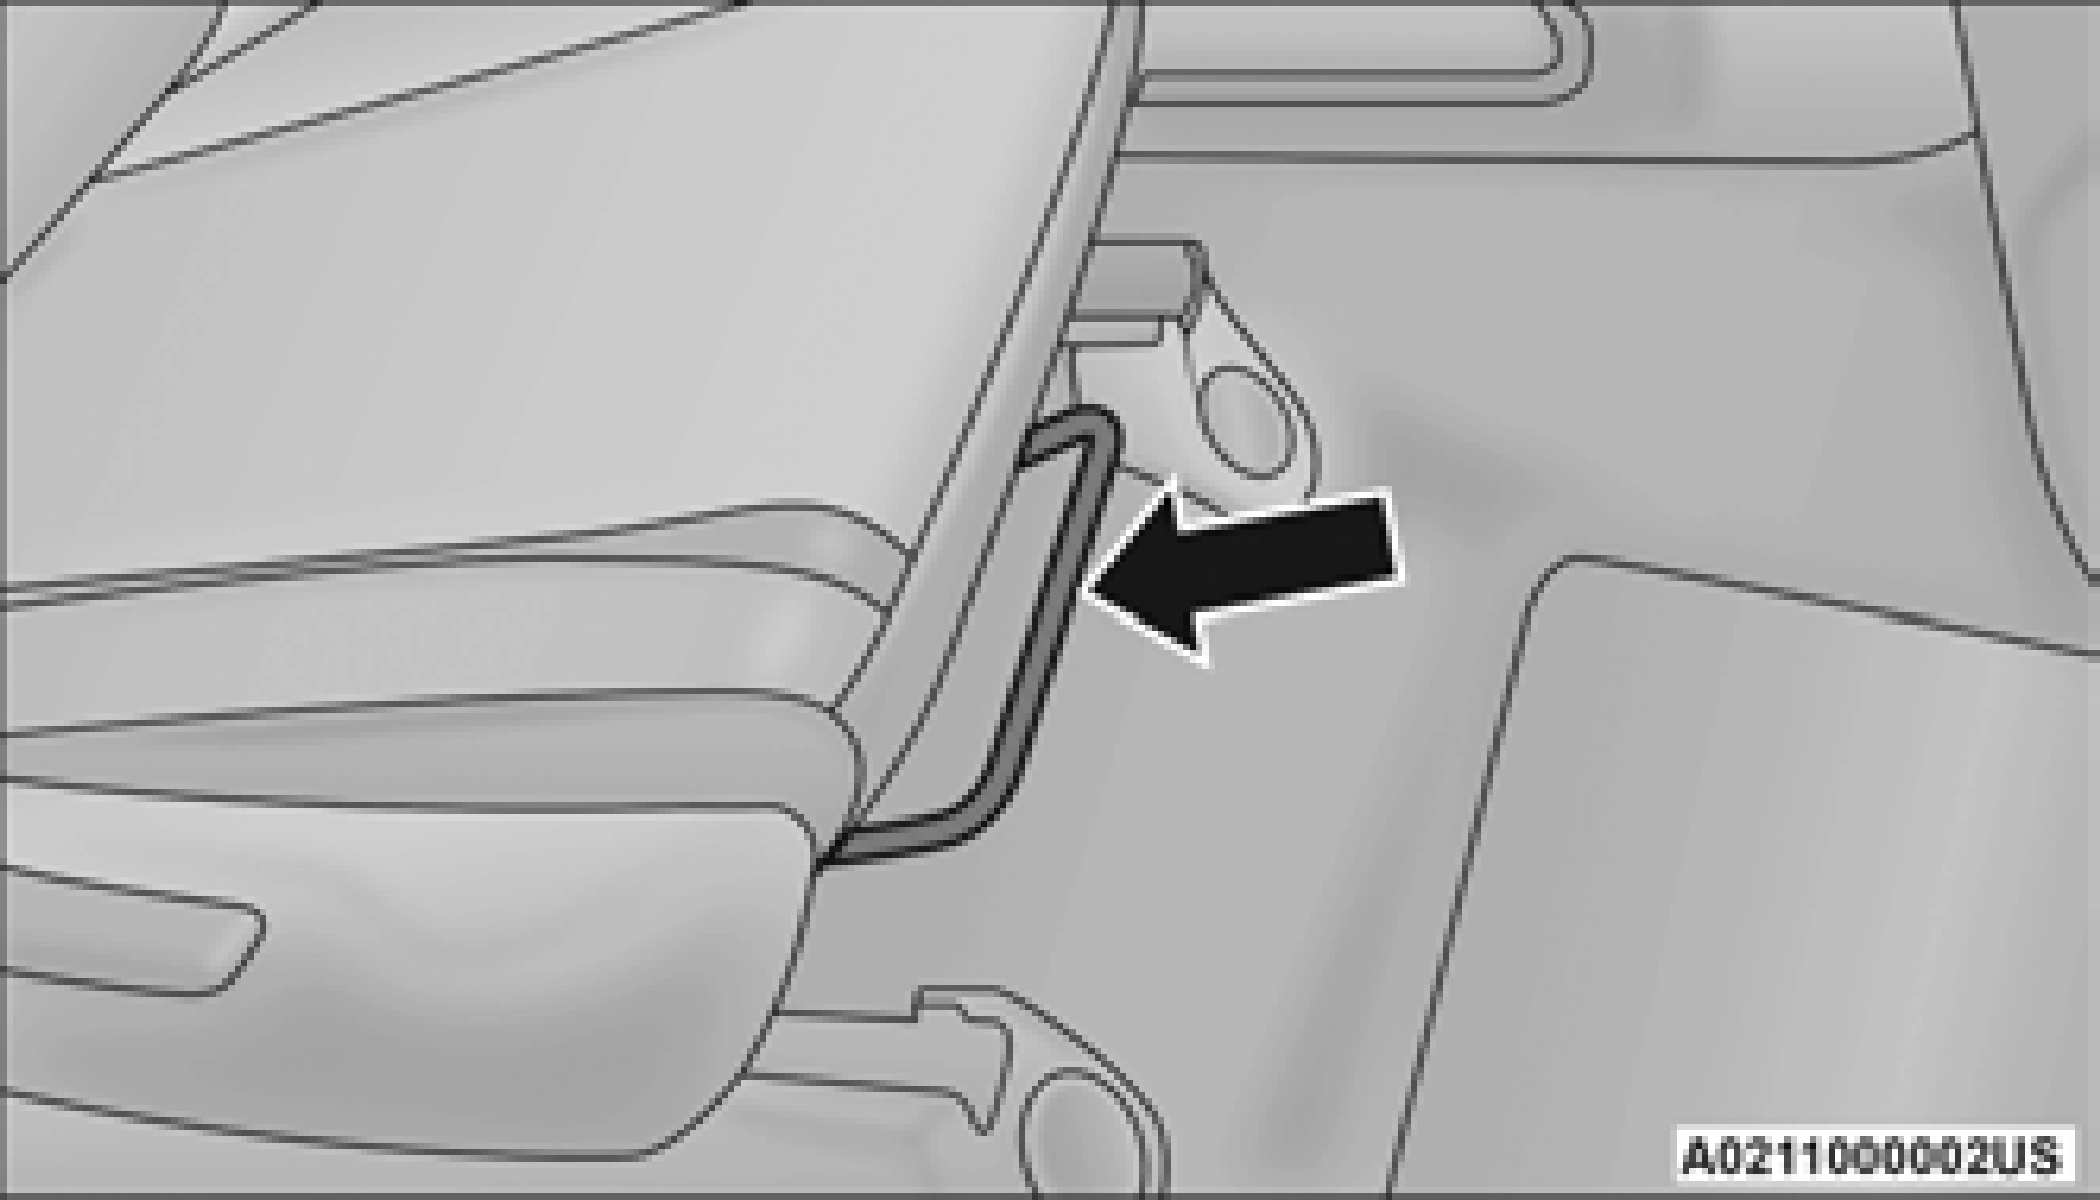
1. Pull upward on the release lever to release the seat.
Rear Seat Folded
Rear Seat Release
You may experience deformation in the seat cushion from the seat belt buckles if the seats are left folded for an extended period of time. This is normal and by simply opening the seats to the open position, over time the seat cushion will return to its normal shape.
POWER ADJUSTMENT (FRONT SEATS) — IF EQUIPPED
Some models may be equipped with eight-way power driver and front passenger seats. The power seat switches are located on the outboard side of the seat. There are two switches that control the movement of the seat cushion and the seatback.
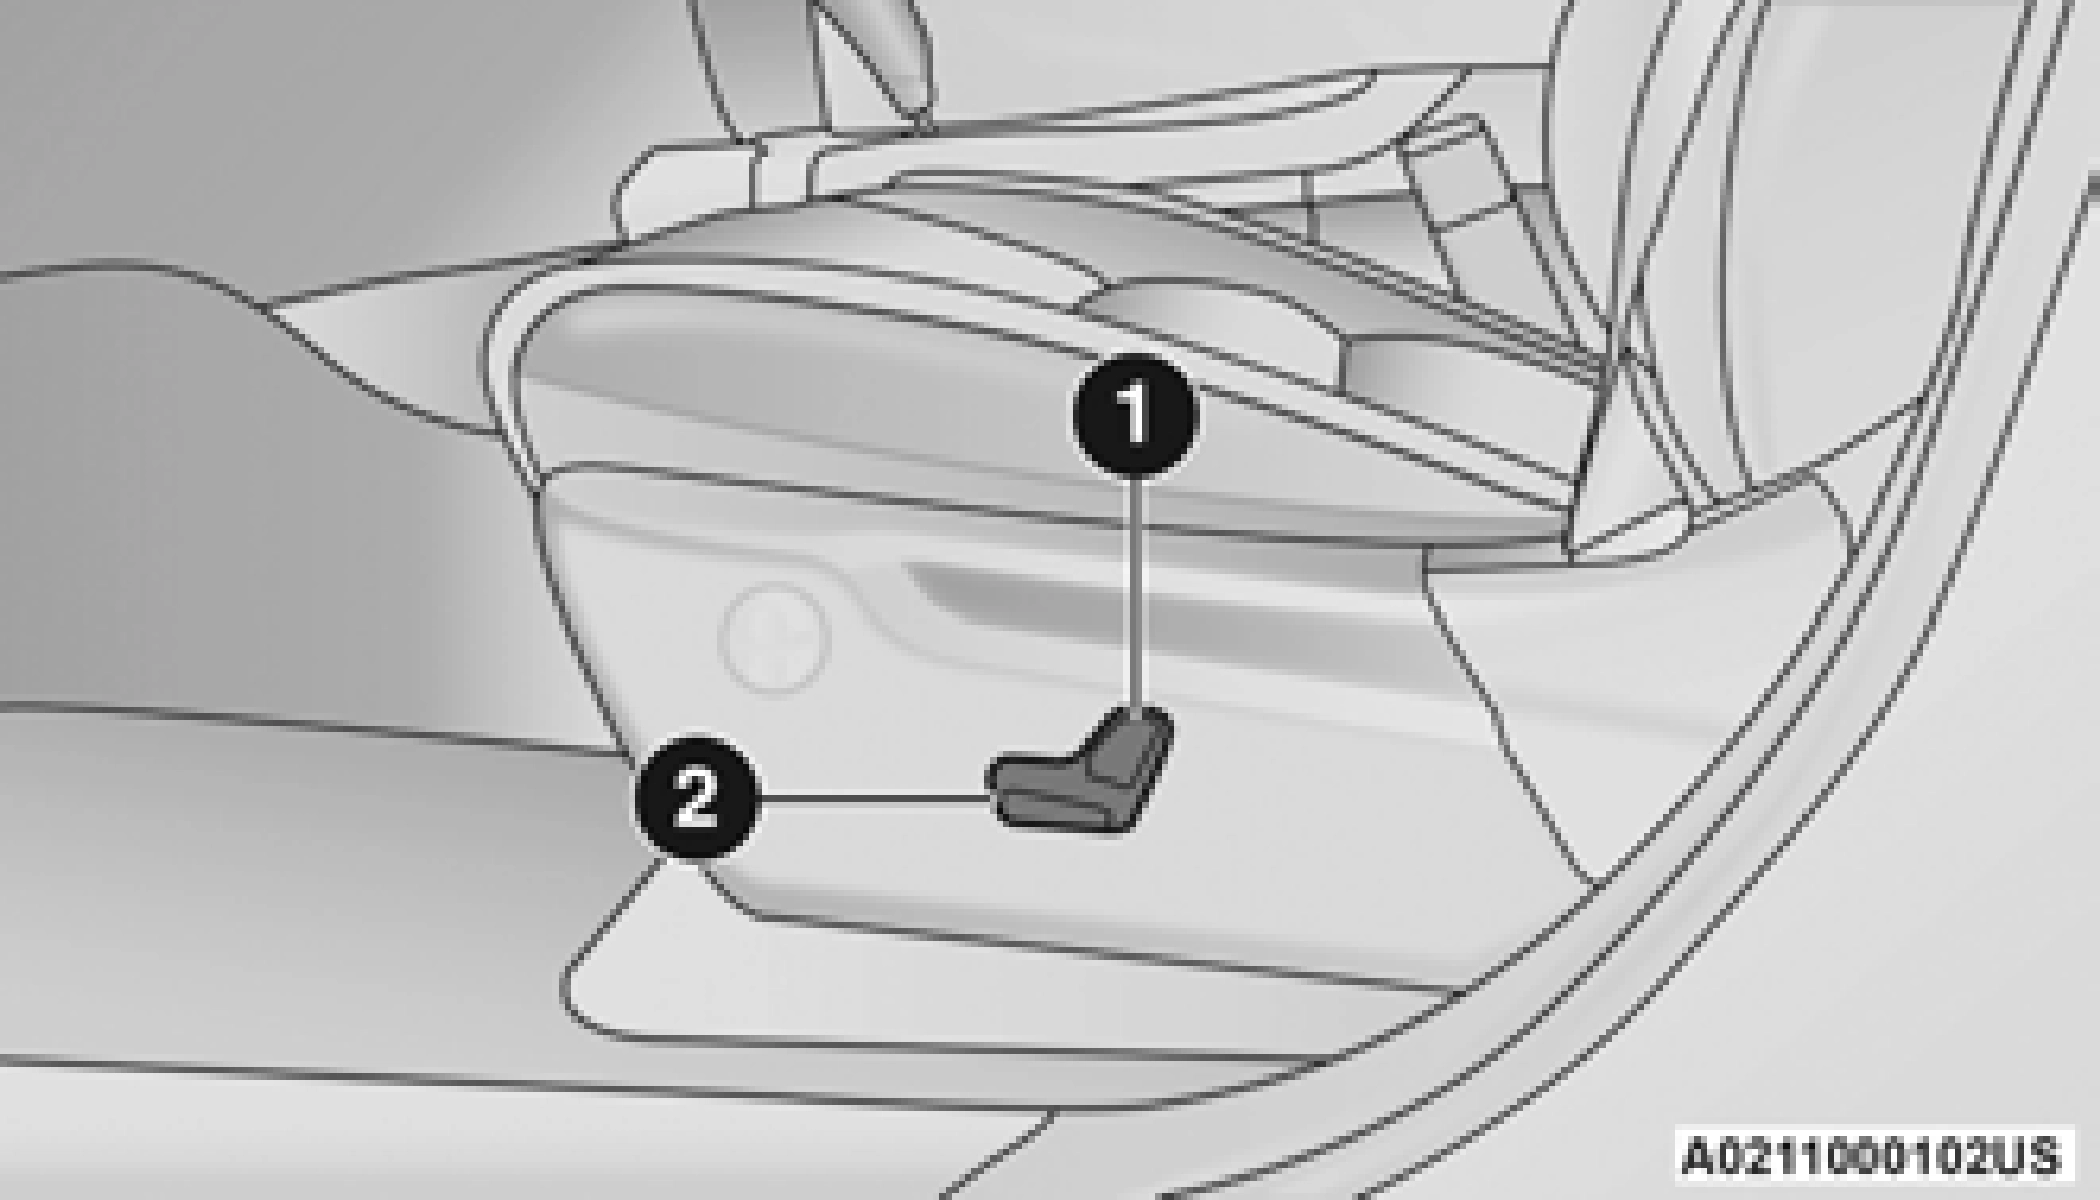
1 — Seatback Switch 2 — Seat Switch
The seat can be adjusted both forward and rearward by using the power seat switch. The seat will move in the direction of the switch. Release the switch when the desired position has been reached.
The height of the seats can be adjusted up or down by using the power seat switch. The seat will move in the direction of the switch. Release the switch when the desired position has been reached.
The angle of the seat cushion can be adjusted up or down using the power seat switch. The front of the seat cushion will move in the direction of the switch. Release the switch when the desired position has been reached.
The angle of the seatback can be adjusted forward or rearward by using the power seat switch. The seat will move in the direction of the switch. Release the switch when the desired position is reached.
Vehicles equipped with power driver or passenger seats may also be equipped with power lumbar. The power lumbar switch is located on the outboard side of the power seat. Push the switch forward to increase the lumbar support. Push the switch rearward to decrease
the lumbar support. Pushing upward or downward on the switch will raise and lower the position of the support.
Easy Entry/Exit Seat — If Equipped
This feature provides automatic driver seat positioning to enhance driver mobility when entering and exiting the vehicle.
The distance the driver seat moves depends on where you have the driver seat positioned when you place the vehicle’s ignition in the OFF position.
2.4 inches (60 mm) rearward if the driver seat position is greater than or equal to
2.7 inches (67.7 mm) forward of the rear stop. The seat will return to its previously set position when you place the vehicle’s ignition in the ACC or RUN position.
0.9 of an inch (22.7 mm) forward of the rear stop. At this position, there is no benefit to the driver by moving the seat for Easy Exit or Easy Entry.
When enabled in Uconnect Settings, Easy Entry and Easy Exit positions are stored in each memory setting profile page 30.
The Easy Entry/Exit feature is enabled or disabled through the programmable features in the Uconnect system page 171.
HEATED SEATS — IF EQUIPPED
For information on use with the Remote Start system, see page 21.
The front heated seats control buttons are located within the Uconnect system. You can gain access to the control buttons through the climate screen and the controls screen.
You can choose from HI, LO, or OFF heat settings. The indicator arrows in the touchscreen buttons indicate the level of heat in use. Two indicator arrows will illuminate for HI, and one for LO. Turning the heating elements off will return the user to the radio screen.
 once to turn the HI setting on. a second time to turn the LO setting on. a third time to turn the heating elements off.
On some models, the two rear outboard seats may be equipped with heated seats. There are two heated seat switches that allow the rear passengers to operate the seats independently. The heated seat switches for each heater are located on the rear of the center console.
You can choose from HI, LO, or OFF heat settings. Indicator lights in each switch indicate the level of heat in use. Two indicator lights will illuminate for HI, one for LO and none for OFF.
once to turn the HI setting on. a second time to turn the LO setting on. a third time to turn the heating elements off.The level of heat selected will stay on until the operator changes it.
FRONT VENTILATED SEATS — IF EQUIPPED
The ventilated seats are equipped with fans that can be controlled through the climate and
control screen in the Uconnect system. The fans 2
operate at two speeds, HI and LO.
 once to choose HI. a second time to choose LO. a third time to turn the ventilated seat off.
The engine must be running for the ventilated seats to operate.
For information on use with the Remote Start system, see page 21.
HEAD RESTRAINTS
Head restraints are designed to reduce the risk of injury by restricting head movement in the event of a rear impact. Head restraints should be adjusted so that the top of the head restraint is located above the top of your ear.
Active Head Restraints (AHR) are passive, deployable components, and vehicles with this equipment cannot be readily identified by any markings, only through visual inspection of the
head restraint. The AHRs will be split in two halves, with the front half being soft foam and trim, the back half being decorative plastic.
When AHRs deploy during a rear impact, the front half of the head restraint extends forward to reduce the gap between the back of the occupant’s head and the AHR. This system is design to reduce the risk of injury to the driver or front passenger in certain types of rear impacts. For more information, see
page 275.
To raise the head restraint, pull upward on the head restraint. To lower the head restraint, push the adjustment button, located at the base of the head restraint, and push downward on the head restraint.
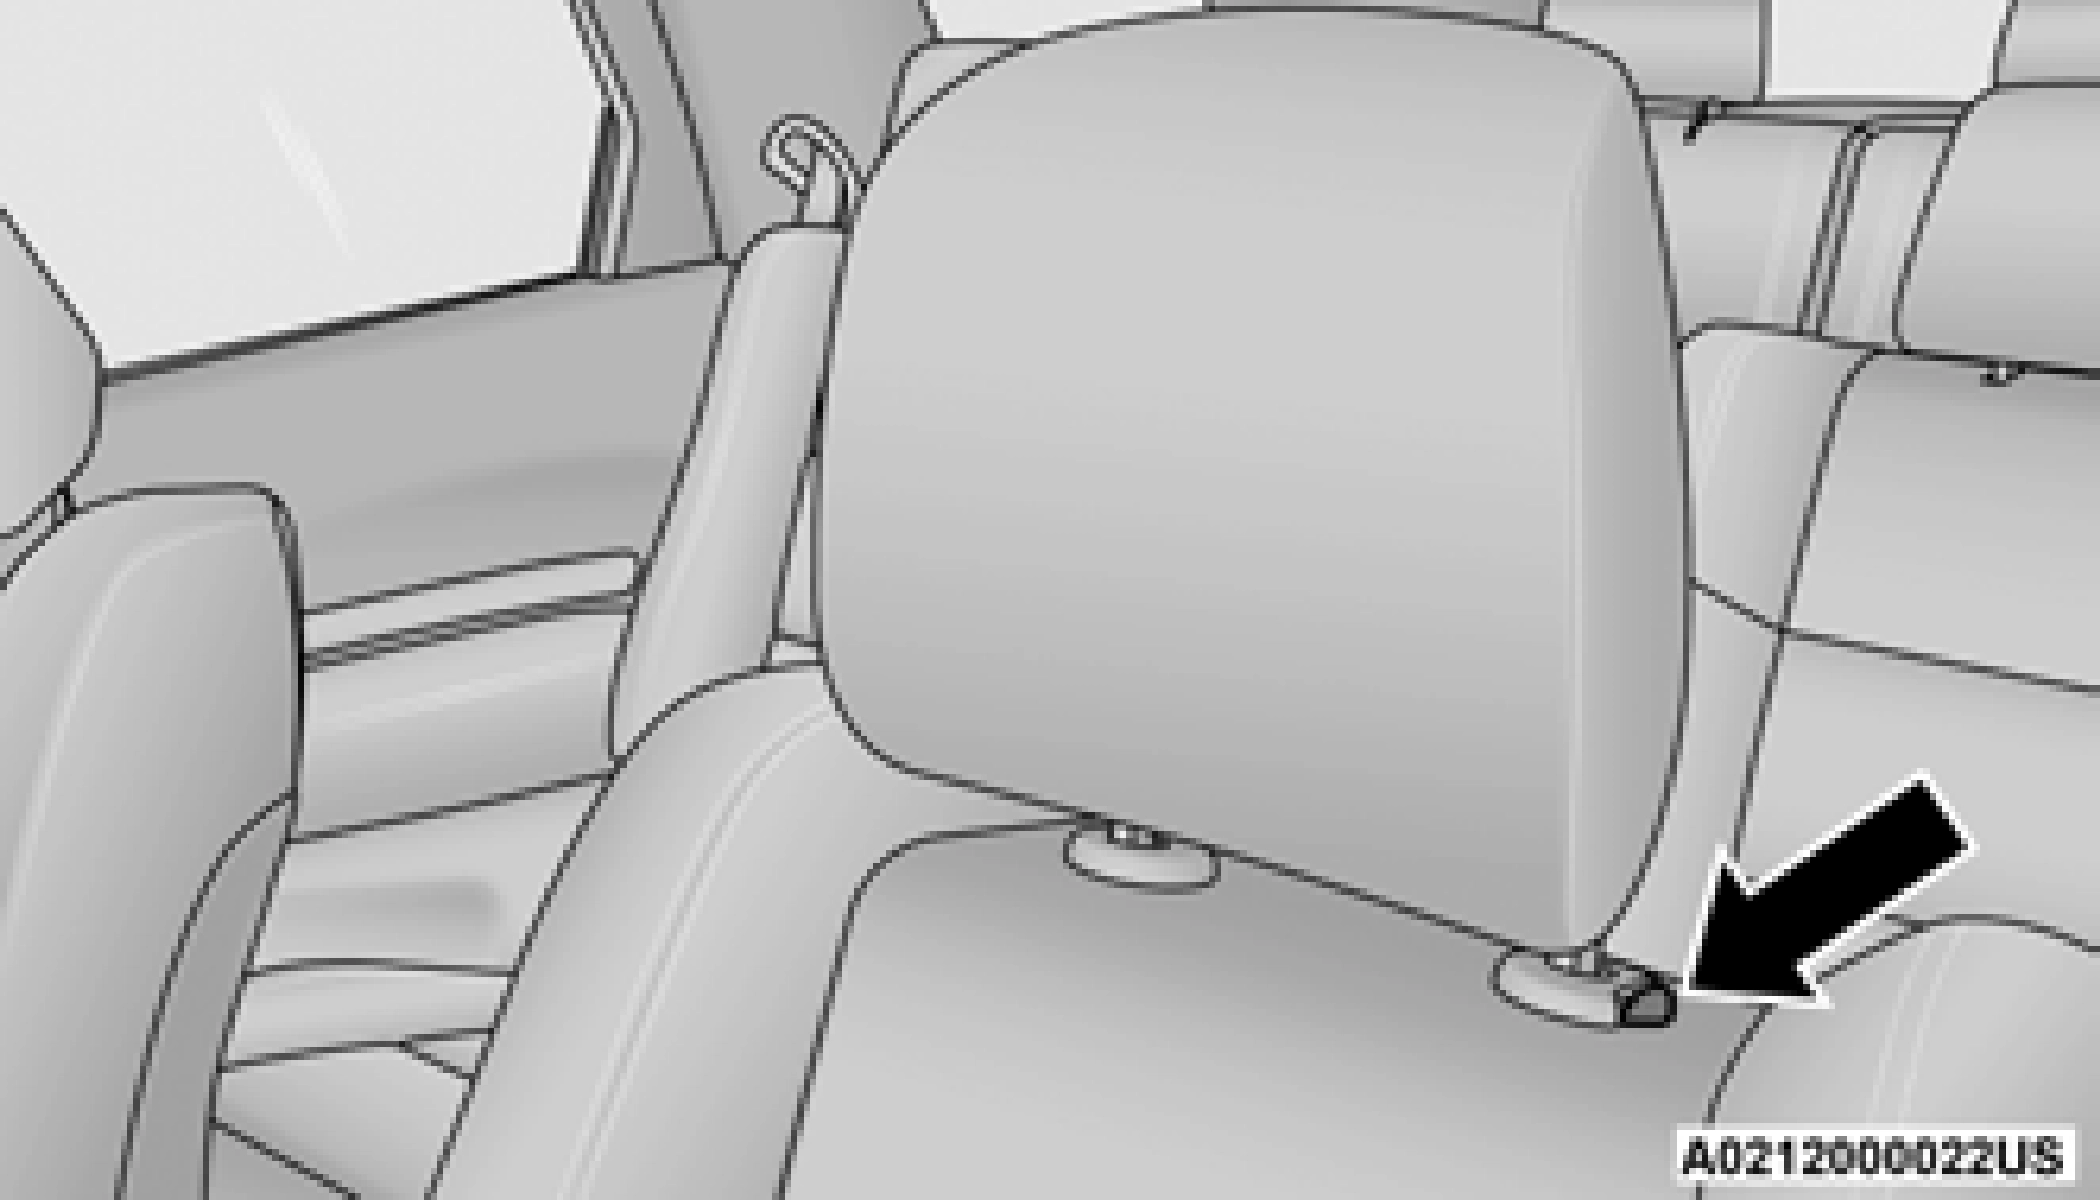
For comfort, the Active Head Restraints can be tilted forward and rearward. To tilt the head restraint closer to the back of your head, pull forward on the bottom of the head restraint. Push rearward on the bottom of the head restraint to move the head restraint away from your head.
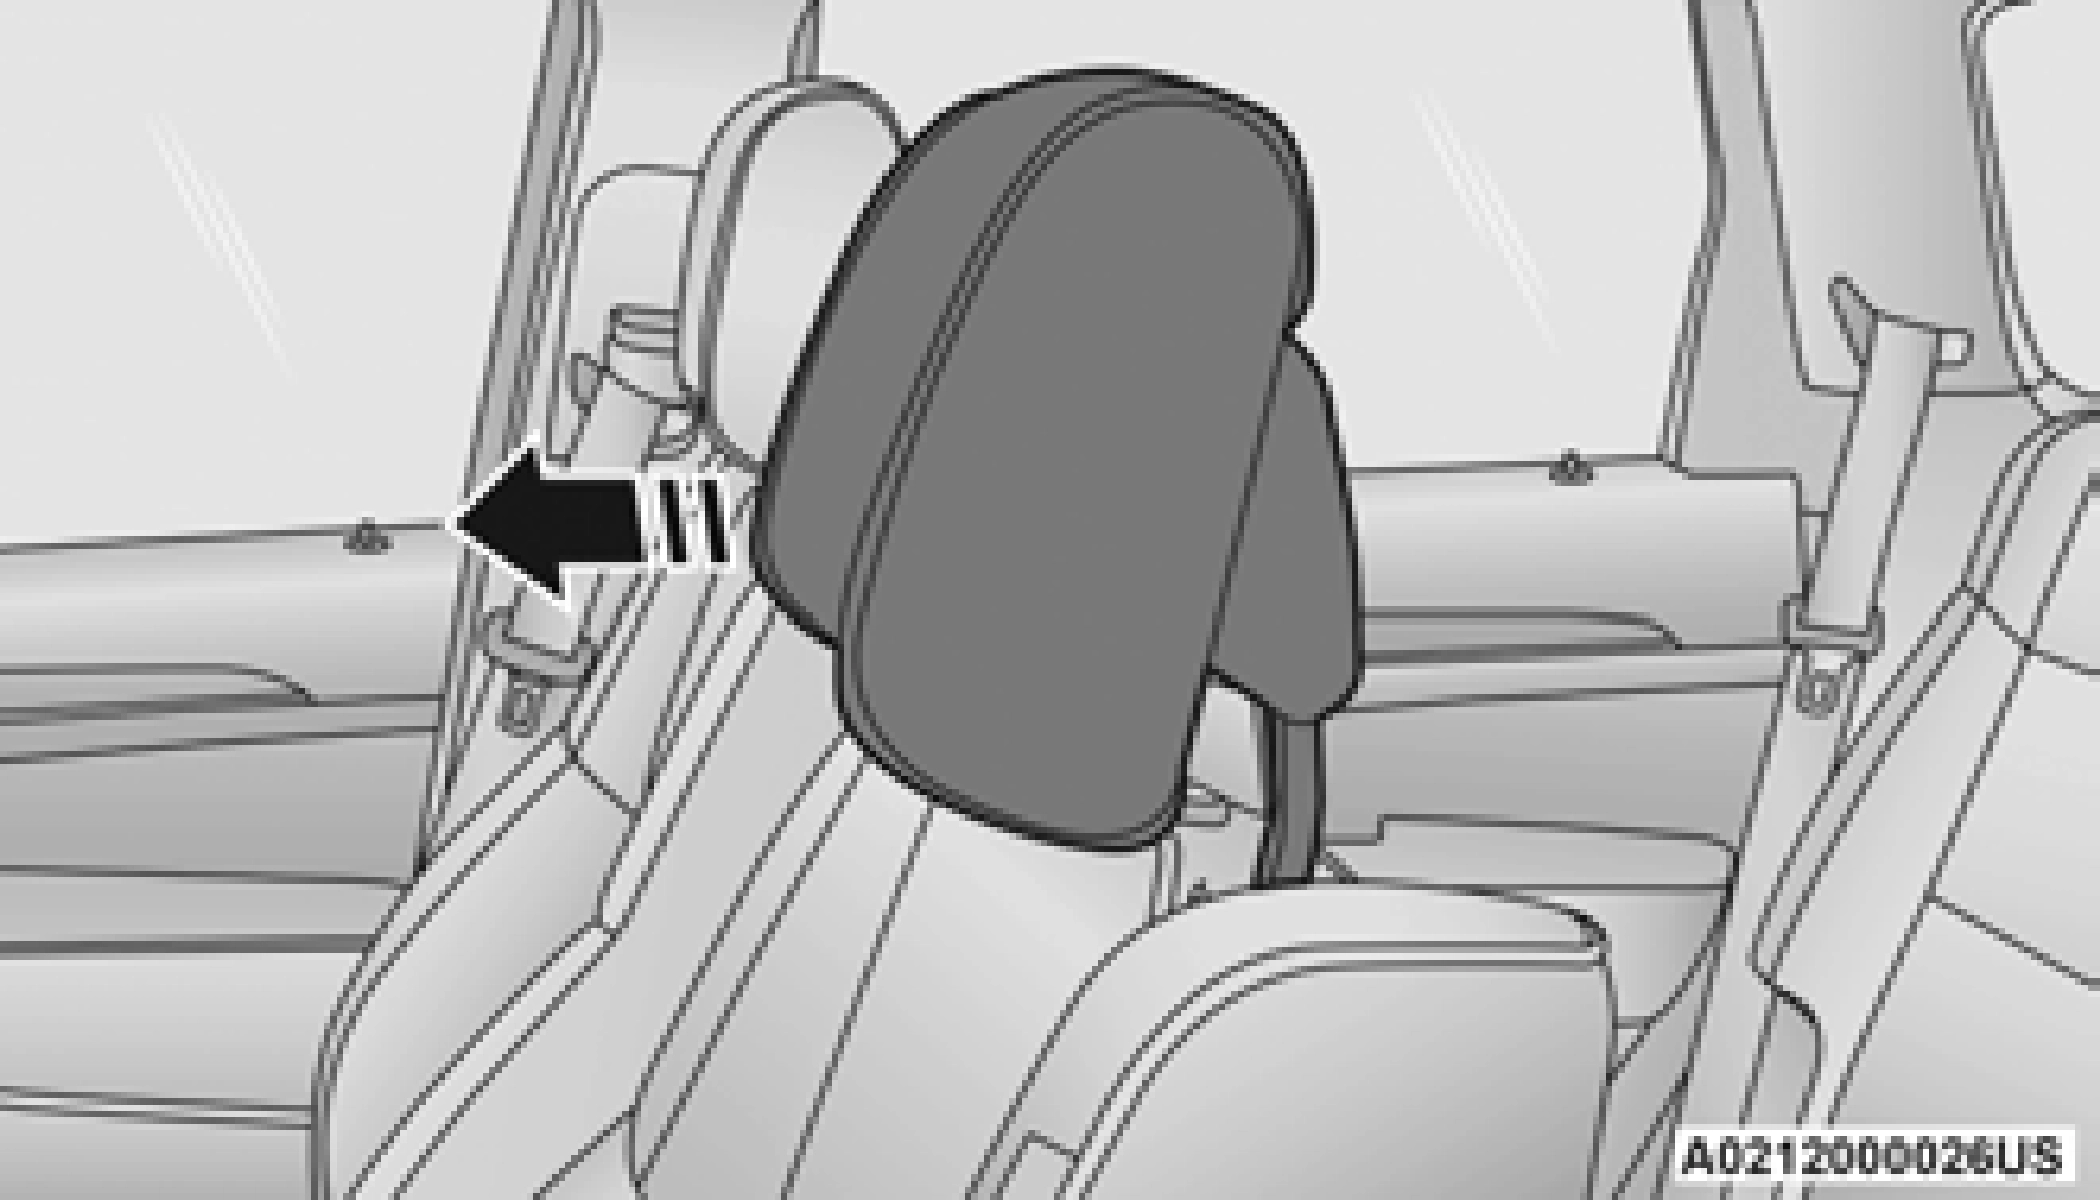
Active Head Restraint (Tilted)
NOTE:
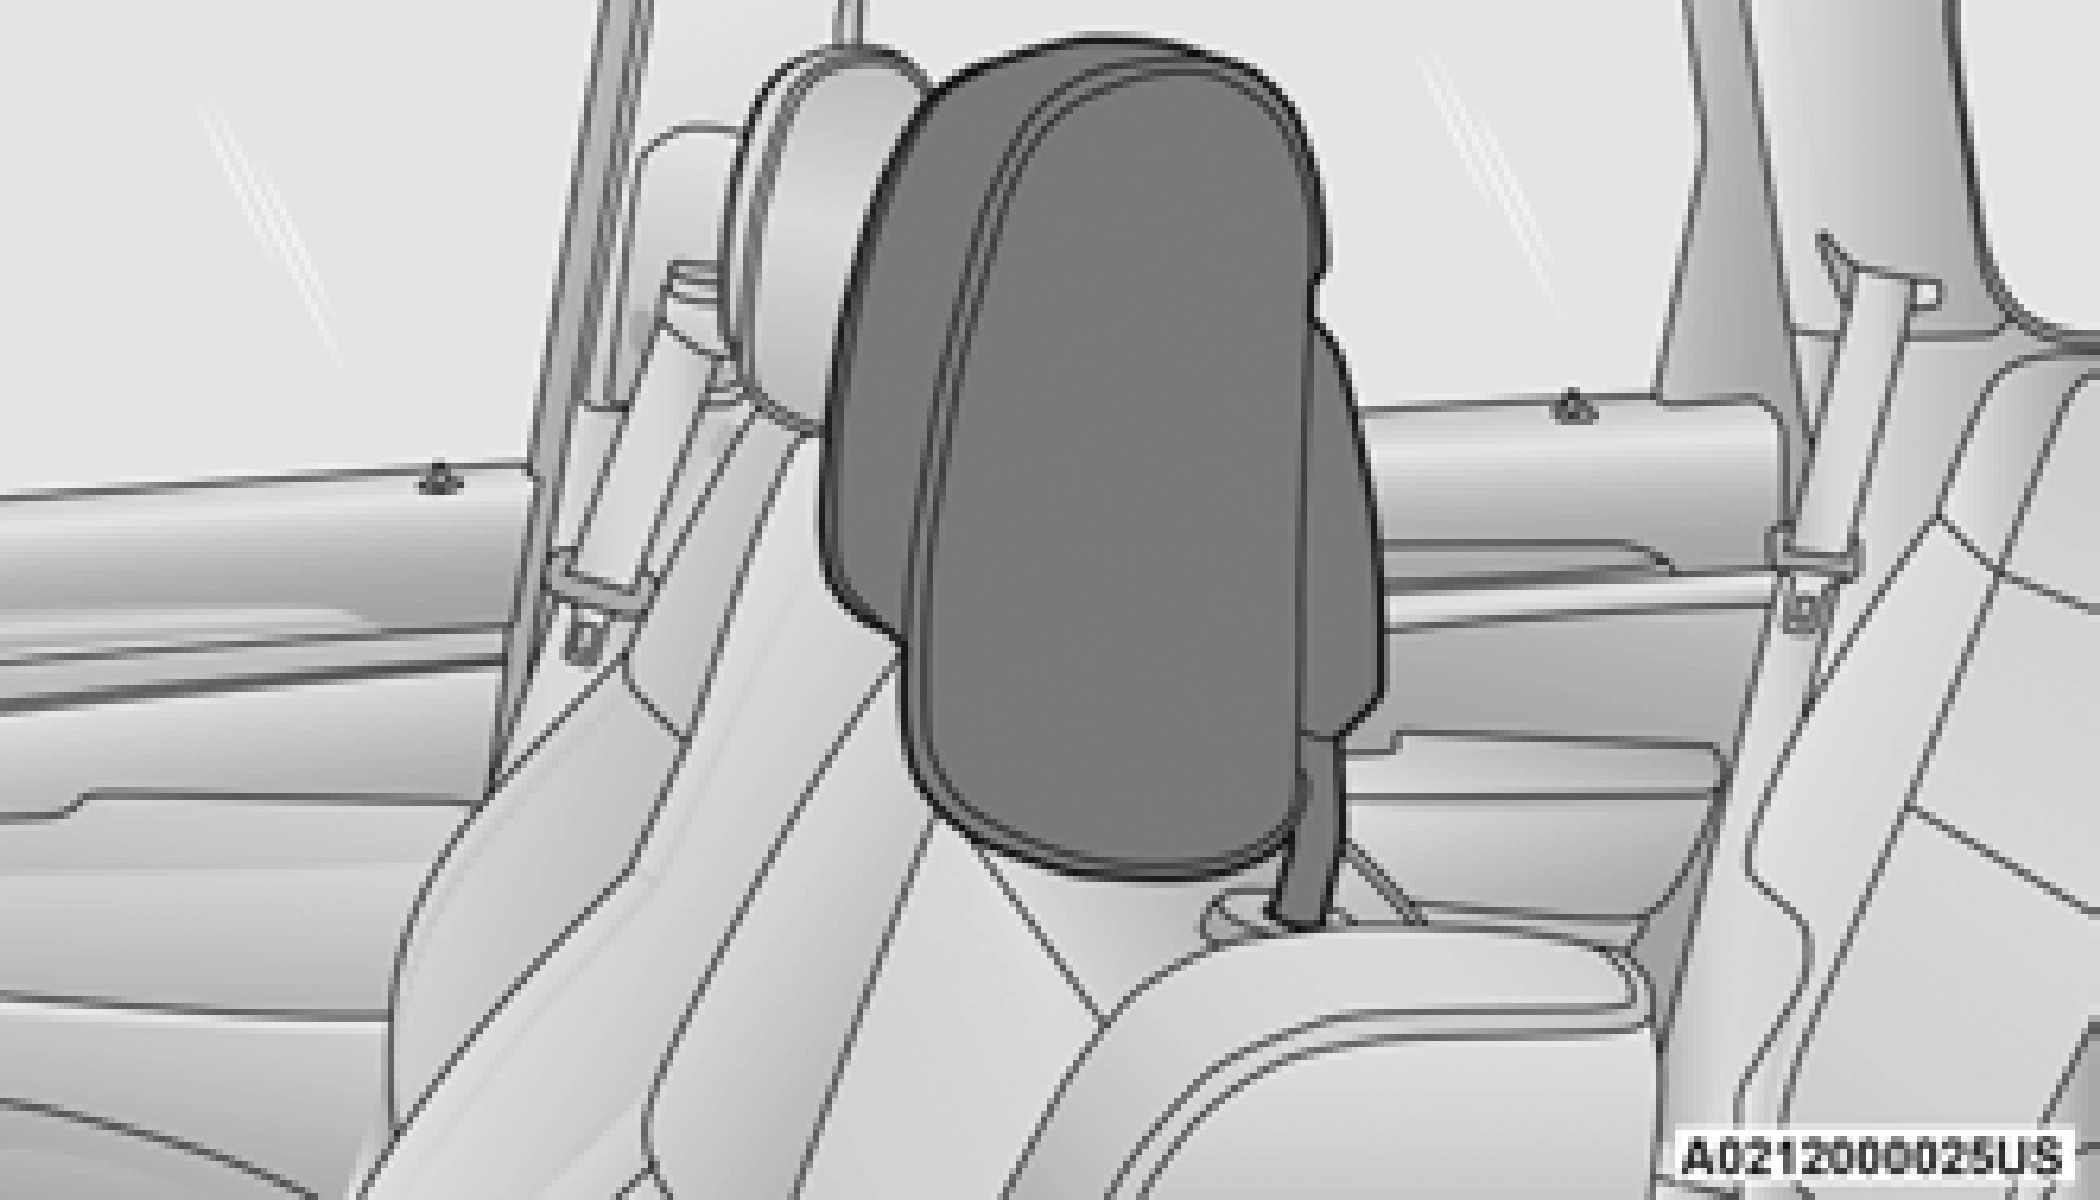
The head restraints on the outboard seats are not adjustable. They automatically fold forward when the rear seat is folded to a load floor position, but do not return to their normal position when the rear seat is raised. After returning either seat to its upright position, raise the head restraint until it locks in place. The outboard head restraints are not removable.
The center head restraint has limited adjustment. Lift upward on the head restraint to raise it, or push downward on the head restraint to lower it.
Head Restraint Removal — Rear Seats The center head restraint can be adjusted when occupied, or removed for Child Seat Tethering.
To remove the head restraint, raise it as far as it
can go by pulling upward. Then, push the release button at the base of the post while pulling the head restraint upward. To reinstall the head restraint, put the head restraint posts into the holes and push downward. Then, adjust the head restraint to the appropriate height.
(Continued)
For proper routing of a Child Seat Tether, see
page 275.

Center Head Restraint Release Button
Download Manual