INTERIOR STORAGE AND EQUIPMENT
STORAGE
The glove compartment is located on the passenger side of the instrument panel.
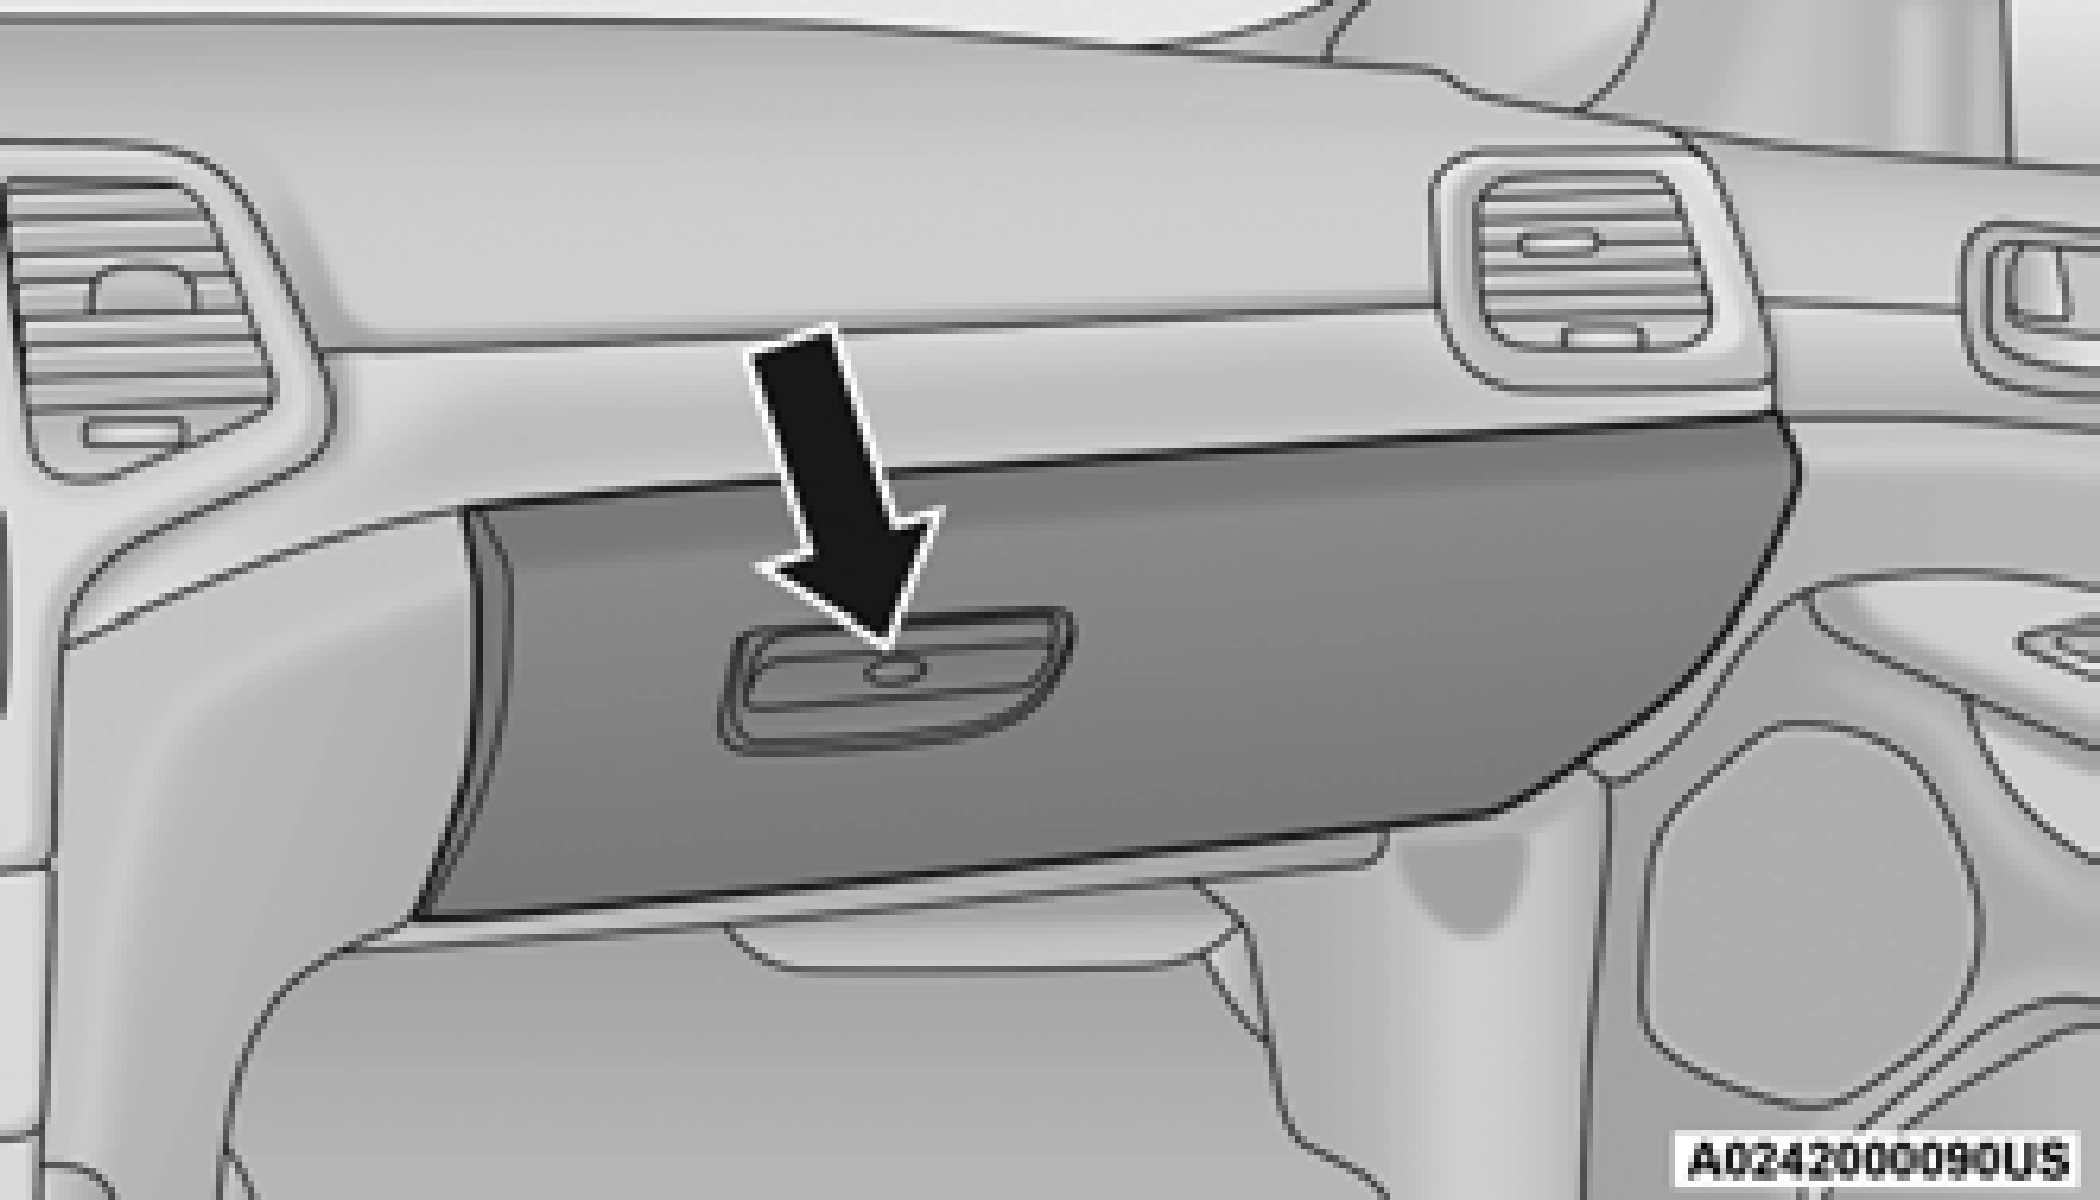
To open the glove compartment, pull the release handle.
Large storage areas are built into the door panels for easy access.
The center console contains both an upper and a lower storage area.
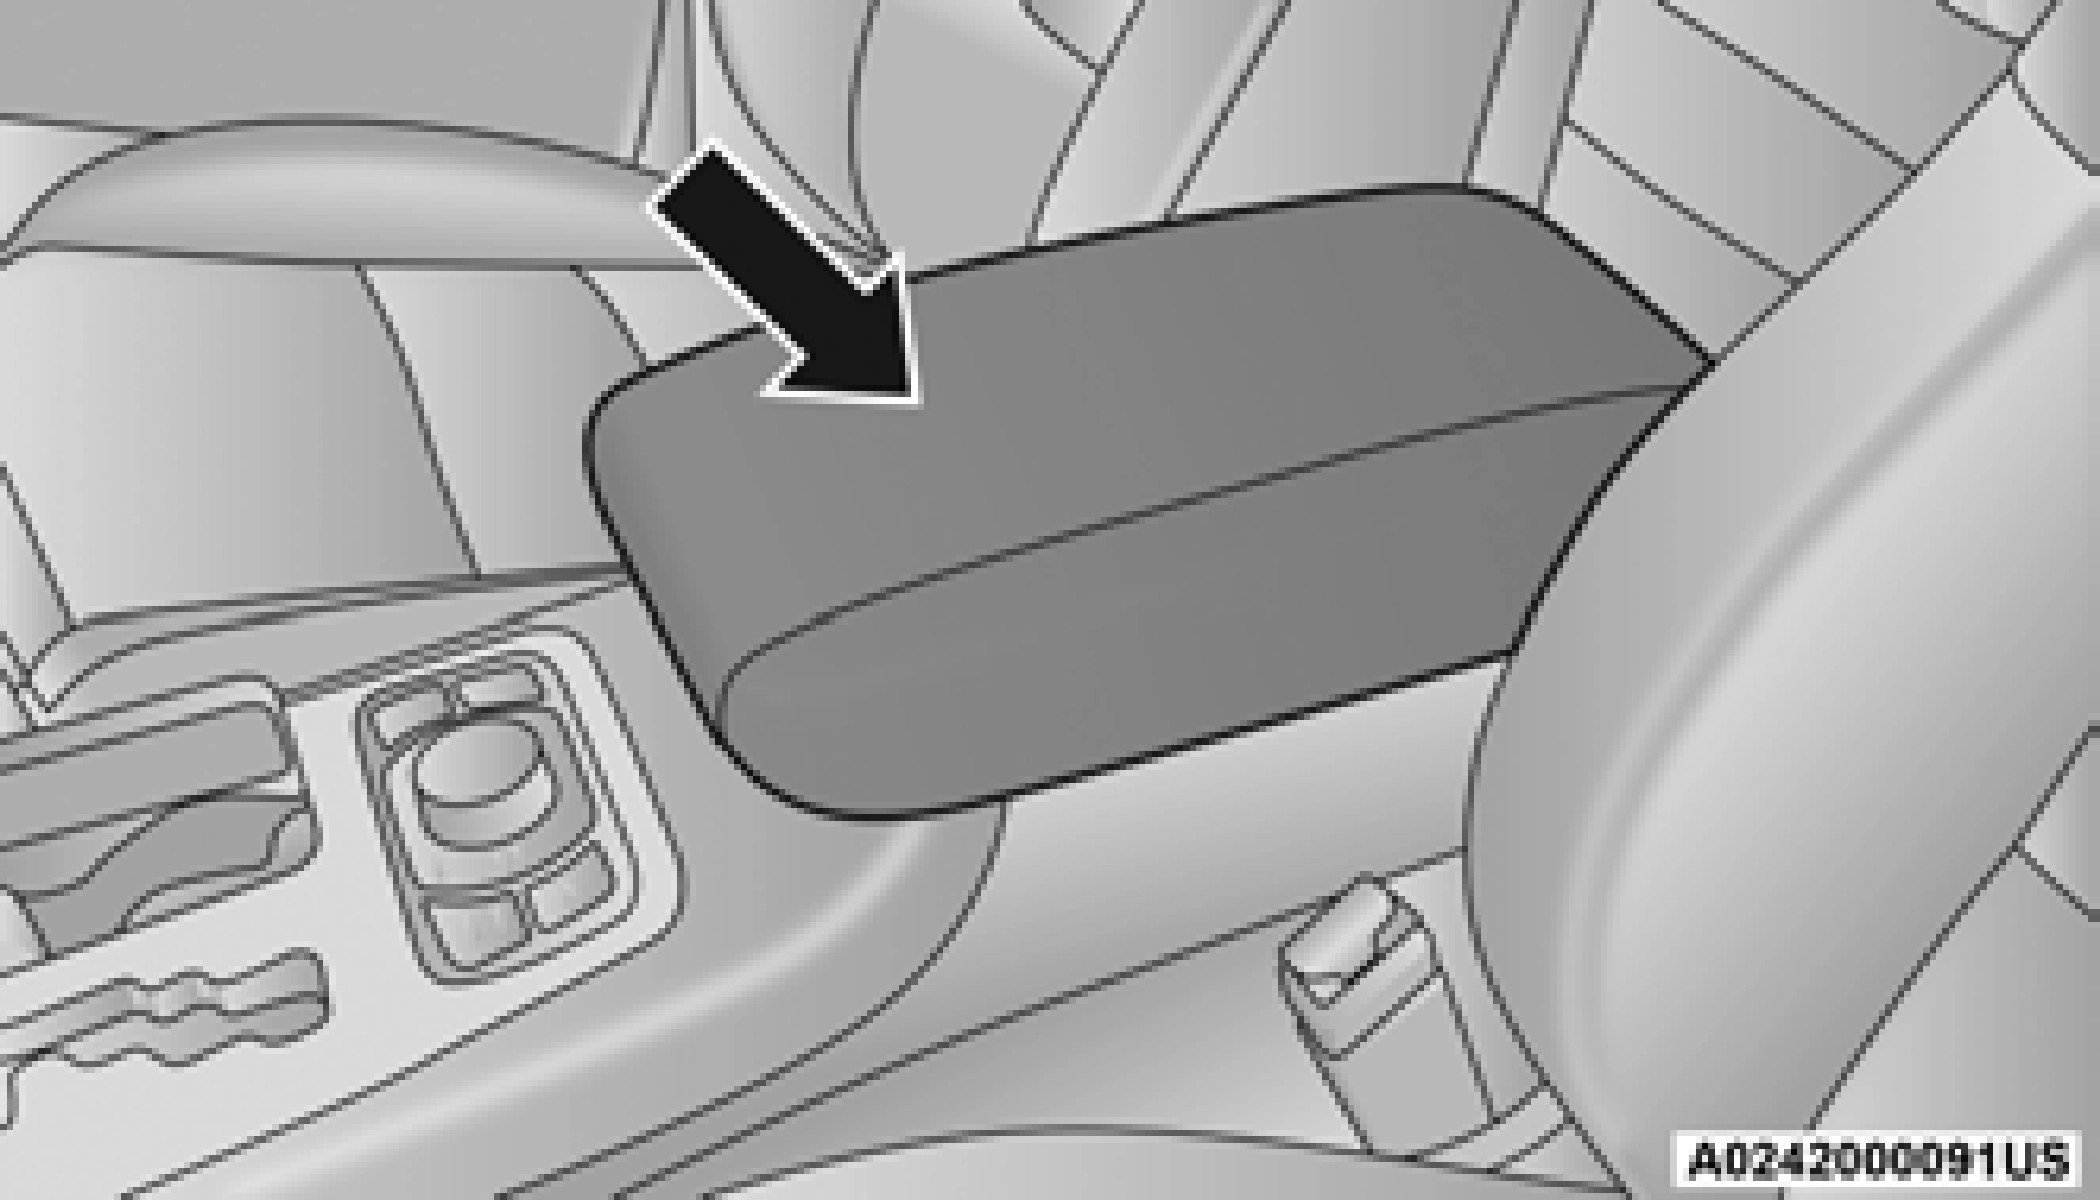
To open the upper storage compartment, pull upward on the small latch located on the lid.
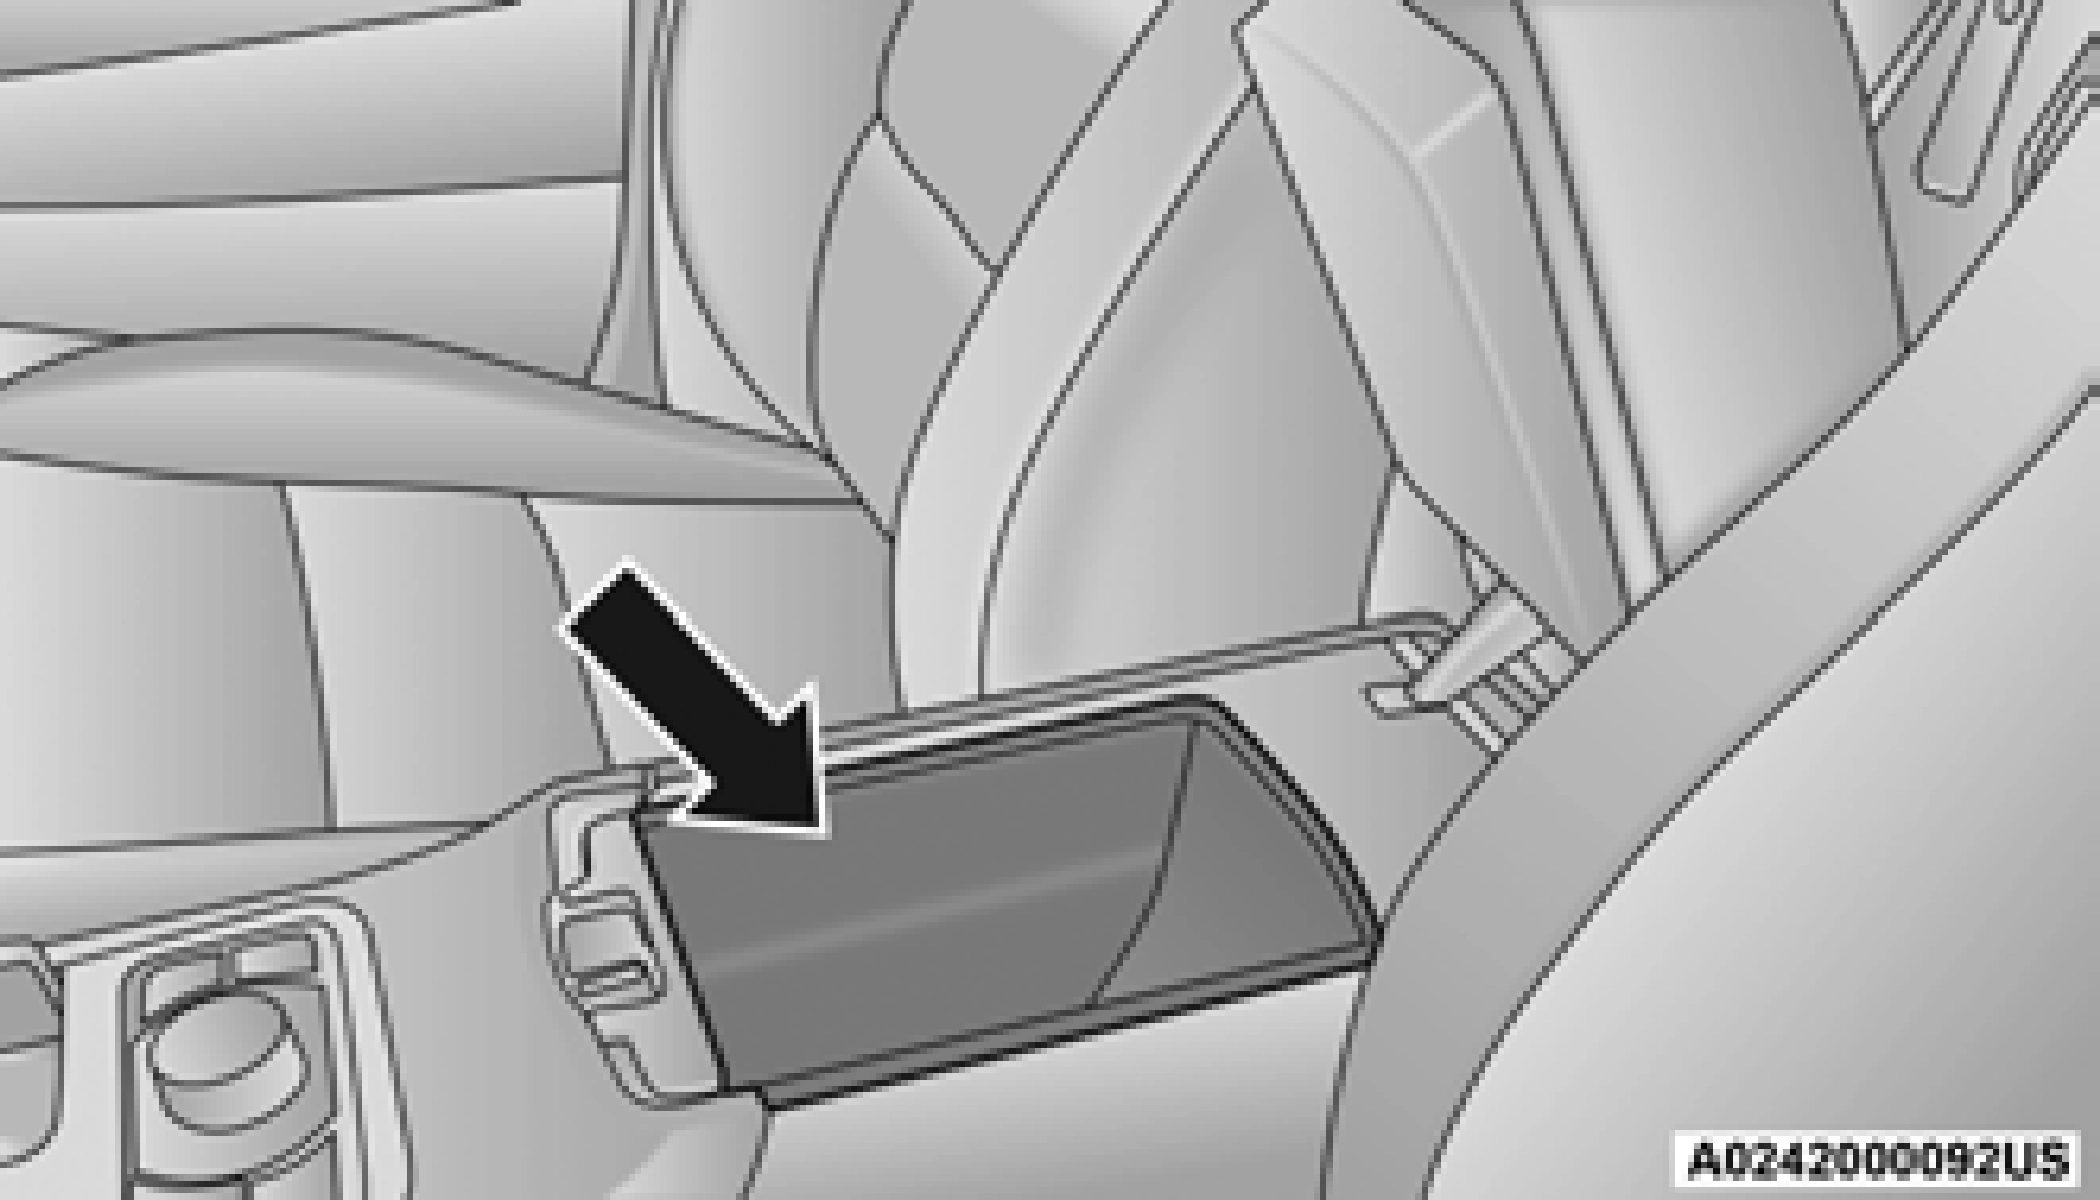
Lift upward on the larger of the latches to access the lower storage compartment.
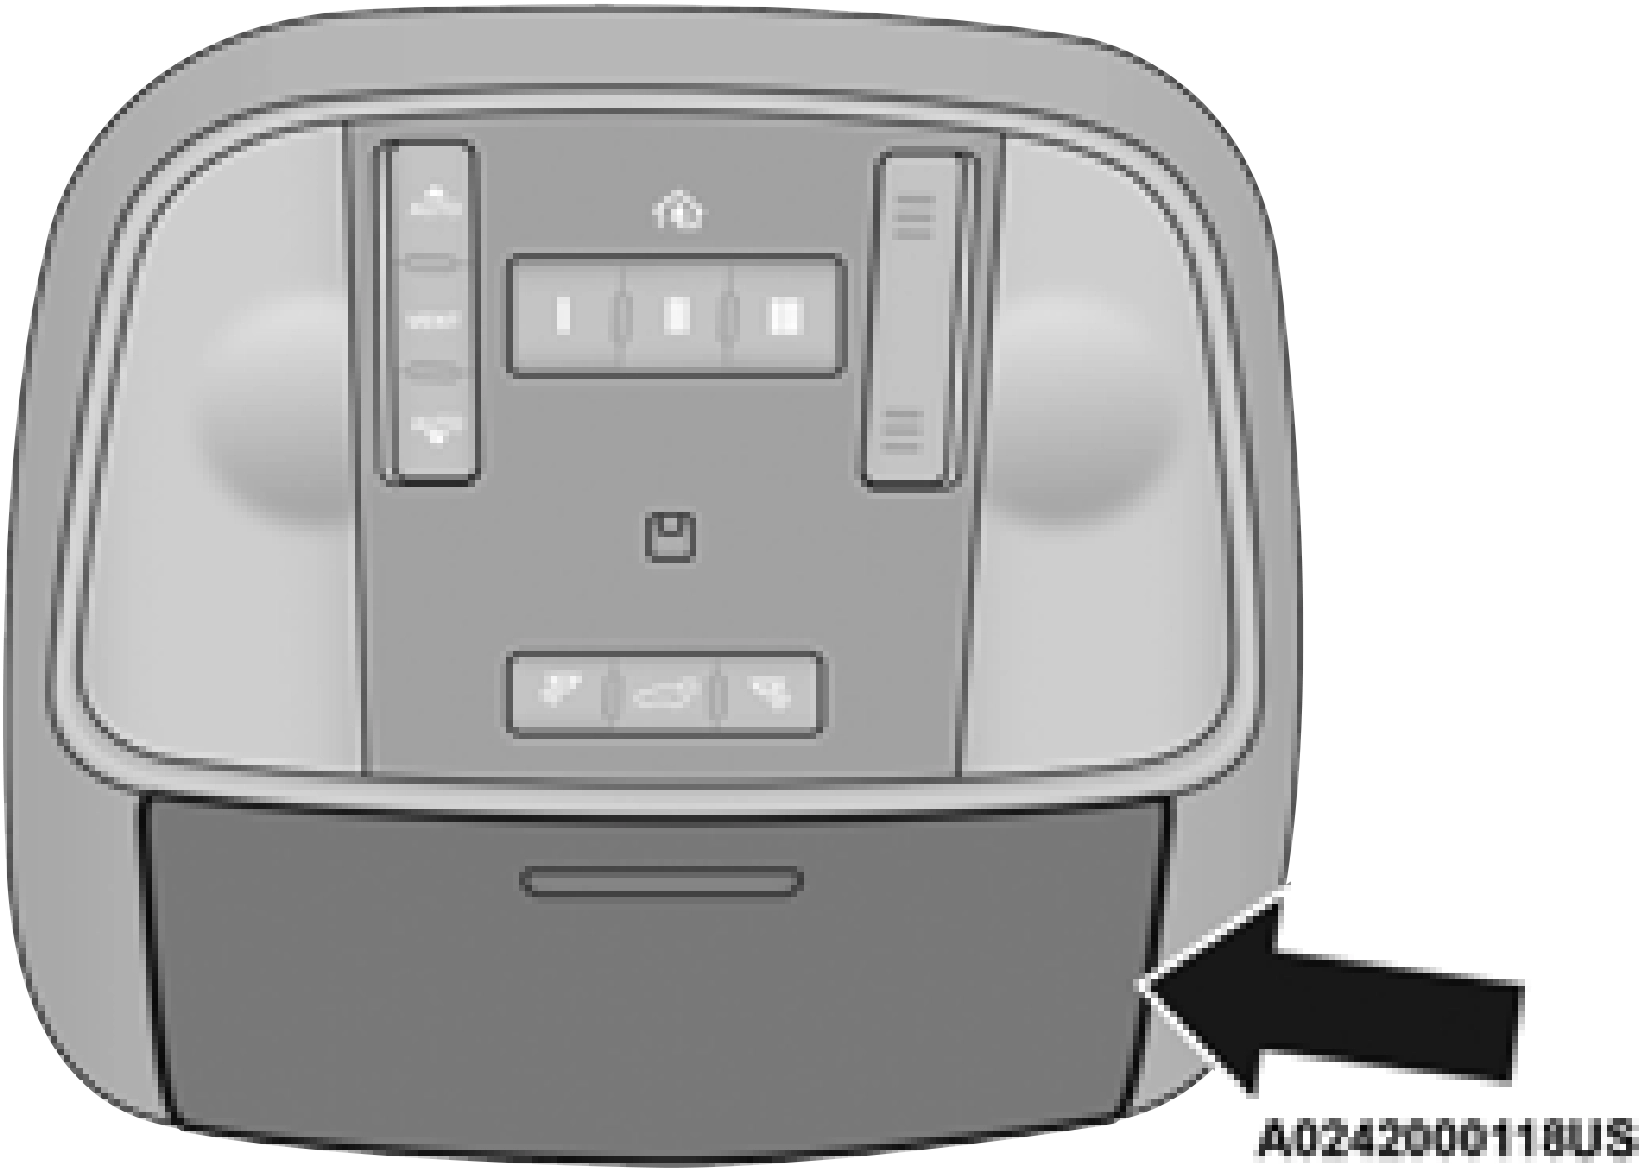
Overhead Console
The overhead console contains courtesy/ reading lights and storage for sunglasses. Universal Garage Door Opener (HomeLink®), power liftgate and power sunroof/sunshade switches may also be included, if equipped.
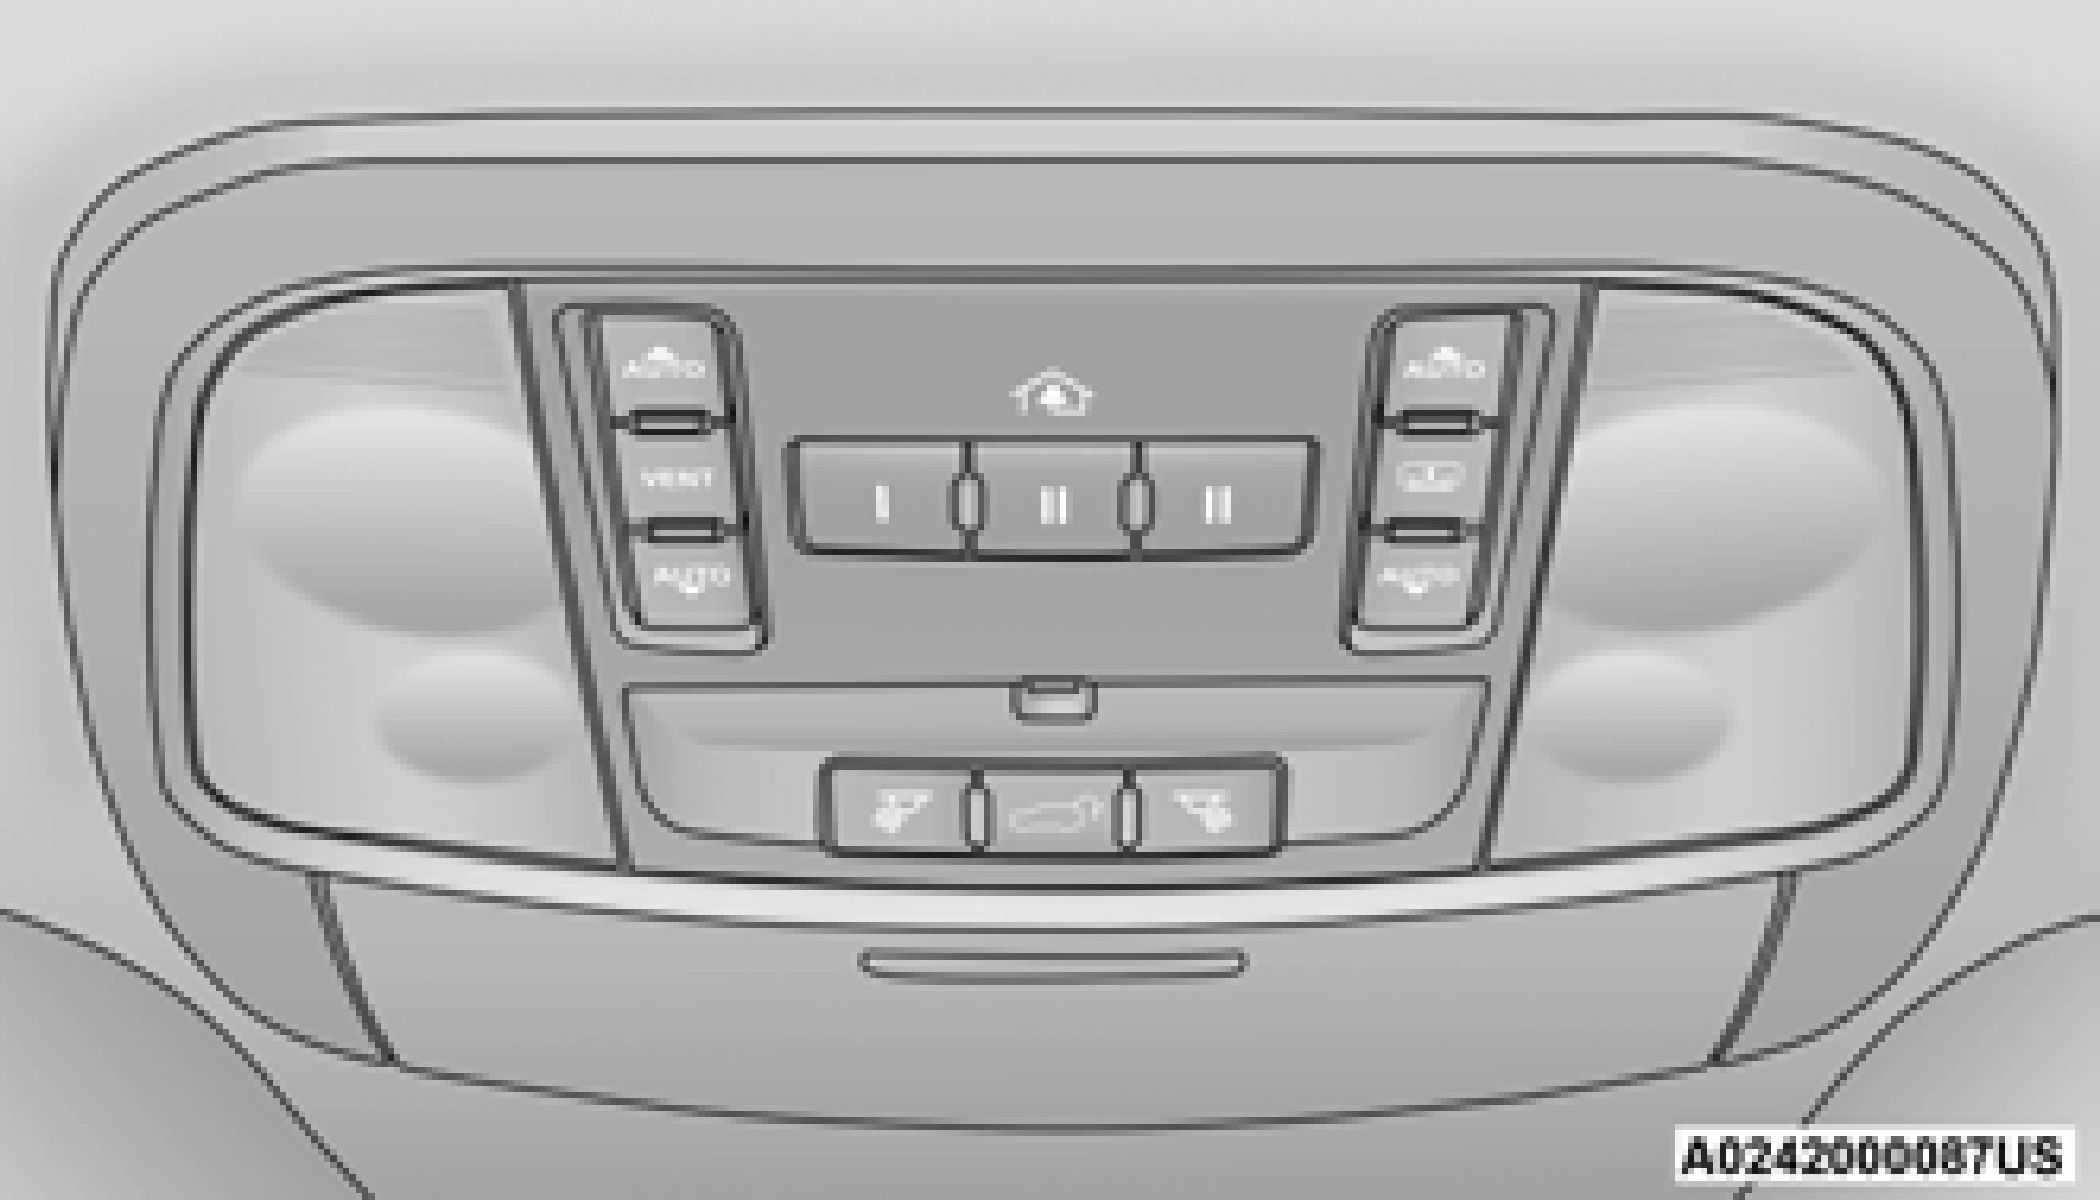
Sunglasses Bin Door
At the front of the console, a compartment is provided for storing a pair of sunglasses. The storage compartment access is a “push/push” design. Push the pad on the door to open. Push the chrome pad on the door to close.
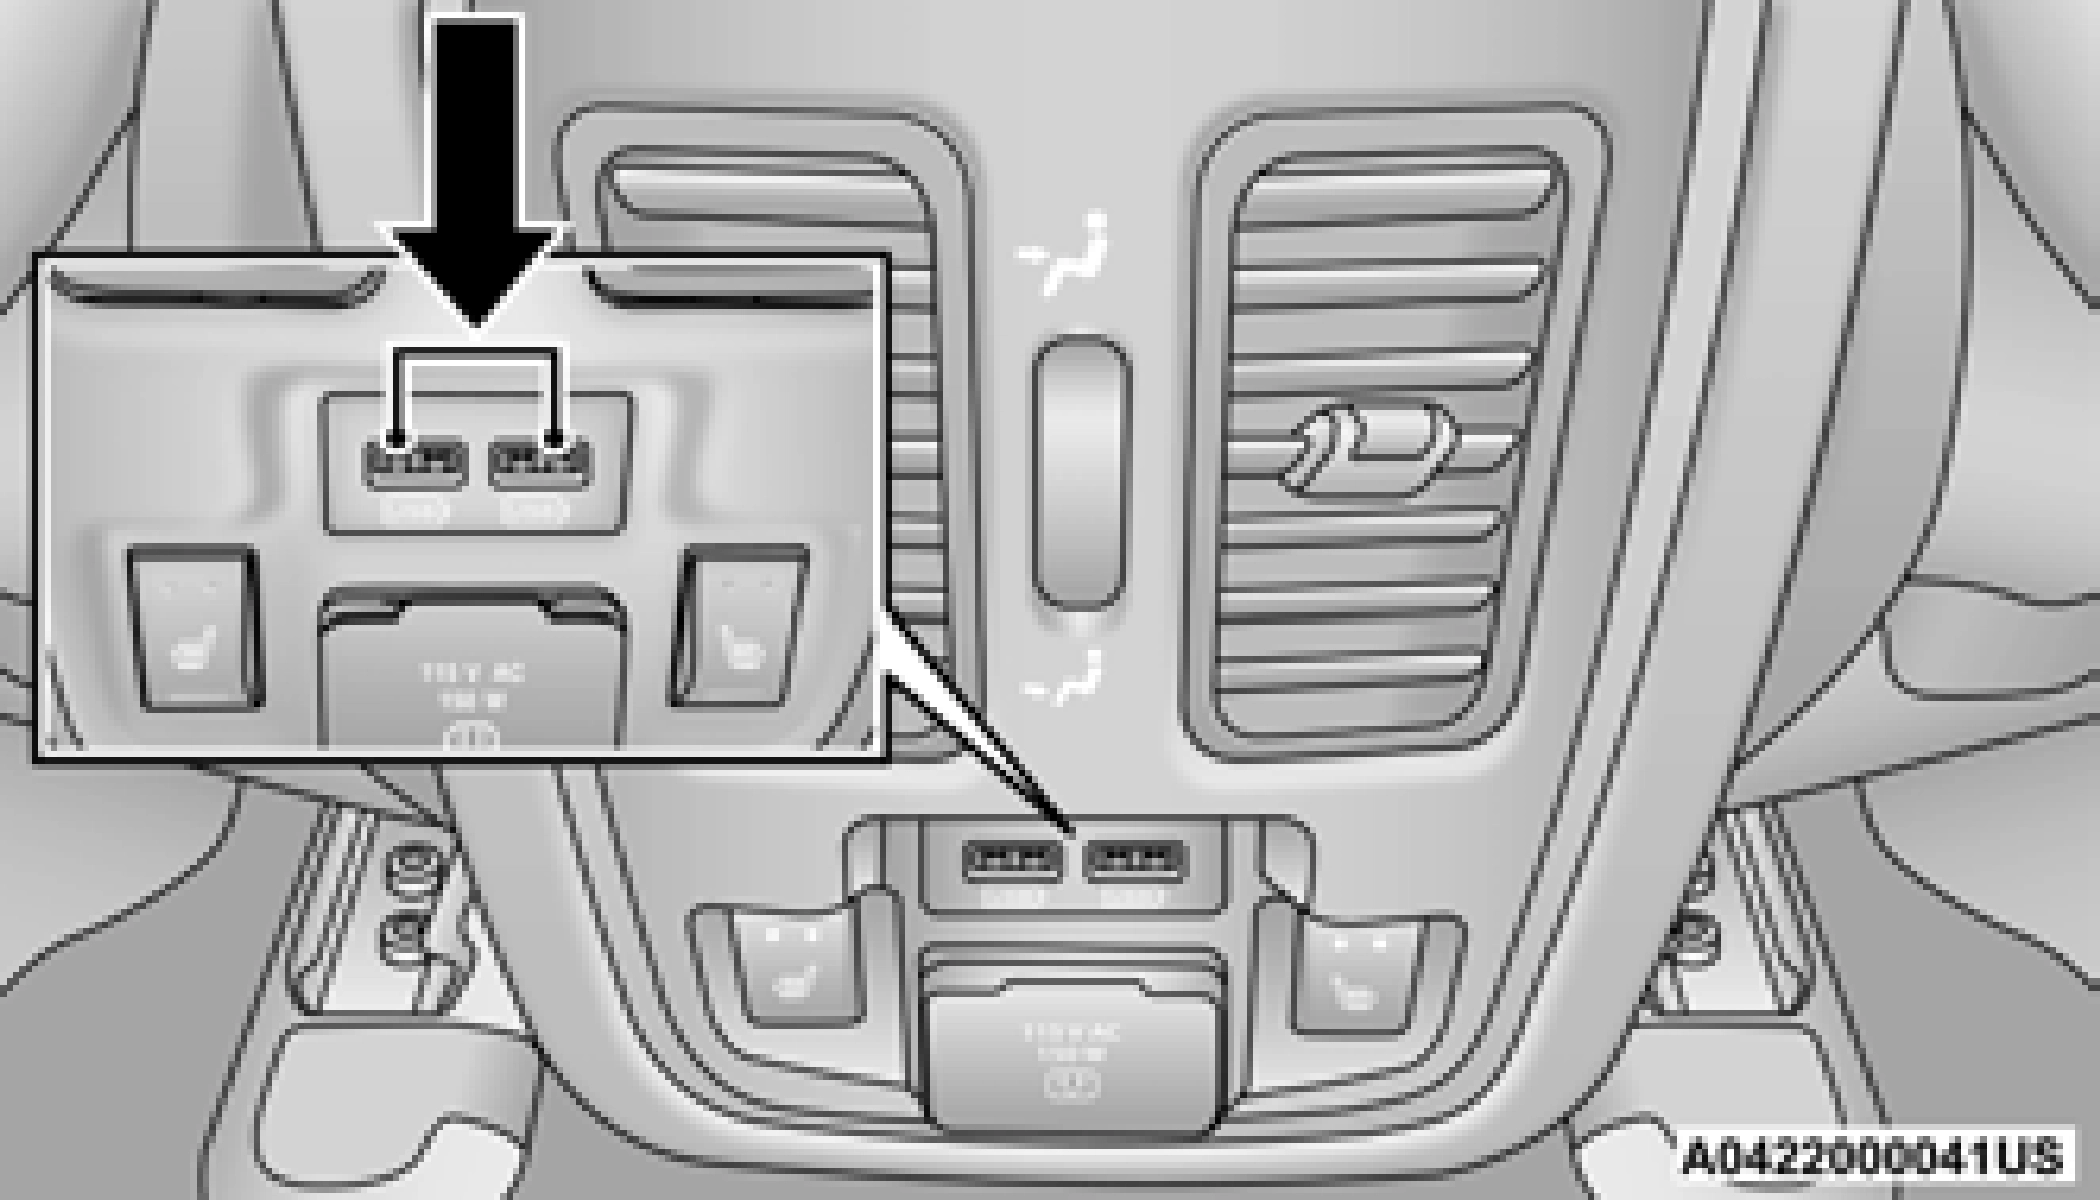
USB/AUX CONTROL — IF EQUIPPED
Connecting The External USB/AUX Device Use the connection cable to connect an external USB device to the vehicle’s USB/AUX connector
port which is located in the center console.
The USB ports on the media hub are equipped with a Smart Electronic Voltage Regulator (Smart Charge) feature. This feature allows a device to charge for up to one hour after the vehicle is powered off.
1 — USB Port One
2 — AUX Port
3 — USB Port Two
Once the audio device is connected and synchronized to the vehicle’s USB control system (an external USB device may take a few minutes to connect), the audio device starts charging and is ready for use.
If the audio device battery is completely discharged, it may not communicate with the USB control system until a minimum charge is attained. Leaving the audio device connected to
the USB control system can charge it to the required level.
By using an external USB device to connect to the USB port:
For further information, refer to the Uconnect Owner’s Manual Supplement.
Second row USB connector ports can be used for charging purposes only. Use the connection cable to connect an external USB device to the charging ports which are located on the rear of the center console.
POWER OUTLETS
Your vehicle is equipped with 12 Volt (15 Amp) power outlets that can be used to power cellular phones, small electronics and other low powered electrical accessories. The power outlets are labeled with either a “key” or a “battery” symbol to indicate how the outlet is powered. Power outlets labeled with a “key” are powered when the ignition is in the ON or ACC position, while the outlets labeled with a “battery” are connected directly to the battery and powered at all times.
All accessories connected to the “battery” powered outlets should be removed or turned
off when the vehicle is not in use to protect the battery against discharge.
The front power outlet is located inside the storage area on the center stack of the instrument panel. Push inward on the storage lid to open the compartment and gain access to this power outlet.
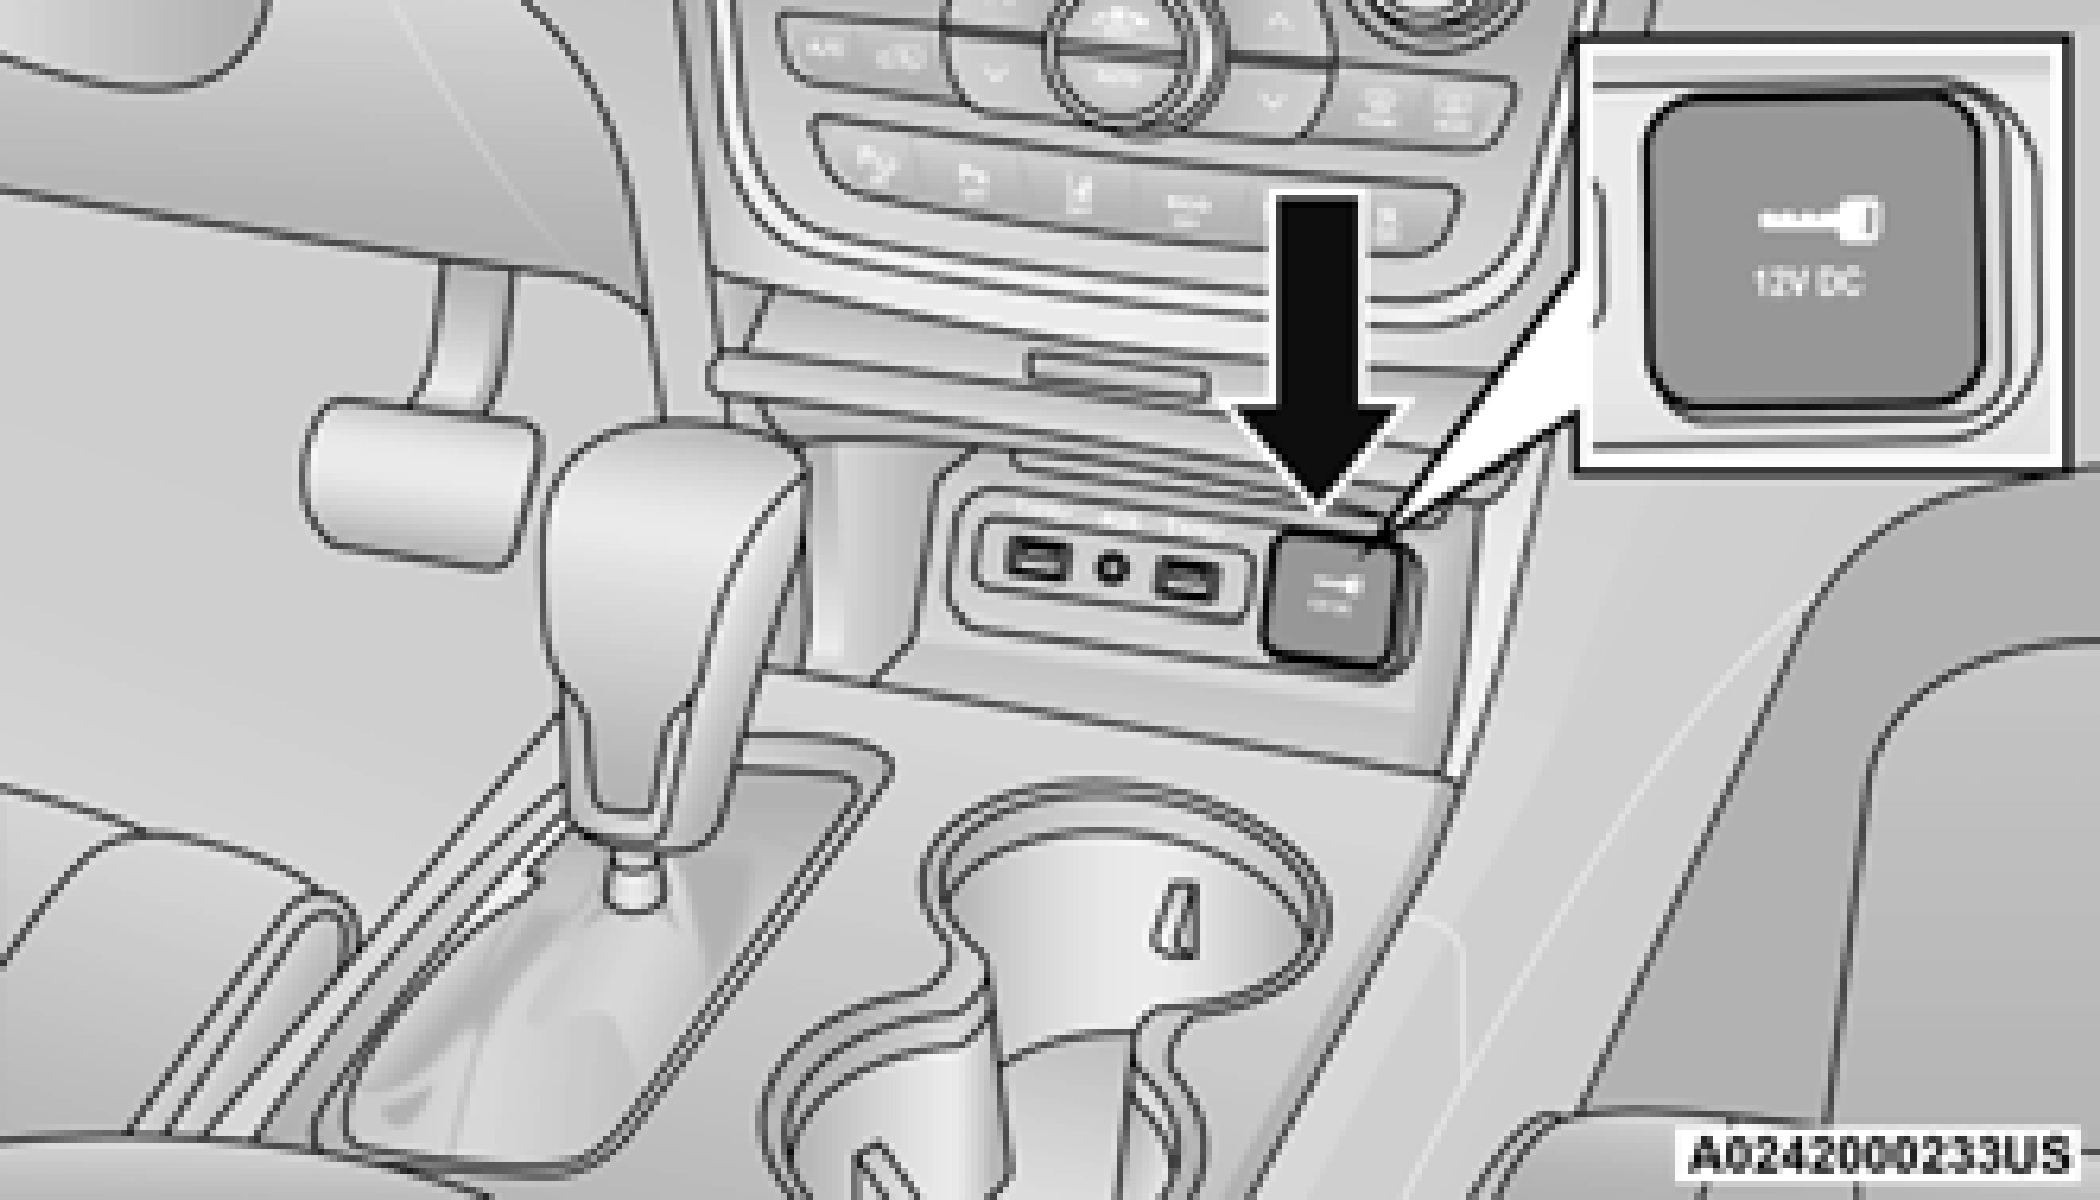
In addition to the front power outlet, there is also a power outlet located in the storage area of the center console.

The rear power outlet is located in the right rear cargo area.
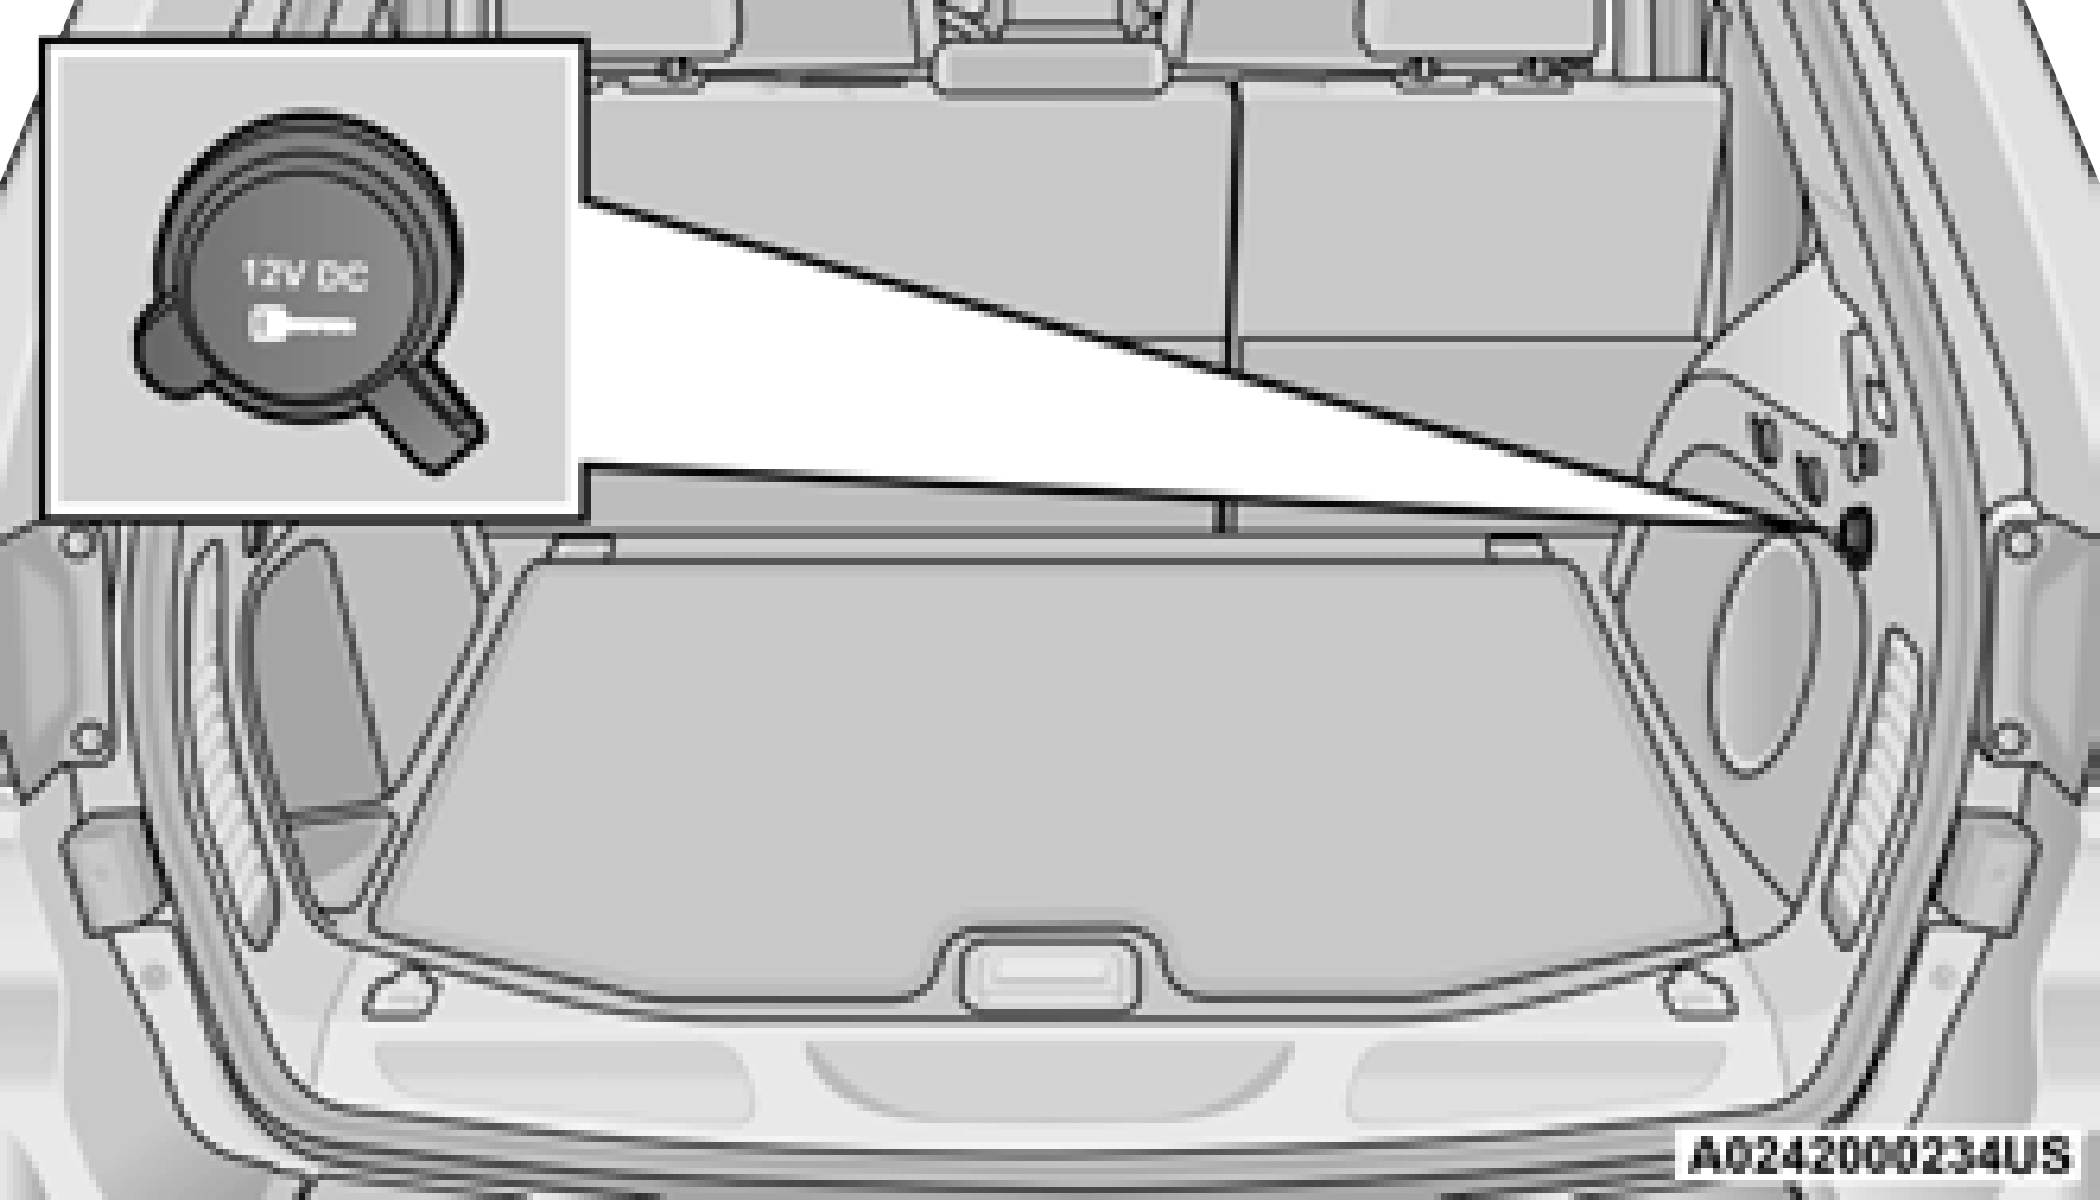
NOTE:
The rear power outlet can be switched from “ignition” only to constant “battery” powered all the time. See your local authorized dealer for details.
POWER INVERTER — IF EQUIPPED
There is a 115 Volt, 150 Watt inverter outlet located on the back of the center console to convert DC current to AC current. This outlet can power cellular phones, electronics and other low power devices requiring power up to 150 Watts.
Certain video game consoles, new computers and power tools will exceed this power limit.
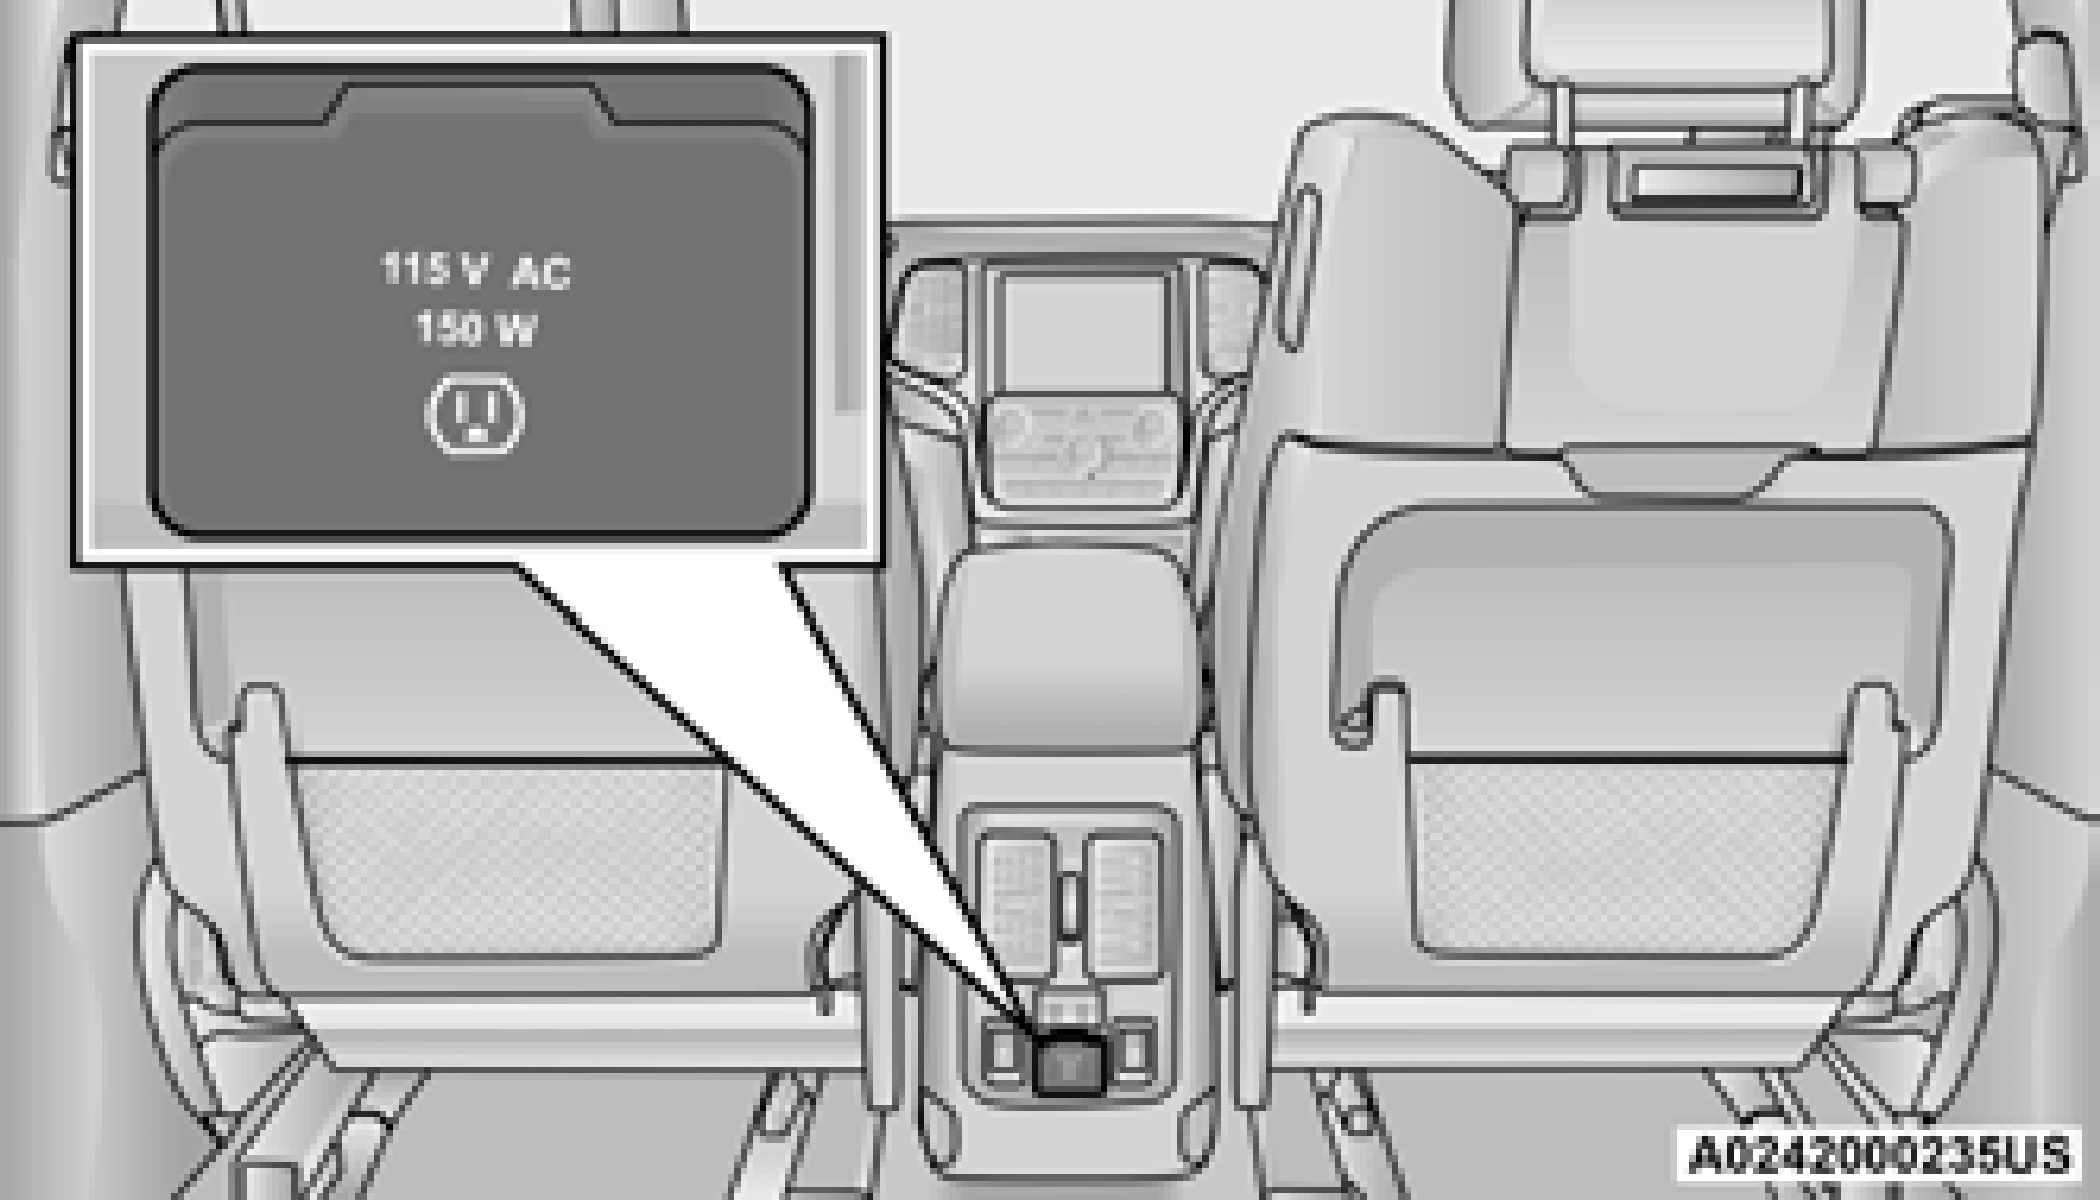
The power inverter is designed with built-in overload protection. If the power rating of
150 Watts is exceeded, the power inverter will automatically shut down. Once the electrical device has been removed from the outlet, the inverter should automatically reset. To avoid overloading the circuit, check the power ratings on electrical devices prior to using the inverter.
Download Manual