Instrument Cluster
The crossbars and side rails are designed to carry weight on vehicles equipped with a luggage rack. The load must not exceed 150 lb (68 kg), and should be uniformly distributed over the luggage rack crossbars.
The crossbars on your vehicle are delivered stowed within the roof rack side rails. Crossbars should always be used whenever cargo is placed on the roof rack. Check the straps frequently to be sure that the load remains securely attached.
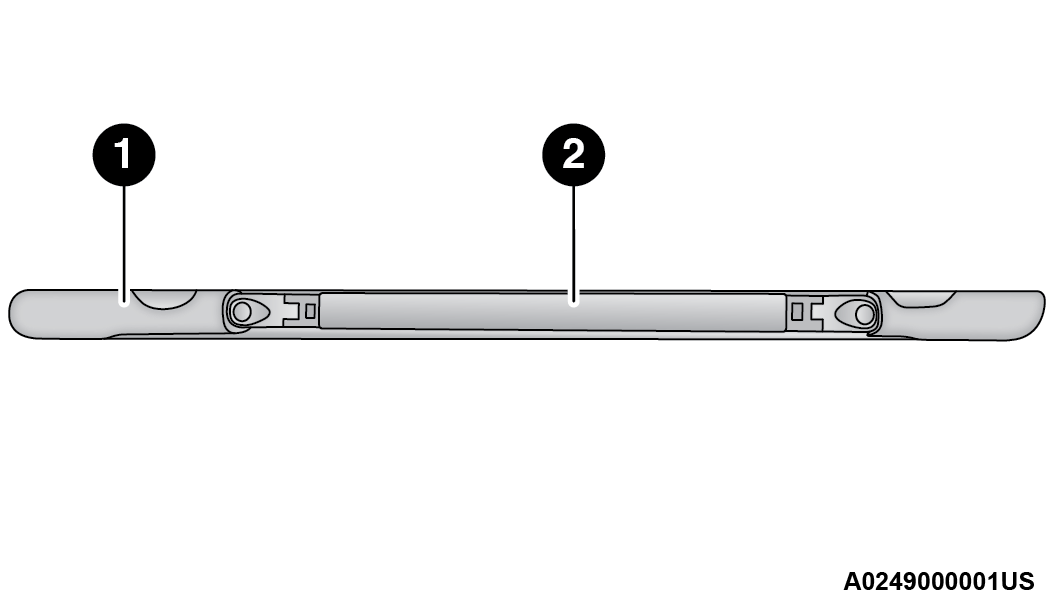
Roof Rack
|
1 — Side Rail |
|
2 — Crossbar |
The Stow ‘n Place roof rack does not increase the total load carrying capacity of the vehicle. Be sure the total load of cargo inside the vehicle plus that on the external rack does not exceed the maximum vehicle load capacity.
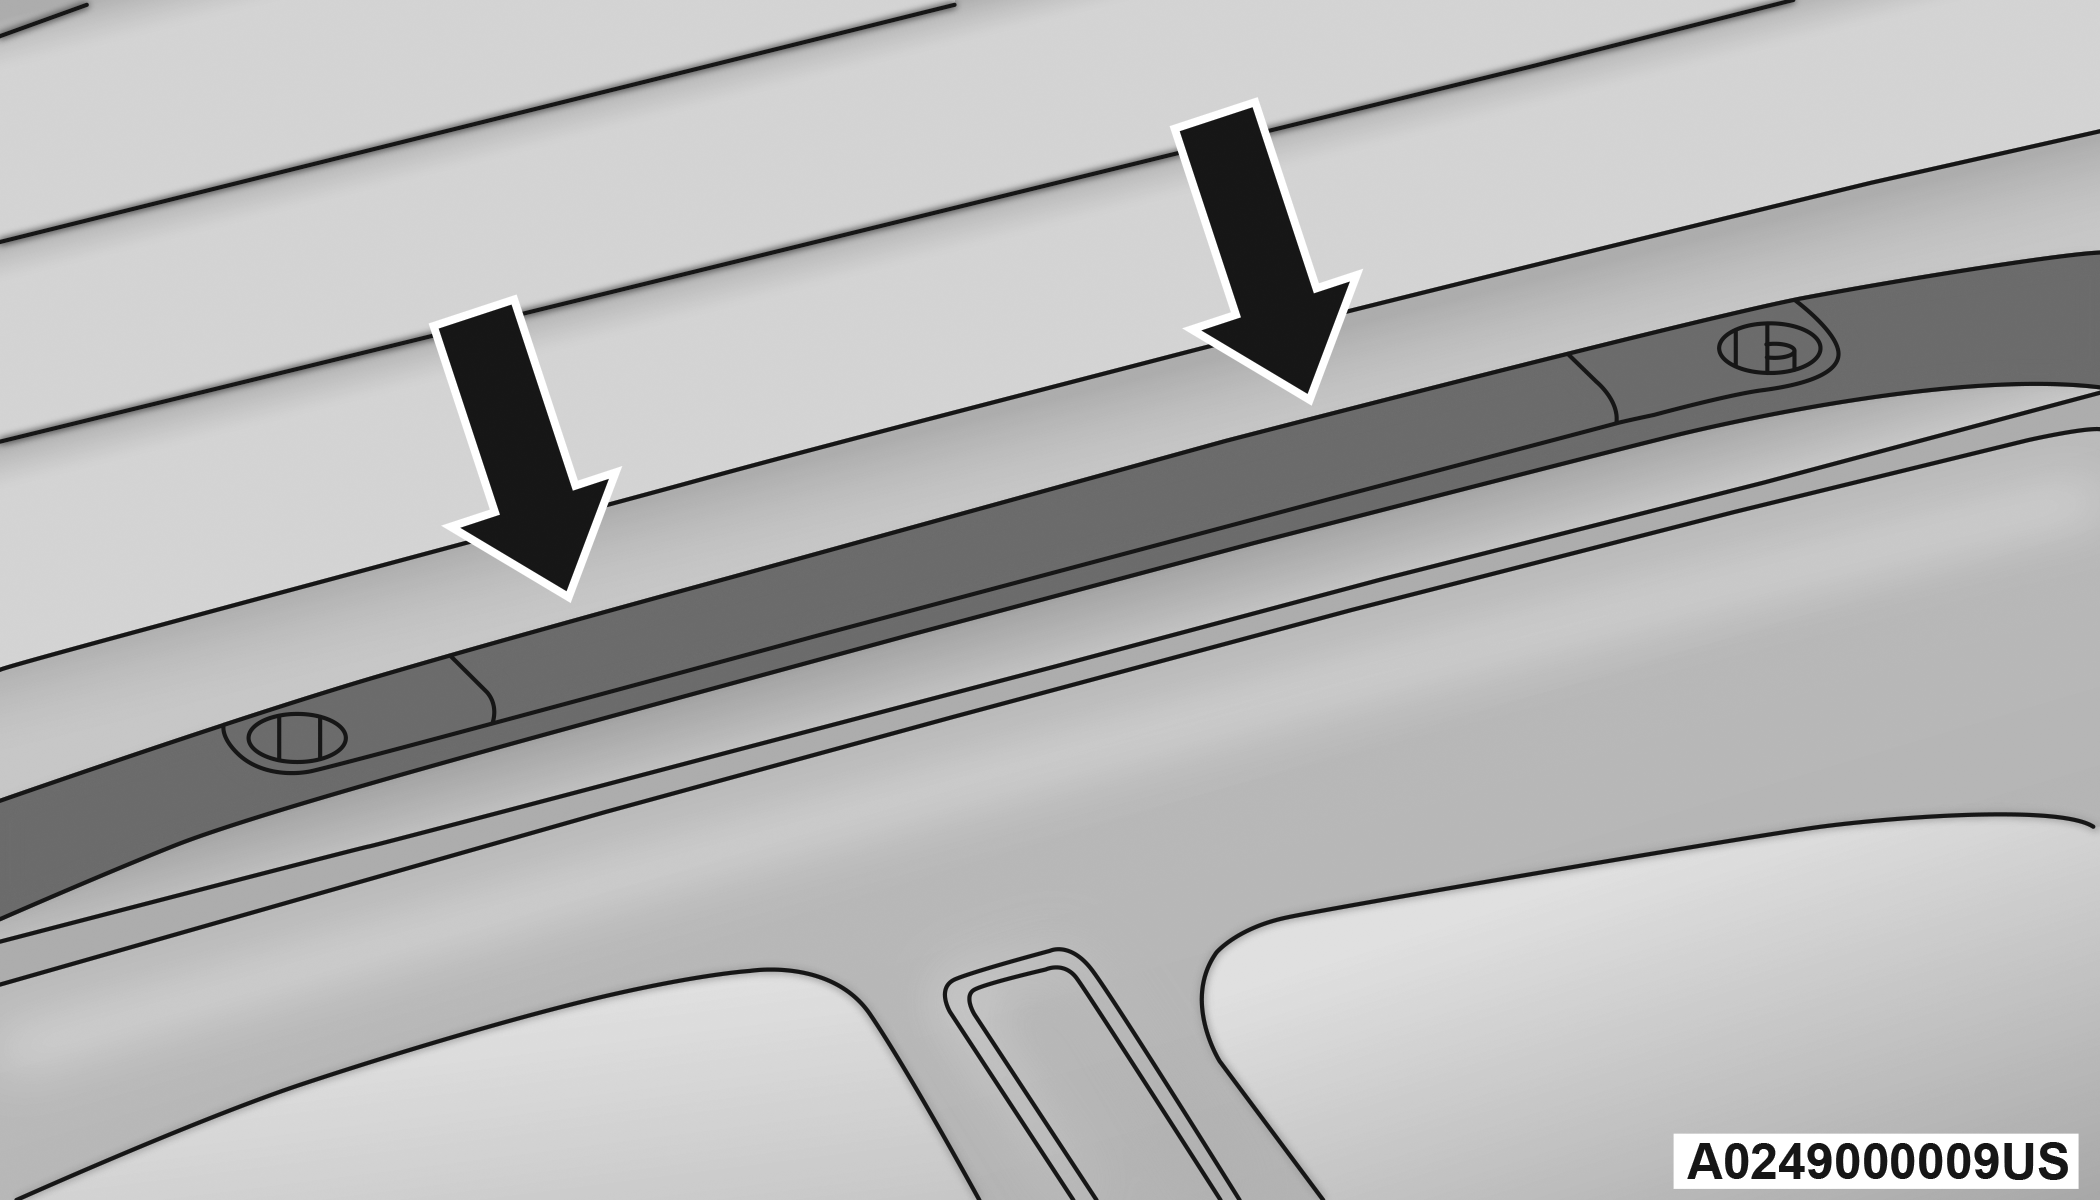
DEPLOYING THE CROSSBARS
-
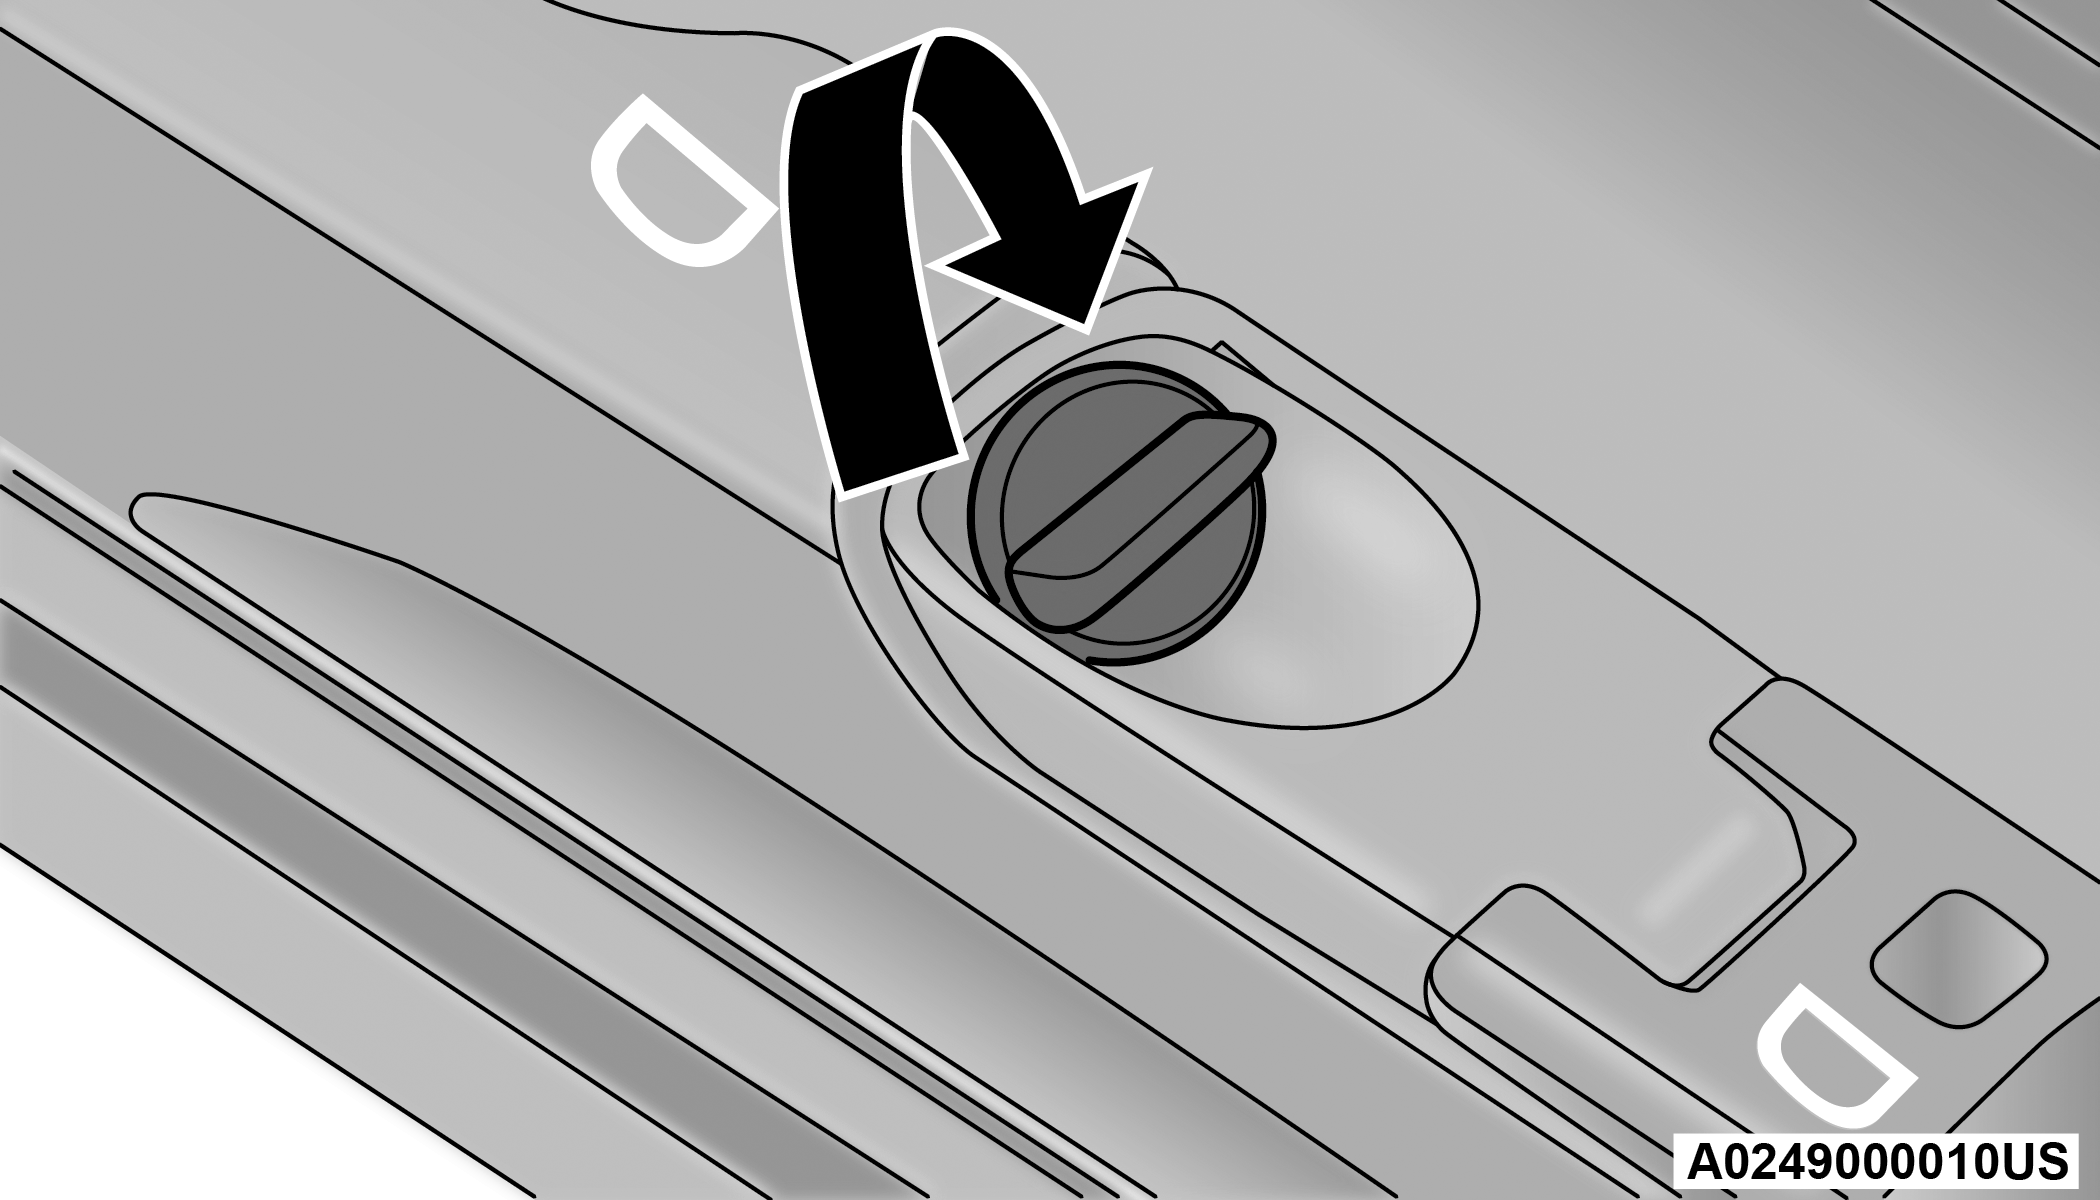
To deploy the crossbars, completely loosen the thumb screws at both ends of the crossbar and lift the crossbar from its stowed position in the side rail. Repeat with crossbar on the opposite side.
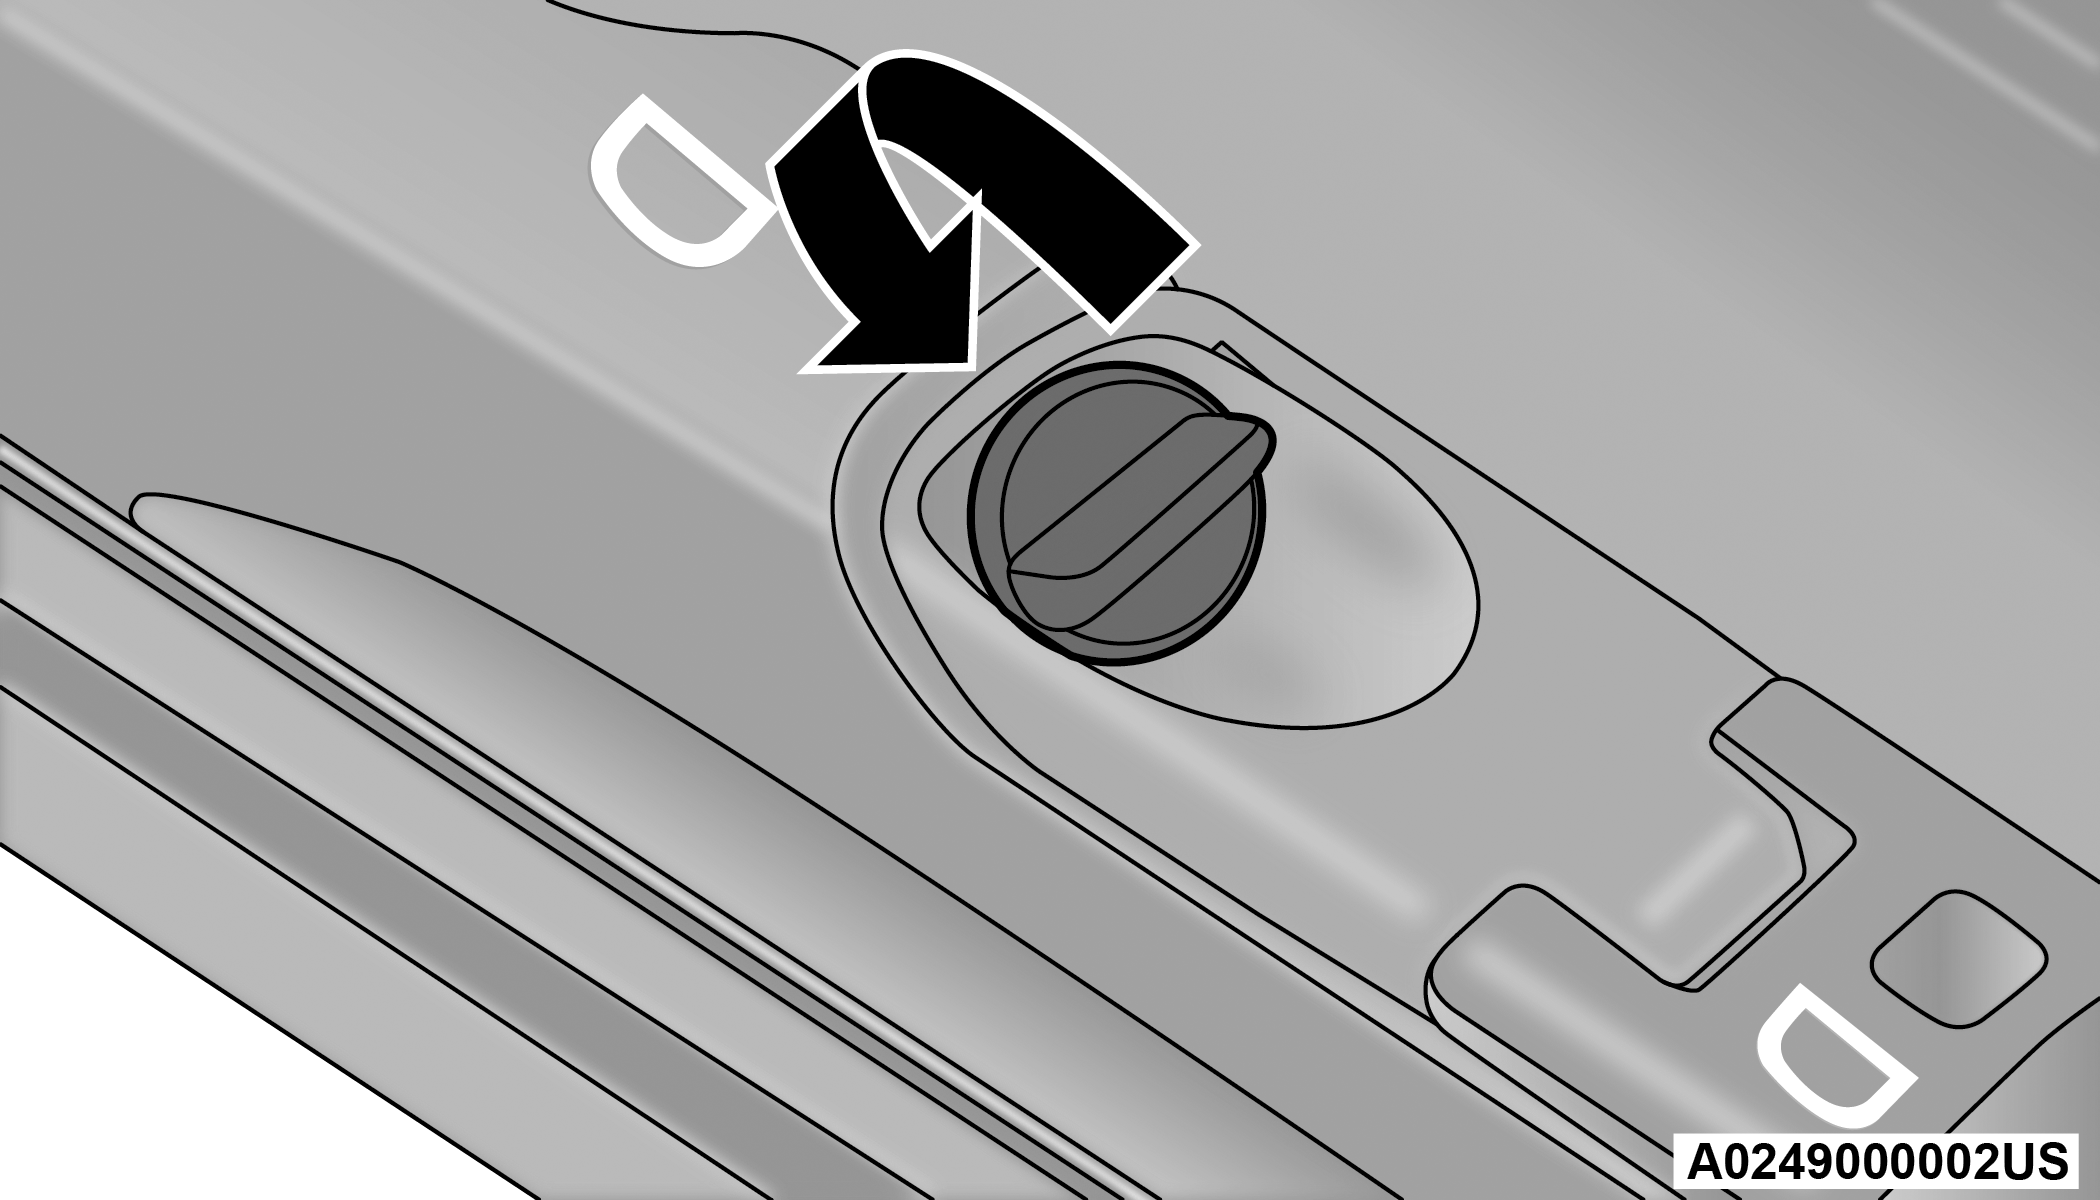
Thumb Screw
Note:
The thumb screws cannot be fully removed.
Removing Crossbars
CAUTION:
Use care when removing and handling the crossbars to prevent damage to the vehicle.
-
Bend the crossbar supports at each end, taking care to keep hand clear of pivoting joint. Slide the thumb screw down.
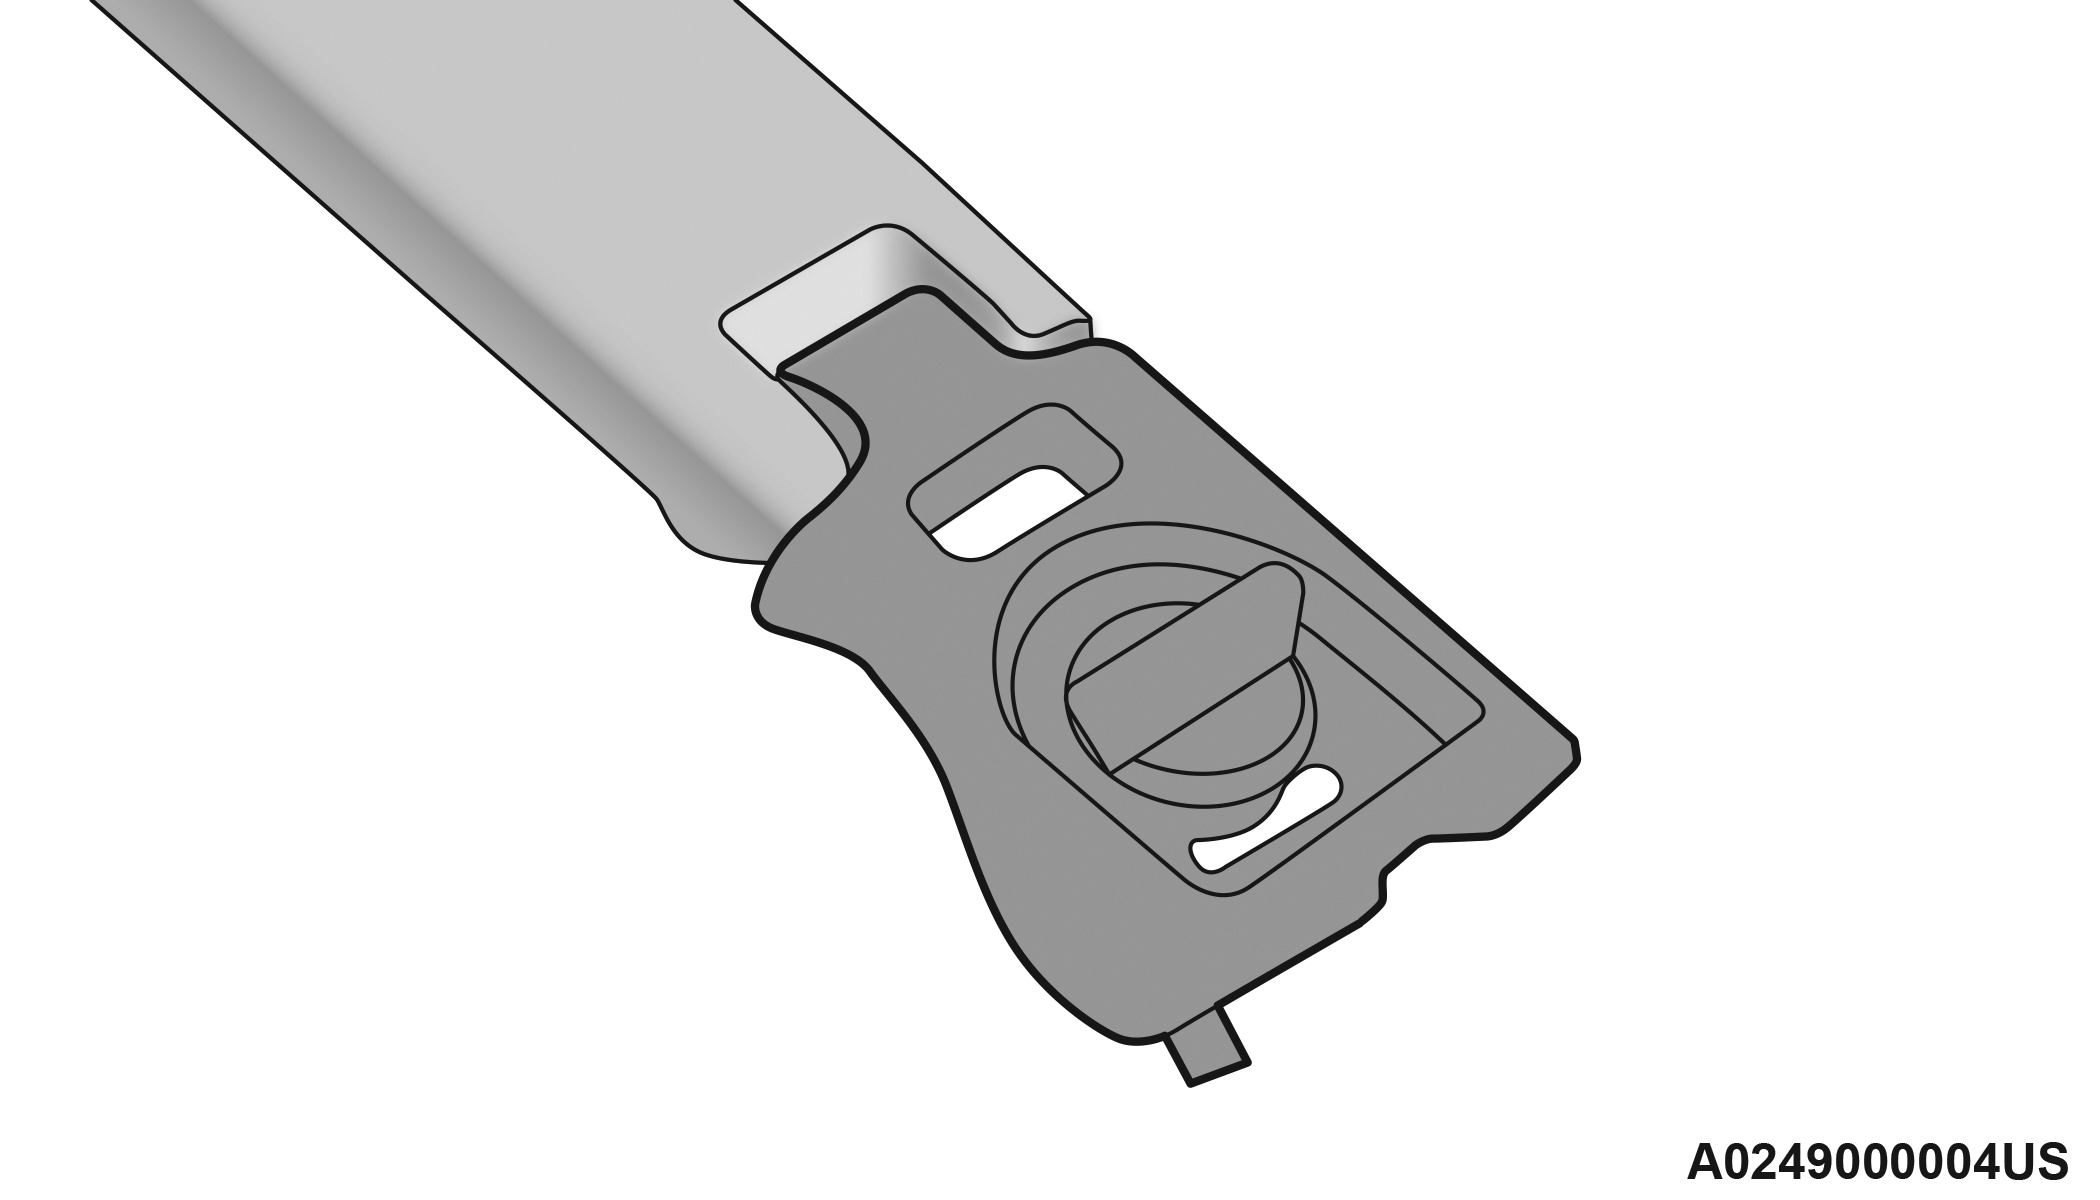
Bending Pivot
-
Position the crossbars across the roof making sure the letters on the crossbars align with the matching letters on the side rail.
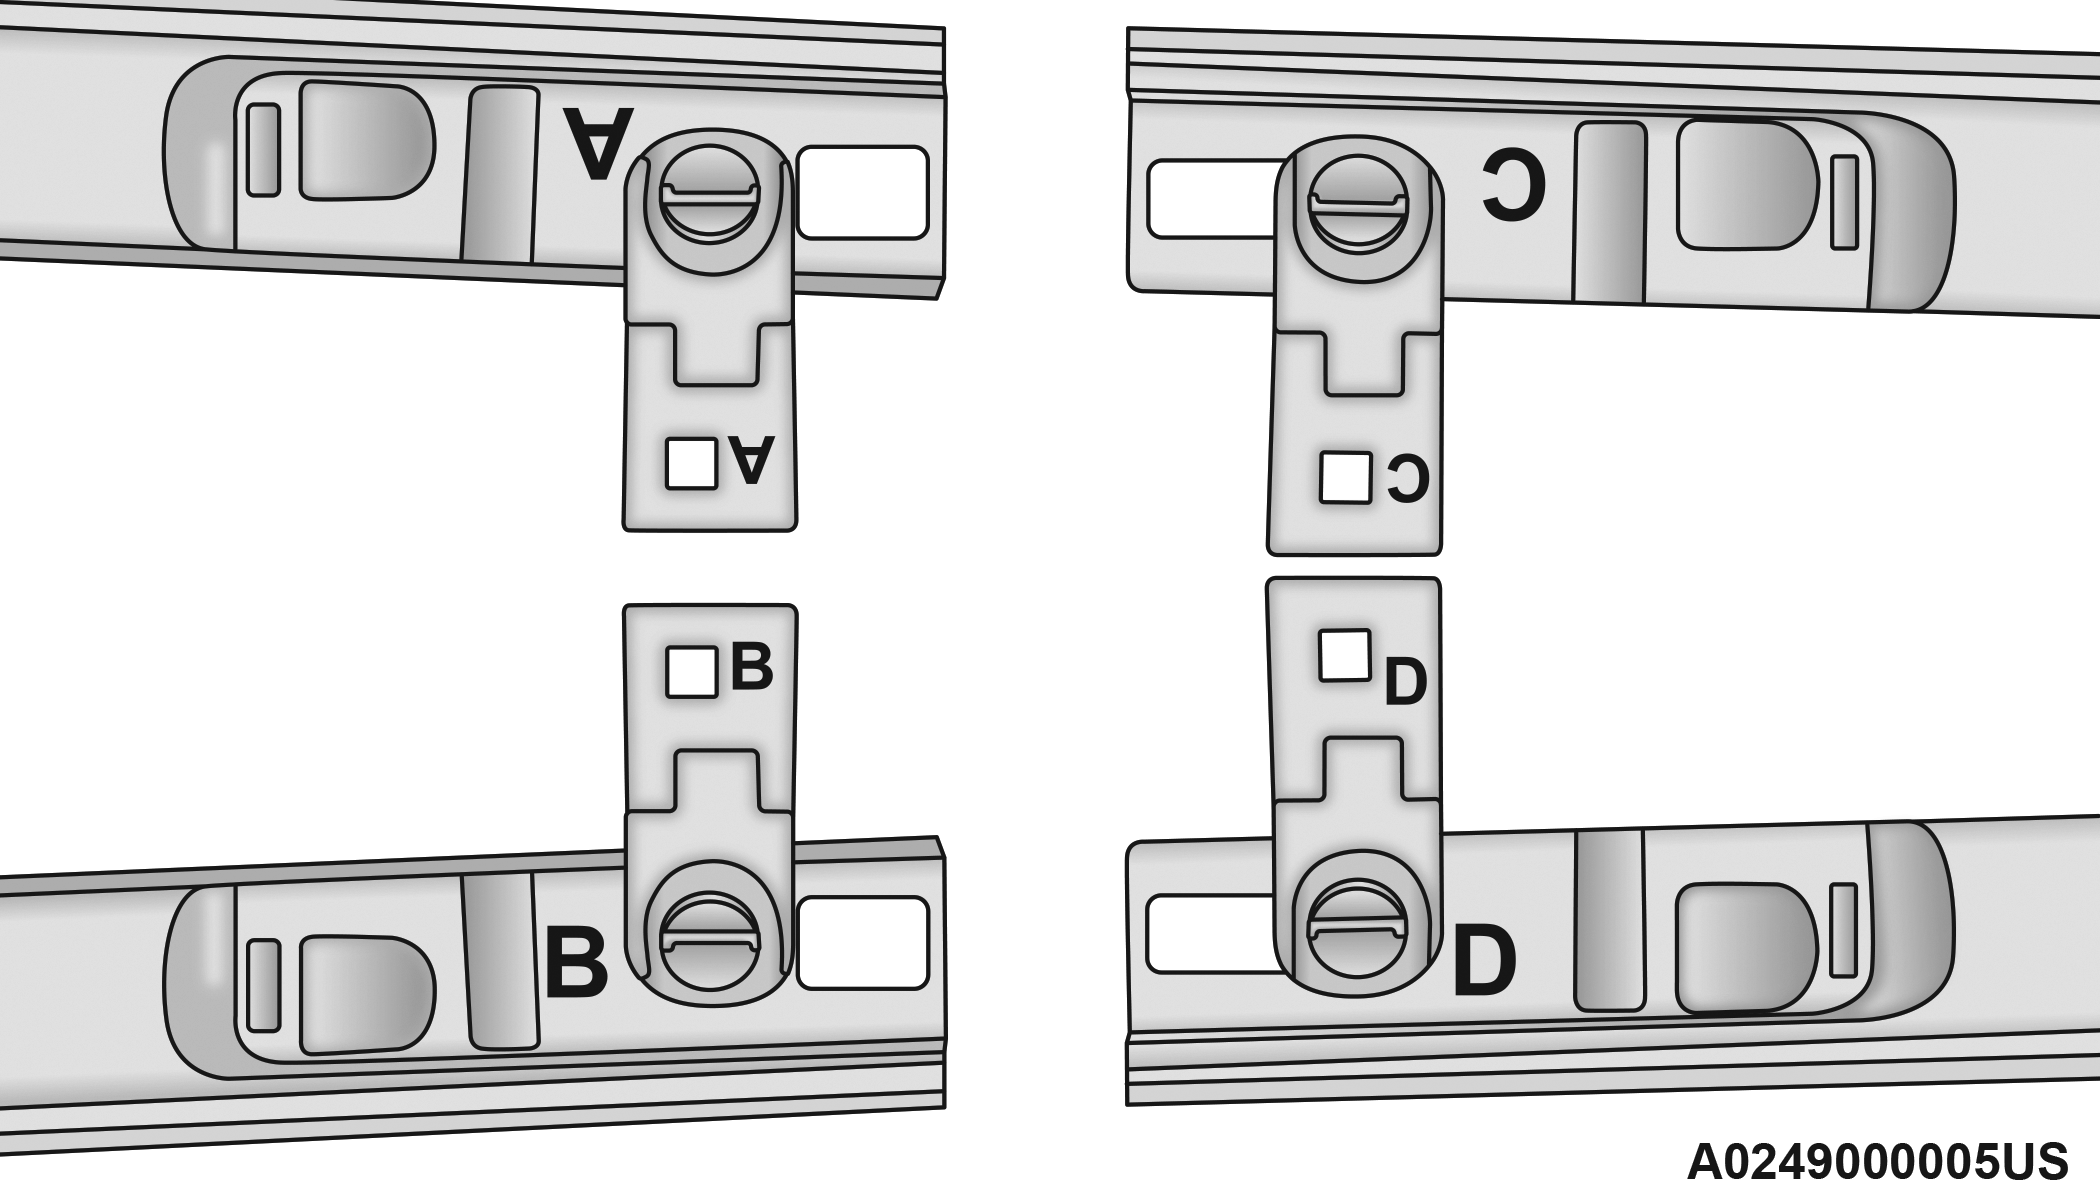
Positioning Crossbars
-
Once the crossbar is in place, tighten both thumb screws completely.

Installing Crossbars
-
Deploy and tighten the second crossbar to complete the deployment of the crossbars.
Note:
The crossbars are not identical and have fixed deployment positions. Rear crossbar can be deployed in two different positions.
STOWING THE CROSSBARS
-
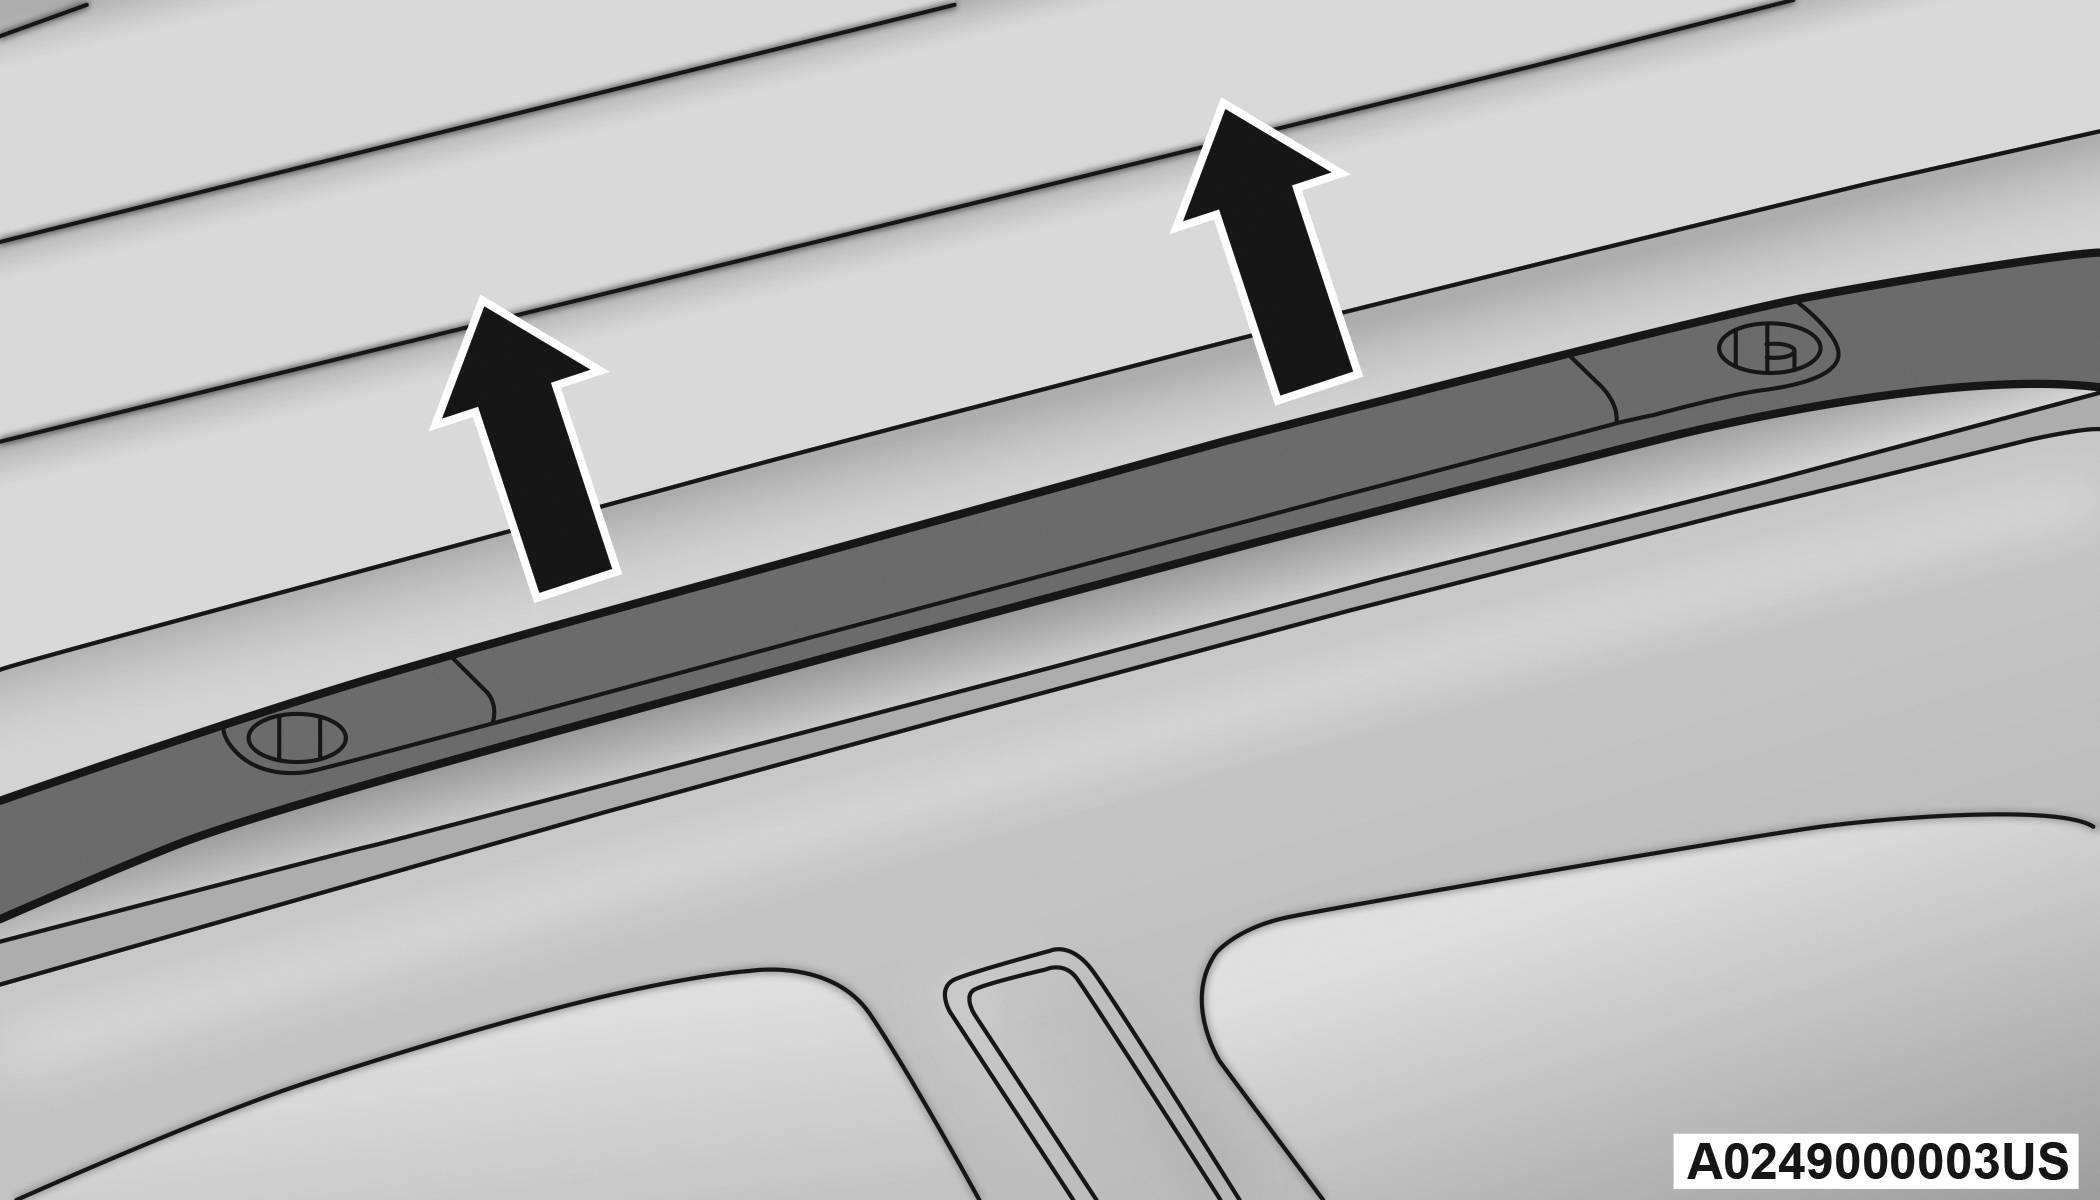
Starting with one crossbar, completely loosen the thumb screws at both ends. Lift the crossbar away from the matching letter to remove it from the deployed position. Repeat with the other crossbar.
CAUTION:
Use care when removing and handling the crossbars to prevent damage to the vehicle.
-
Starting with the one crossbar, bend up the pivot supports at each end.
Crossbar Pivot
-
Then, position the crossbar along the correct side rail. Make sure the letters on the crossbar align with the matching letters on the side rail.
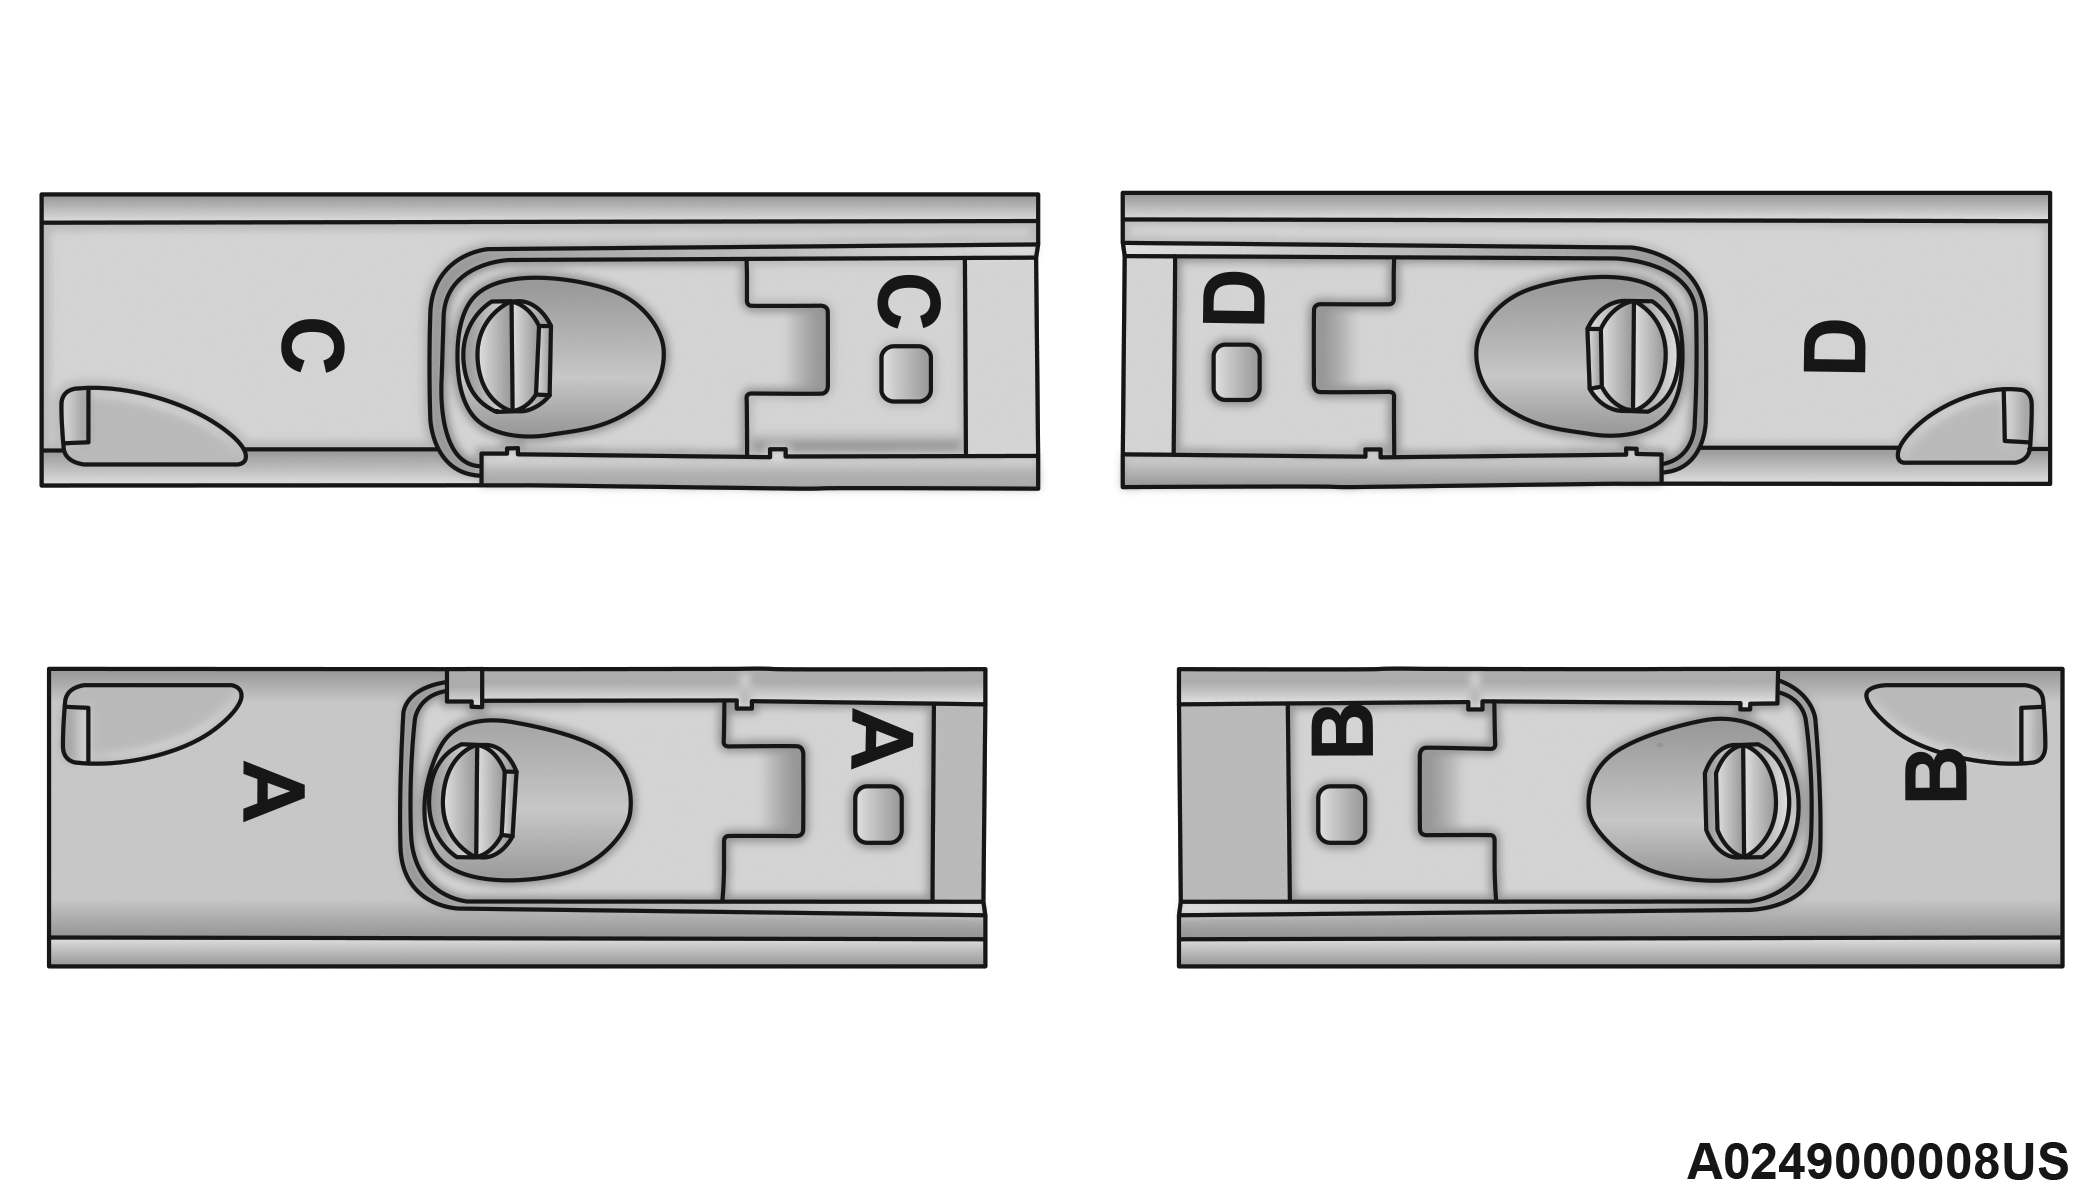
Stowing Crossbars
-
The crossbar will nest fully within the side rail.
Crossbar To Side Rail
-
Once the driver’s side crossbar is in place, tighten the thumb screws completely.
Tightening Crossbar
-
Repeat the procedure to stow the second crossbar on the opposite side.
.png)
Stowed Crossbars
Note:
-
To help control wind noise, stow the crossbars in the side rails when they are not in use.
-
If any metallic object is placed over the satellite radio antenna (if equipped), you may experience interruption of satellite radio reception.
WARNING:
Cargo must be securely tied down before driving your vehicle. Anything improperly secured to the roof rack, crossbars, or the roof itself can fly off the vehicle, particularly at high speeds, resulting in collisions, personal injury, or property damage. Follow the roof rack cautions when carrying anything on your roof rack.
CAUTION:
-
To prevent damage to the roof of your vehicle, DO NOT carry any loads on the roof rack without the crossbars deployed. The load should be secured and placed on top of the crossbars, not directly on the roof. If it is necessary to place the load on the roof, place a blanket or other protective layer between the load and the roof surface.
-
To avoid damage to the roof rack and vehicle, do not exceed the maximum roof rack load capacity of 150 lb (68 kg). Always distribute heavy loads as evenly as possible and appropriately secure the load and any protective layer placed between the load and the roof surface.
-
Load should always be secured to cross bars first, with tie down loops used as additional securing points if needed. Tie loops are intended as supplementary tie down points only. Do not use ratcheting mechanisms with the tie loops. Check the straps and thumb wheels frequently to be sure that the load remains securely attached.
-
Long loads that extend over the windshield, such as wood panels or surfboards, or loads with large frontal area should be secured to both the front and rear of the vehicle.
-
Travel at reduced speeds and turn corners carefully when carrying large or heavy loads on the roof rack. Wind forces, due to natural causes or nearby truck traffic, can add sudden upward lift to a load. This is especially true on large flat loads and may result in damage to the cargo or your vehicle.
Download Manual