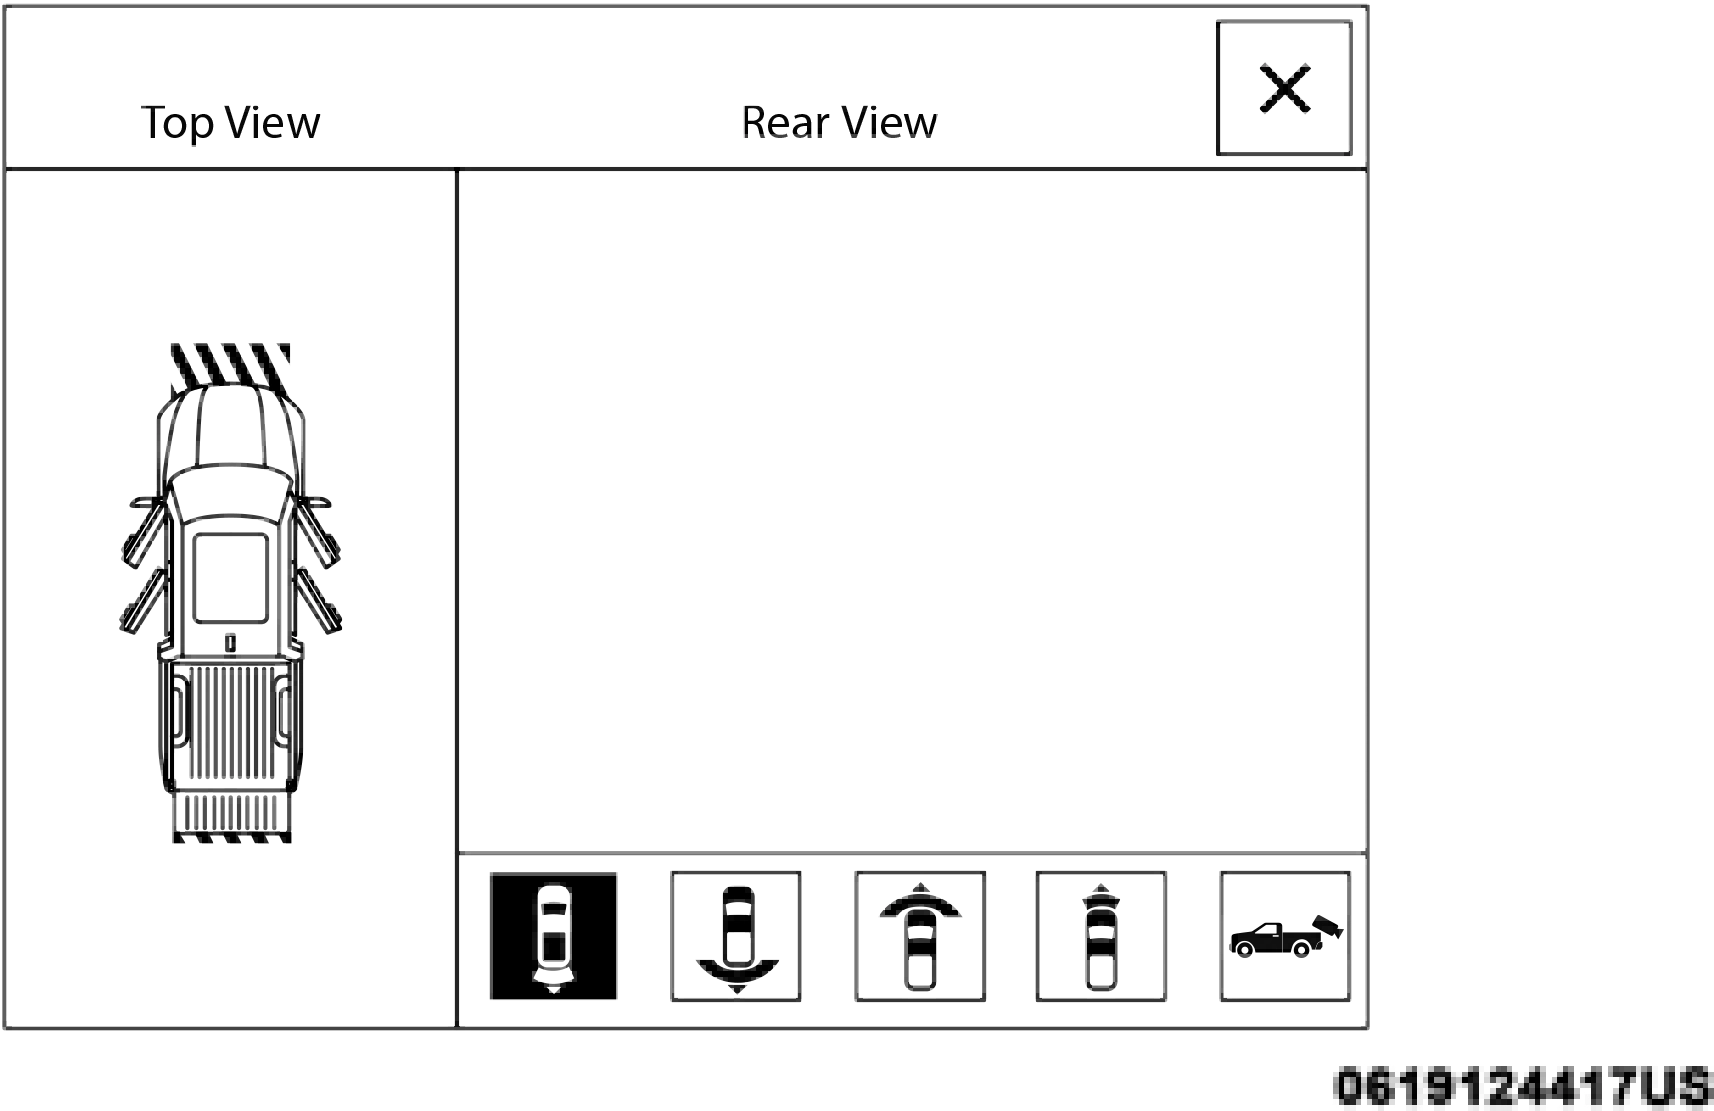
SURROUND VIEW CAMERA SYSTEM — IF EQUIPPED
Your vehicle may be equipped with the Surround View Camera System that allows you to see an on-screen image of the surround-
When the vehicle is shifted into REVERSE, the rear camera view and top view is the default view of the system (Auto- matic Activation).
When the vehicle is shifted out of REVERSE (with camera delay turned on), the camera image will continue to be displayed for up to 10 seconds after shifting out of REVERSE unless the vehicle speed exceeds 8 mph (13 km/h), the vehicle is shifted into PARK or the ignition is switched to the OFF position. There is a touch screen button (X) to disable the display of the camera image.
ings and top view of your vehicle whenever the gear selector is put 5
into REVERSE or a different view is selected through the "on screen soft buttons". The top view of the vehicle will show which doors are open. The image will be displayed on the touchscreen display along with a caution note “Check Entire Surroundings” across the top of the screen. After five seconds, this note will disappear. The Surround View Camera System is comprised of four sequential cameras located in the front grille, rear tailgate and side mirrors.
NOTE:
When the vehicle is shifted out of REVERSE (with camera delay turned off), the surround view camera mode is exited and the last known screen appears again.
While the “rear view” is displayed, and if enabled, active guide lines are overlaid on the image to illustrate the width of the vehicle, including the side view mirrors and its projected backup path based on the steering wheel position.
Different colored zones indicate the distance to the rear of the vehicle.
The following table shows the approximate distances for each zone:
|
Zone |
Distance To The Rear Of The Vehicle |
|
Red |
0 - 1 ft (0 - 30 cm) |
|
Yellow |
1 ft - 6.5 ft (30 cm - 2 m) |
|
Green |
6.5 ft or greater (2 m or greater) |
Modes Of Operation
Standard Backup Camera view can be manually activated by selecting “Backup Camera” through the Controls menu within the Uconnect screen.
Refer to “Parkview Rear Back Up Camera” in this section for more information on activation conditions.
Top View
The Top view will show in the Uconnect System with Rear View and Front View in a split view display. There are inte- grated ParkSense arcs in the image at the front and rear of the vehicle. The arcs will change color from yellow to red corre- sponding the distance zones to the oncoming object.
The fifth button of the ParkSense Camera View screen will be changed based on the cameras present in the vehicle. If not equipped with a Cargo Camera or Trailer Reverse Guidance, the Backup Camera soft button will be displayed. If equipped with a Cargo Camera but no Trailer Reverse Guid- ance, the Cargo Camera soft button will be displayed, and if equipped with both a Cargo Camera and Trailer Reverse
Guidance, the Trailer Reverse Guidance soft button will be displayed.
 This is the Default view of the system in REVERSE and is always paired with the Top view of the vehicle with optional active guide lines for the
projected path when enabled.
 Pressing the Rear Cross Path soft key will give the driver a wider angle view of the rear camera system.
The Top view will be disabled when this is selected. 5
 The Front view will show you what is immediately
NOTE:
ParkSense Camera View
in front of the vehicle and is always paired with the Top view of the vehicle.
Pressing the Front Cross Path soft key will give the driver a wider angle view of the front camera system. The Top view will be disabled when this is selected.
Pressing the Backup Camera soft key will provide 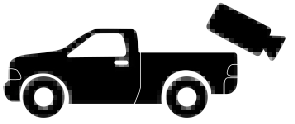 a full screen rear view with Zoom View.
NOTE:
If the Backup Camera view was selected through the Surround View Screen, exiting out of the Rear View Camera screen will return to the Surround View Screen. If the Backup Camera was manually activated through the Controls menu of the Uconnect display, exiting out of the display screen will return to the Controls menu.
Pressing the Cargo Camera soft key will provide a 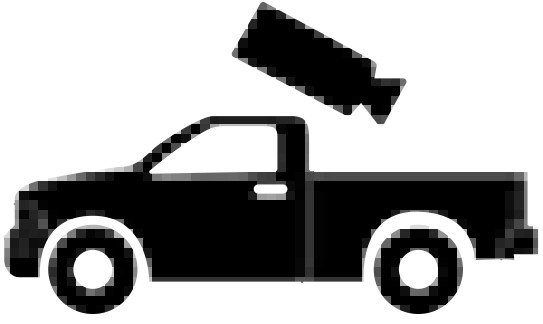 full screen view of the cargo area.
NOTE:
If the Cargo Camera view was selected through the Rear View Camera screen, exiting out of the Cargo Camera screen will return to the Rear View Camera screen. If the Cargo Camera was manually activated through the Controls menu of the Uconnect display, exiting out of the display screen will return to the Controls menu.
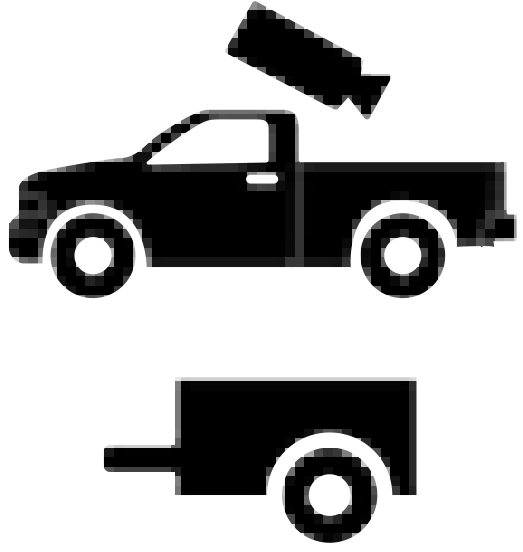 Pressing the Trailer Reverse Guidance soft key will provide a full screen view of the cargo area and trailer.
NOTE:
If the Trailer Reverse Guidance was selected through the Rear View Camera screen, exiting out of the Trailer Reverse Guidance screen will return to the Rear View Camera screen. If the Trailer Reverse Guidance was manually activated through the Controls menu of the Uconnect display, exiting out of the display screen will return to the Controls menu.
Zoom View
When the Rear View Camera image is being displayed, and the vehicle speed is below 8 mph (13 km/h) while in any gear selector position, Zoom View is available. By pressing the “magnifying glass” icon in the upper left of the display screen, the image will zoom in to four times the standard view. Pressing the icon a second time will return the view to the standard Backup Camera display.
When Zoom View is selected while the vehicle is in REVERSE, then shifted to DRIVE, the camera delay view will display the standard Backup Camera view. If the vehicle is then returned to REVERSE gear from DRIVE, the Zoom View selection will automatically resume.
Shifting to NEUTRAL from any gear will maintain the selected view (Zoom or Standard) as long as the vehicle is below 8 mph (13 km/h).
If the vehicle is in PARK, Zoom View is available until the
Deactivation
The system is deactivated in the following conditions if it was activated automatically:
gear selector is placed in DRIVE or REVERSE and speeds are
button (X) to disable the display of the camera image. 5
at or above 8 mph (13 km/h).
NOTE:
The system is deactivated in the following conditions if it was activated manually from the Uconnect controls menu via Surround View button or Backup Camera button:
NOTE:
If the Surround View Camera is activated manually, and the vehicle is shifted into REVERSE, deactivation methods for automatic activation are assumed.
The camera delay system is turned off manually through the Uconnect settings menu. Refer to “Uconnect Settings” in “Multimedia” for further information.
NOTE:
Cargo Camera With Dynamic Centerline — If Equipped
The Dynamic Centerline feature provides an overlay on the Cargo Camera display screen that aligns to the center of the pickup box to aid in hooking up a fifth wheel camper or gooseneck trailer. The centerline auto aligns to the center of the pickup box, and can also be manually adjusted. The centerline will adjust in response to steering angle inputs, and will not obstruct the gooseneck receiver or an approaching trailer gooseneck in the camera feed.
Activation
The Dynamic Centerline feature can be activated through the Uconnect settings by pressing the Cargo Camera soft button, followed by the “Dynamic Centerline” soft button on the touchscreen.
If the Dynamic Centerline feature is turned on, the overlay will display anytime the Cargo Camera image is displayed.
Adjusting Centerline
Follow the steps below to manually adjust the centerline:
Deactivation
The Dynamic Centerline feature will automatically be deacti- vated whenever the Cargo Camera display is deactivated. It can also be manually deactivated through the Uconnect settings.
Forward Facing Camera With Tire Lines — If Equipped
The Forward Facing Camera displays a front view image of the road ahead, along with tire lines to guide the driver when driving on narrow roads.
Activation
The Forward Facing Camera can be activated by pressing the Forward Camera soft button on the touchscreen.
Once activated, the camera image will remain on as long as
Trailer Reverse Guidance — If Equipped
The Trailer Reverse Guidance feature assists the driver in backing up a trailer by providing adjustable camera views of the trailer and surrounding area. The cameras are mounted on the side mirrors and the images will be displayed side-by-side on the touchscreen. Left and right camera images are swapped and mirrored on the touchscreen to show the equivalent area behind the vehicle as though the driver is using the side mirrors.
the vehicle speed is below 8 mph (13 km/h).
Activation 5
Deactivation
The Forward Facing Camera is deactivated in the following conditions:
NOTE:
The Forward Facing Camera cannot be deactivated when the vehicle is in 4LO.
The Trailer Reverse Guidance feature can be activated by pressing the Trailer Reverse Guidance button on the touch- screen.
Deactivation
Once activated, the image will continue to be displayed in any gear until the vehicle speed exceeds 8 mph (13 km/h).
Download Manual