Seats
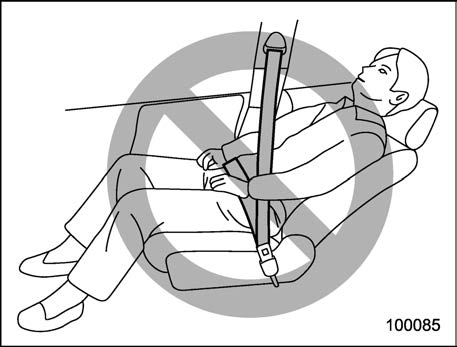
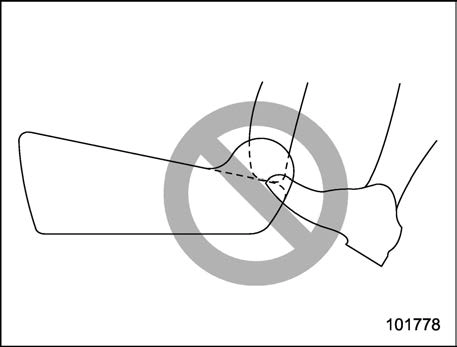
 ! Safety tips for head restraint
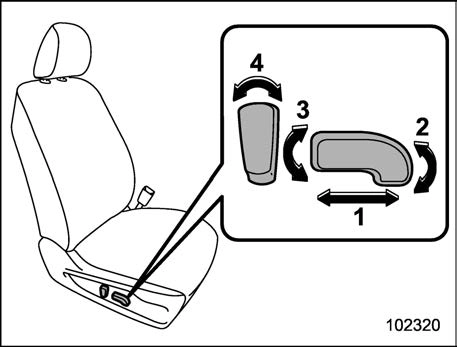
! Forward and backward adjustment
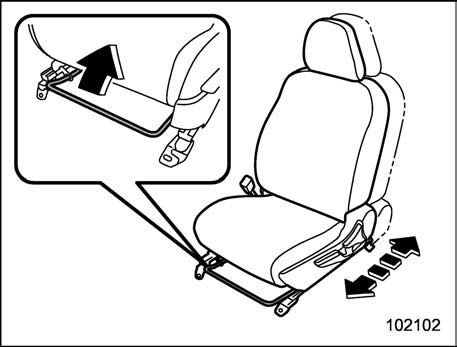
Pull the lever upward and slide the seat to the desired position. Then release the lever and move the seat back and forth to make sure that it is securely locked into place.
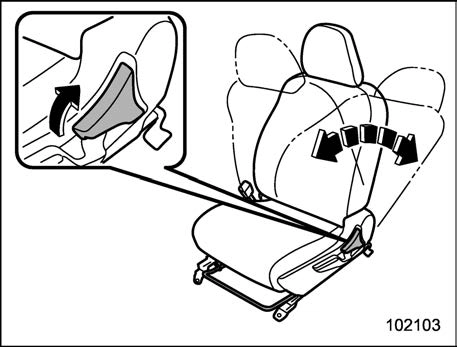
Pull the reclining lever up and adjust the seatback to the desired position. Then release the lever and make sure the seatback is securely locked into place.
The seatback placed in a reclined position can spring back upward with force when the lever is pulled. When operating the lever to return the seatback, hold the seatback lightly so that it may be raised back gradually.
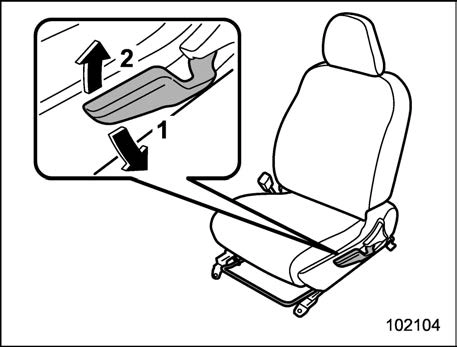
The height of the seat can be adjusted by moving the seat adjustment lever up and down.
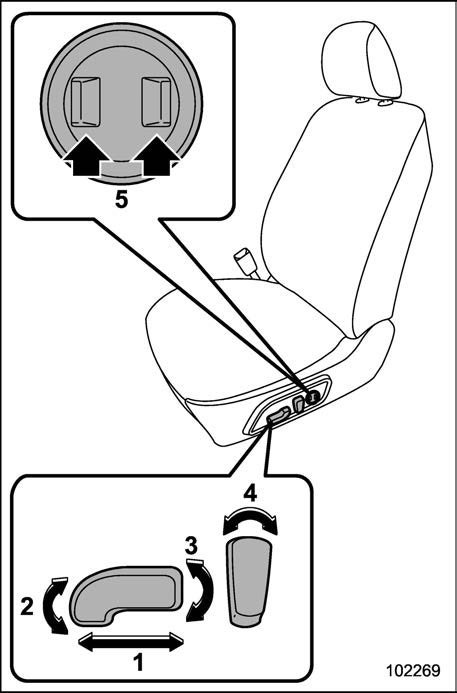
To adjust the seat forward or backward, move the control switch forward or
backward. During forward/backward ad- justment of the seat, the seat cushion angle or height cannot be adjusted.
To adjust the seat cushion angle, pull up or push down the front end of the control switch.
To adjust the seat height, pull up or push down the rear end of the control switch.
To adjust the angle of the seatback, move the control switch.
To increase lower back support, push the front side of the switch. To decrease lower back support, push the rear side of the switch.
To adjust the seat forward or backward, move the control switch forward or backward.
To adjust the seat cushion angle, pull up or push down the front end of the control switch.
To adjust the seat height, pull up or push down the rear end of the control switch.
To adjust the angle of the seatback, move the control switch.
Some seat positions can be registered. Register the seat position with button “1” or “2” or each of the key fobs and retrieve the seat position.
The following seat positions can be regis- tered.
System settings. Refer to “Driver Mon- itoring System settings” P221.
! Registration of memory position with button “1” or “2”
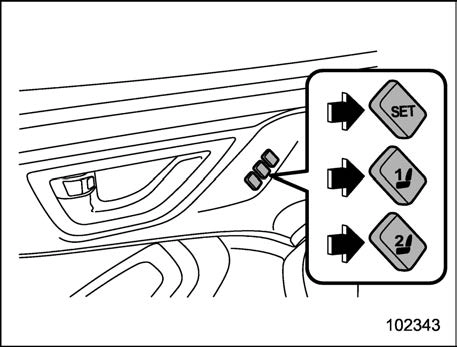
A chirp will sound once, and the seat position is registered.
! Registration of the reverse tilt- down mirror angle with button “1” or “2”
A chirp will sound once, and the outside mirror angle will be registered.
! Registration of memory position with a key fob
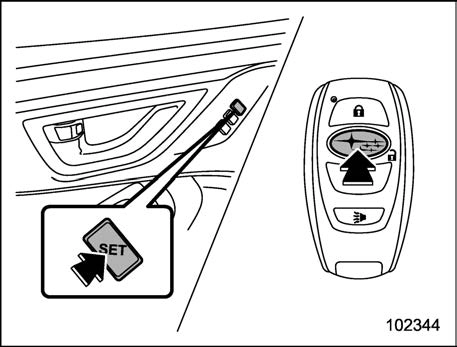
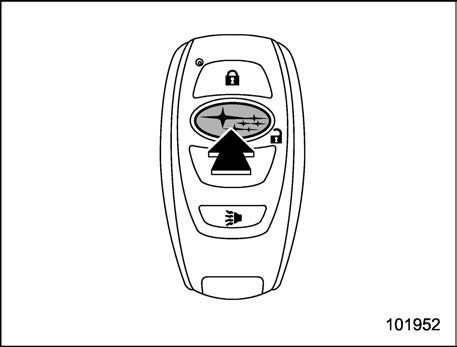
hold the “SET” button, then press the “  ” button of the access key fob.
A chirp will sound once, and the seat position is registered.
! Registration of the reverse tilt- down mirror angle with the key fob
“LOCK” position.
 ” button of the access key fob.
A chirp will sound once, and the reverse tilt-down mirror angle will be registered.
! Retrieval of memory position registered with button “1” or “2”
A chirp will sound and the seat and outside mirror move to the registered position.
When the select lever is moved to the “R” position, the outside mirror will move to the registered reverse tilt-down position.
! Retrieval of the memory position registered with access key fob
 ” button or touching the sensor behind the door handle.
A chirp will sound and the seat and angle of the outside mirrors moves to the registered position.
When the select lever is moved to the “R” position, the outside mirror will move to the registered reverse tilt-down position.
 ” button on the access key fob or the door lock button to lock the doors.
 ” button on the access key fob. For information about how to enable/disable the key- less access function, refer to “Dis- abling keyless access function”
P124.
P118.
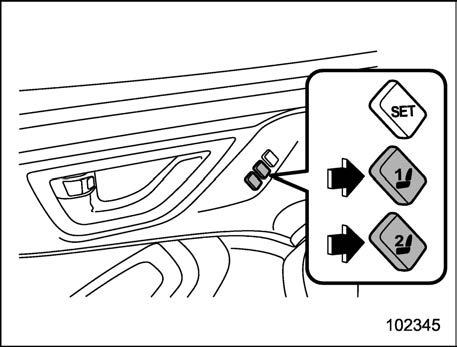
! Clearing the registered seat posi- tion with access key fob
 ” button on the access key fob.
A chirp will sound, and the registered seat position will be cleared.
Download Manual